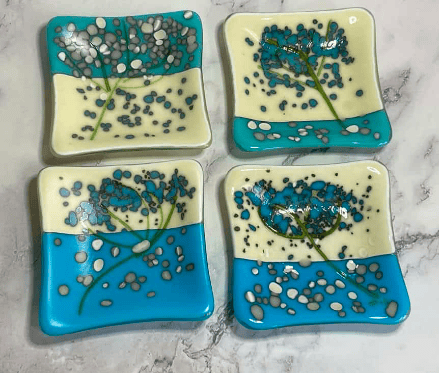
Normally, when I teach a class, they’re fairly straightforward projects — ornaments, vases, nightlights, dishes, and similar pieces — using basic supplies like vitrigraph, dots, and murrine. But after 18 years of fusing, my relationship with glass has naturally evolved. It may sound a little bold to say, but over the years I’ve learned a tremendous amount through experience, testing, and yes, plenty of mistakes. One of my absolute favorite areas to explore is glass reactions, especially those created using silver. Below are just a couple of pieces I’ve made that really highlight how exciting and unpredictable reactions in glass can be.


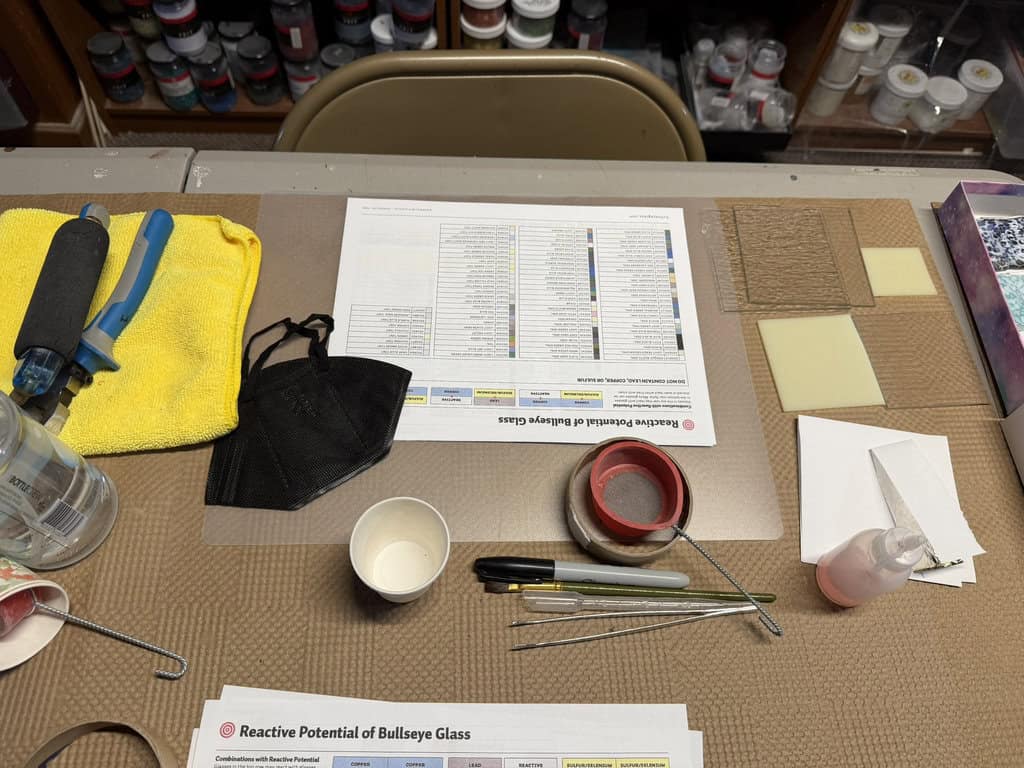
I had three students who wanted to take an advanced fusing class, so we decided together to do a reactions-focused class. Because reactions can be unpredictable, I spent quite a bit of time preparing for this class, including putting together handouts explaining different types of glass reactions and what to watch for. We worked exclusively with COE 90 glass, which allowed us to really explore reactions in a controlled and consistent way.
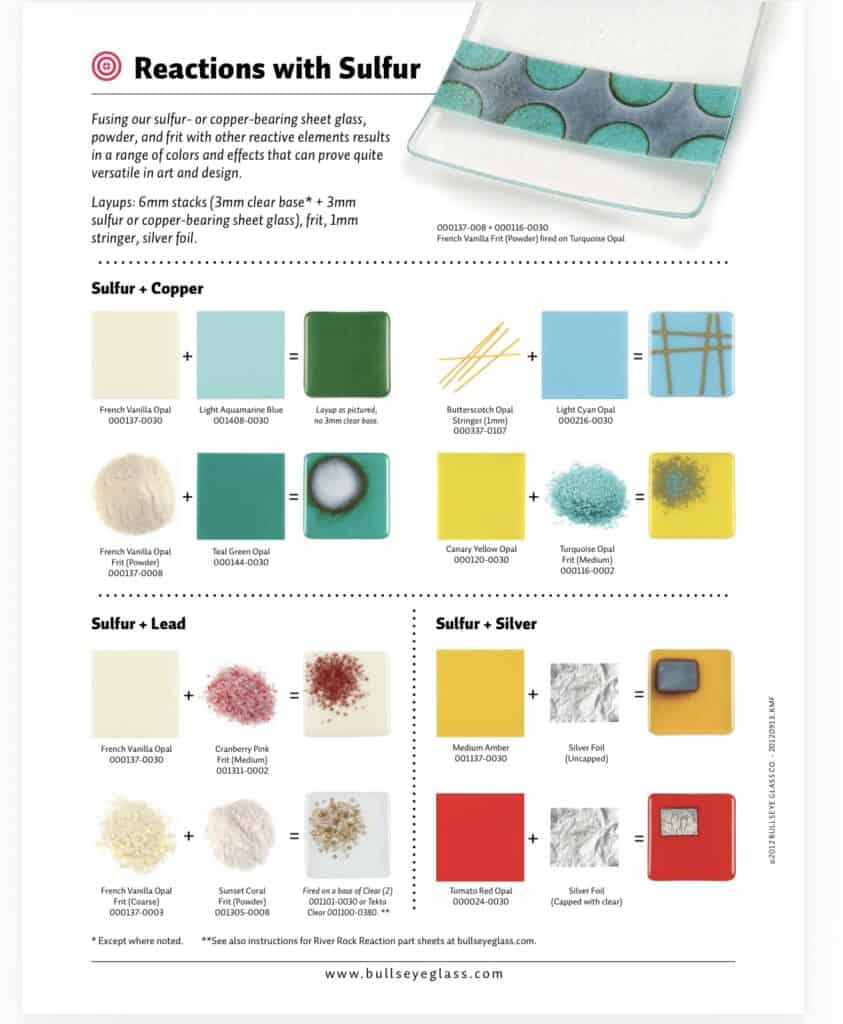
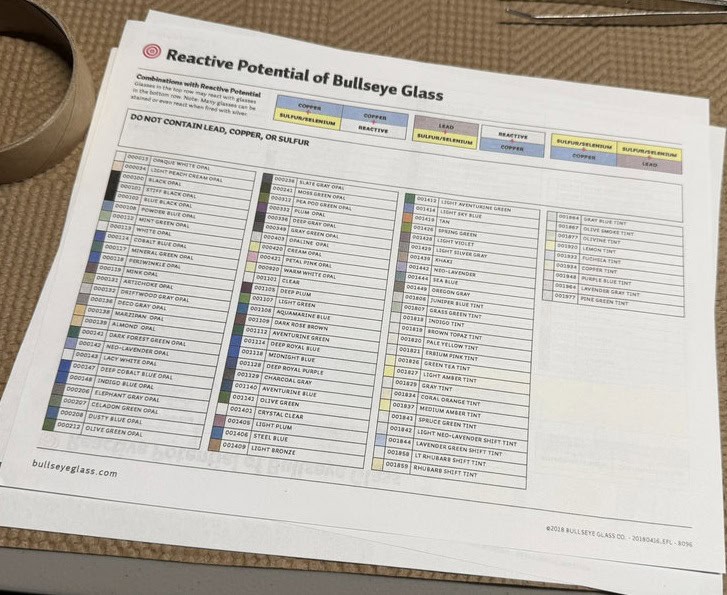
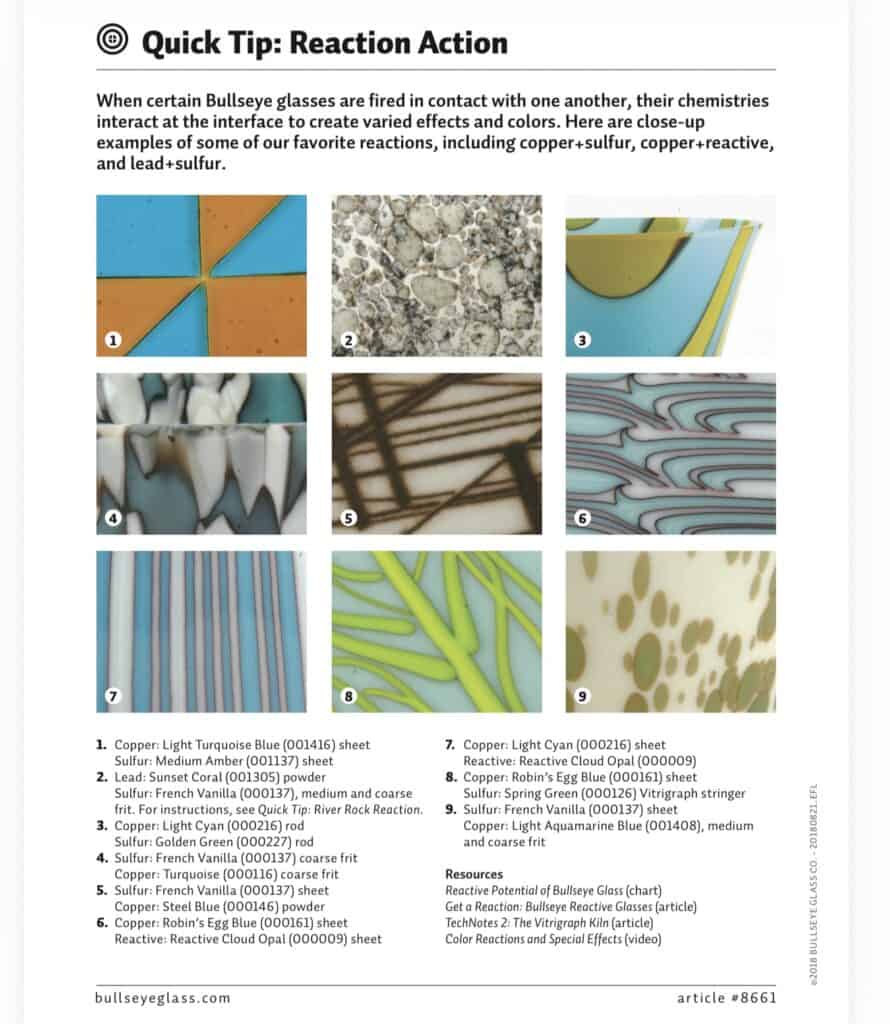
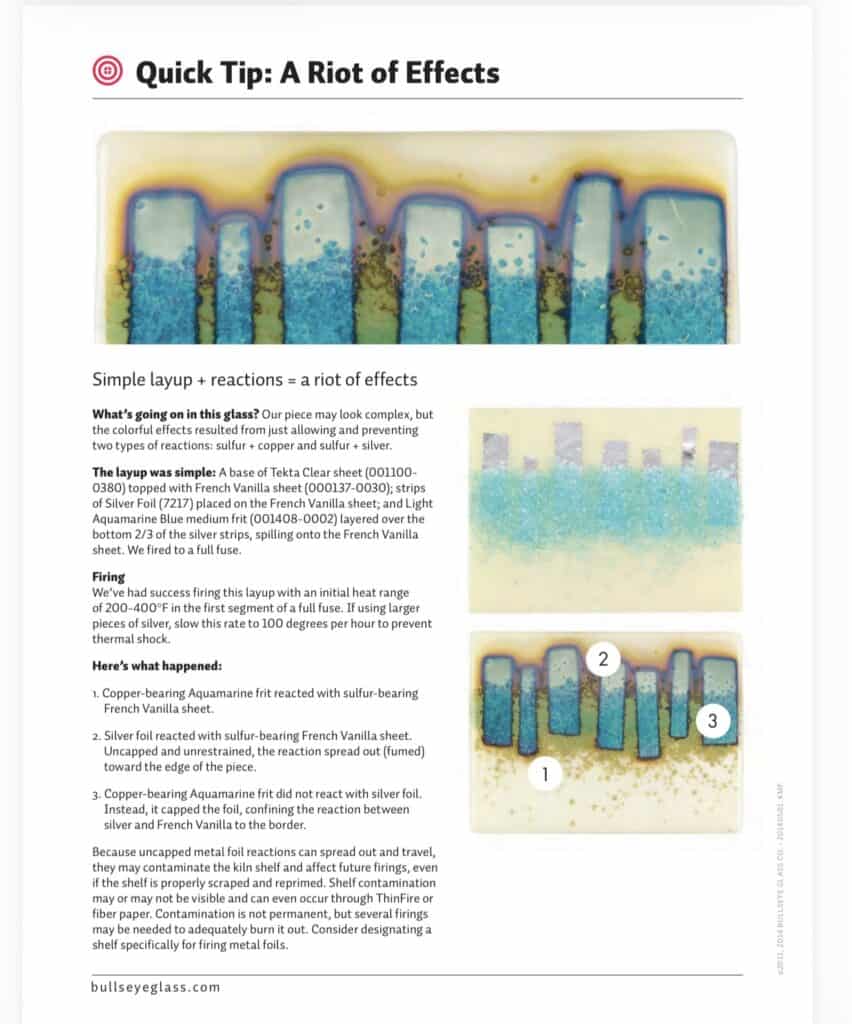
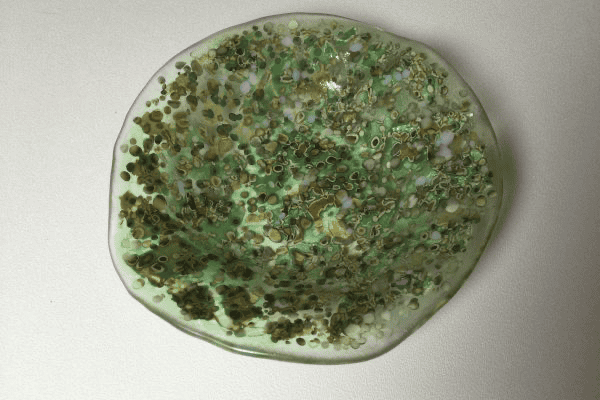
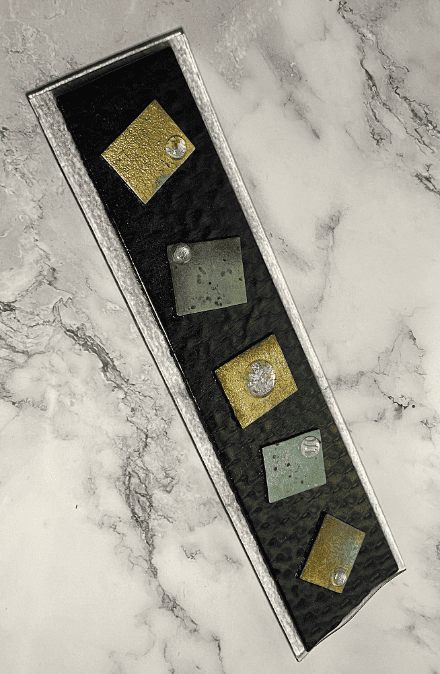
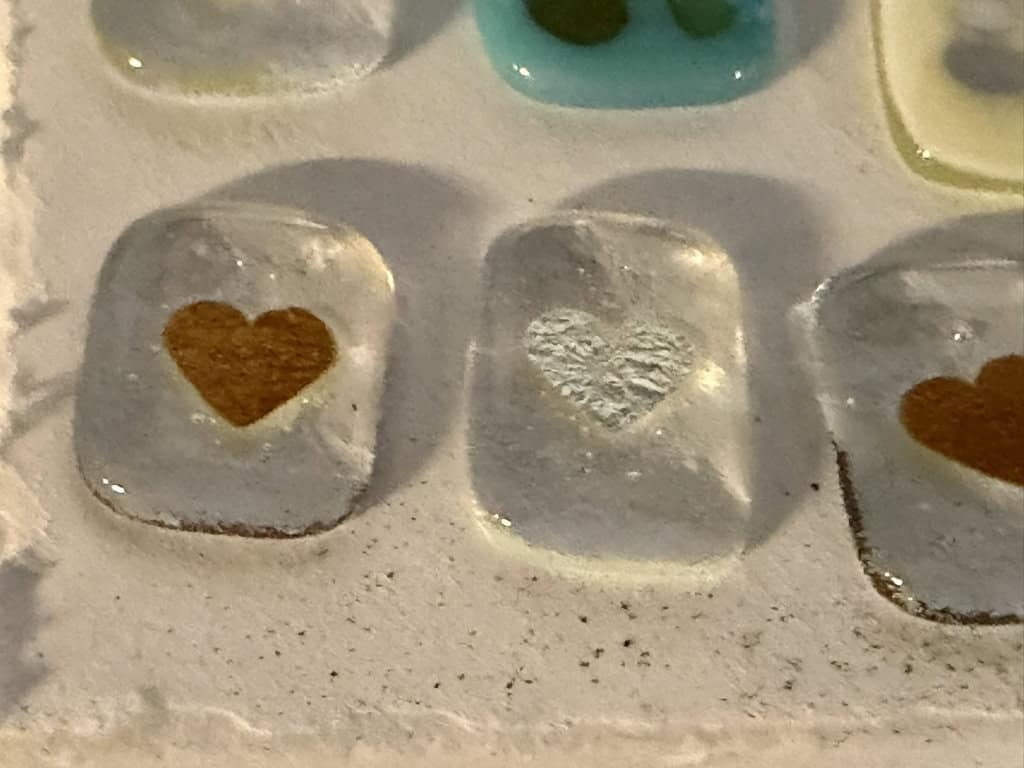
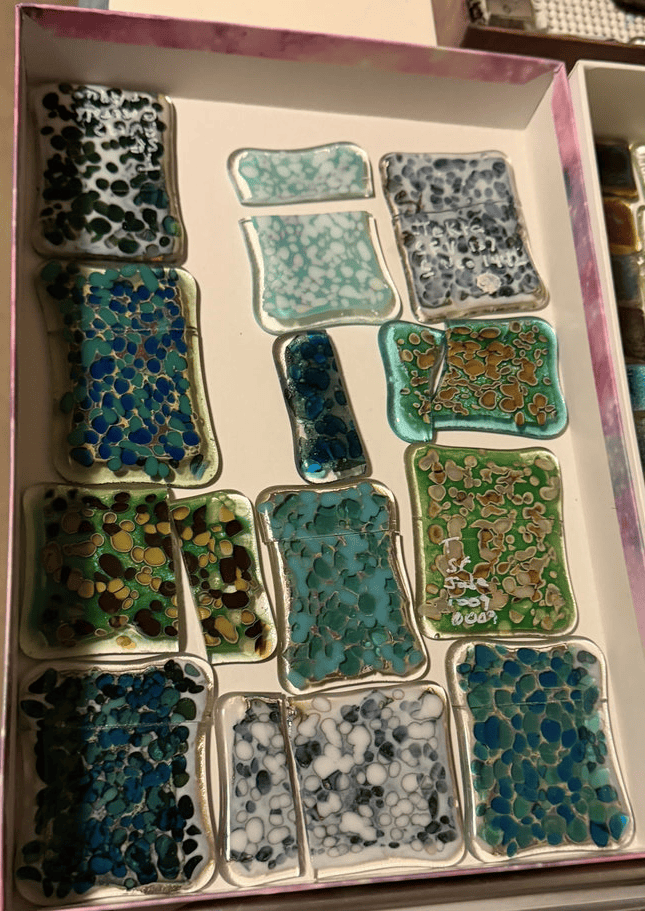
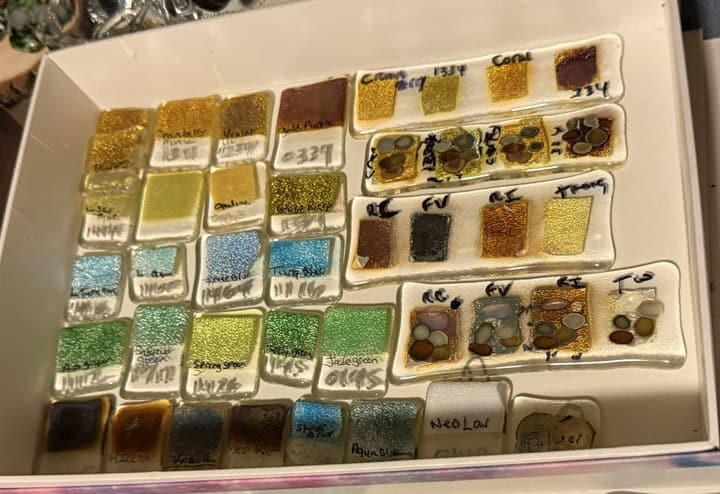
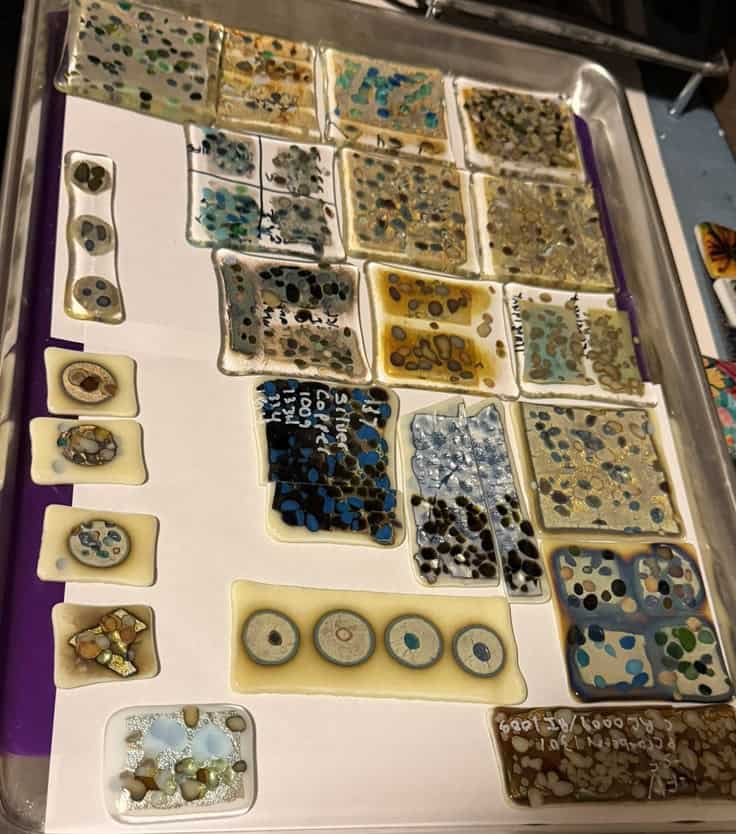
I made a myriad of samples using different reactive combinations, including reactive glass, sulfur-bearing glass, copper-bearing glass, and of course silver. Making samples is such an important part of teaching a class like this — reactions can vary so much depending on placement, thickness, firing and so much more. These samples gave us a great visual reference and helped set expectations for what was possible. Below are just some of the samples I created while preparing for the class.
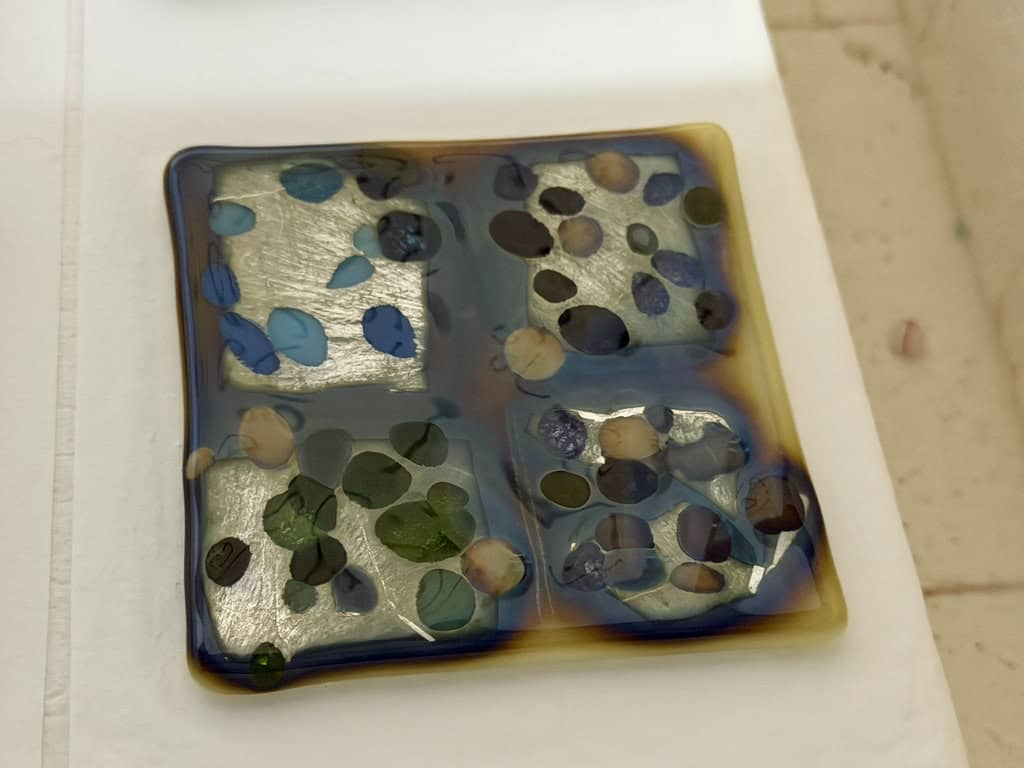
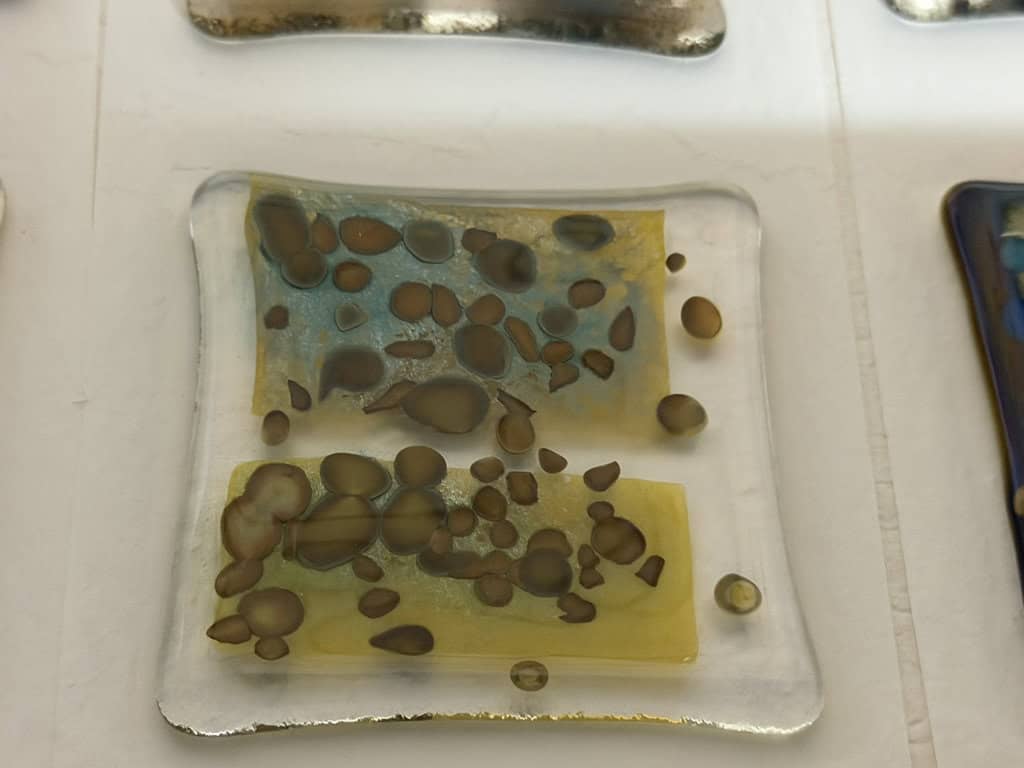
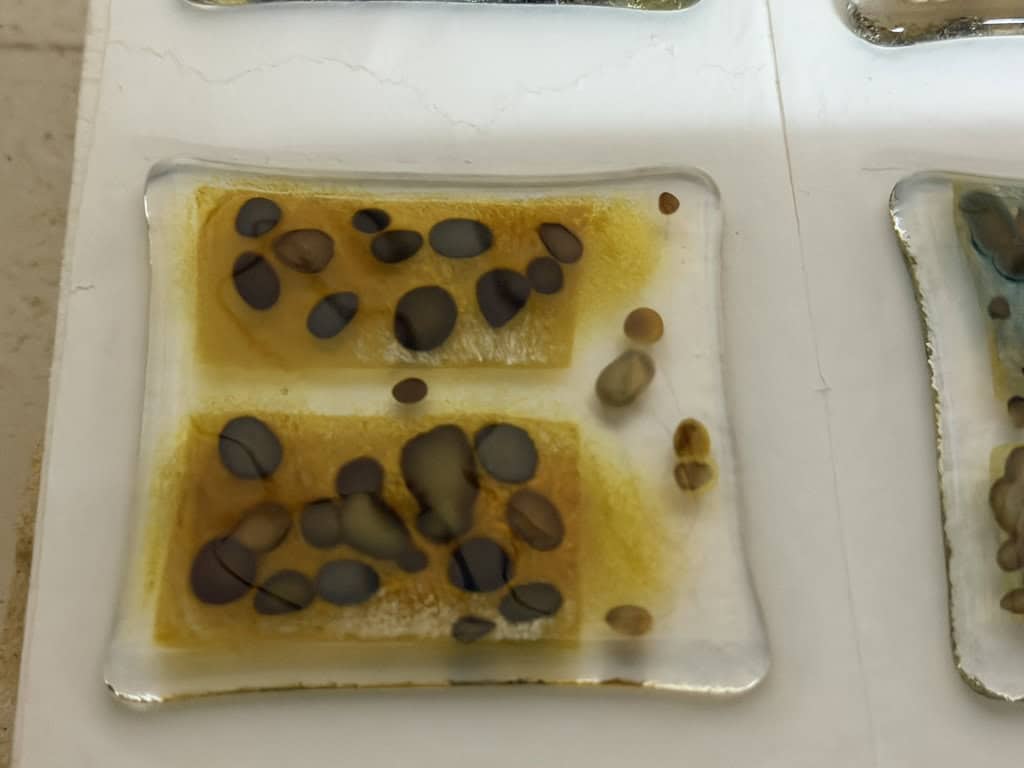
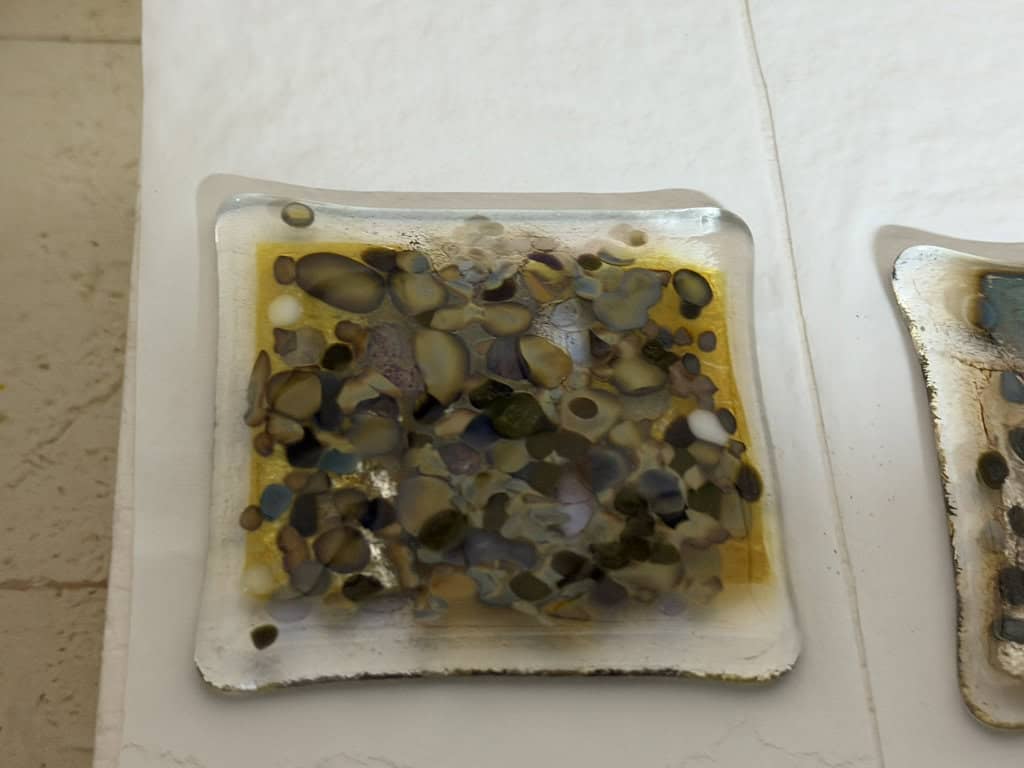
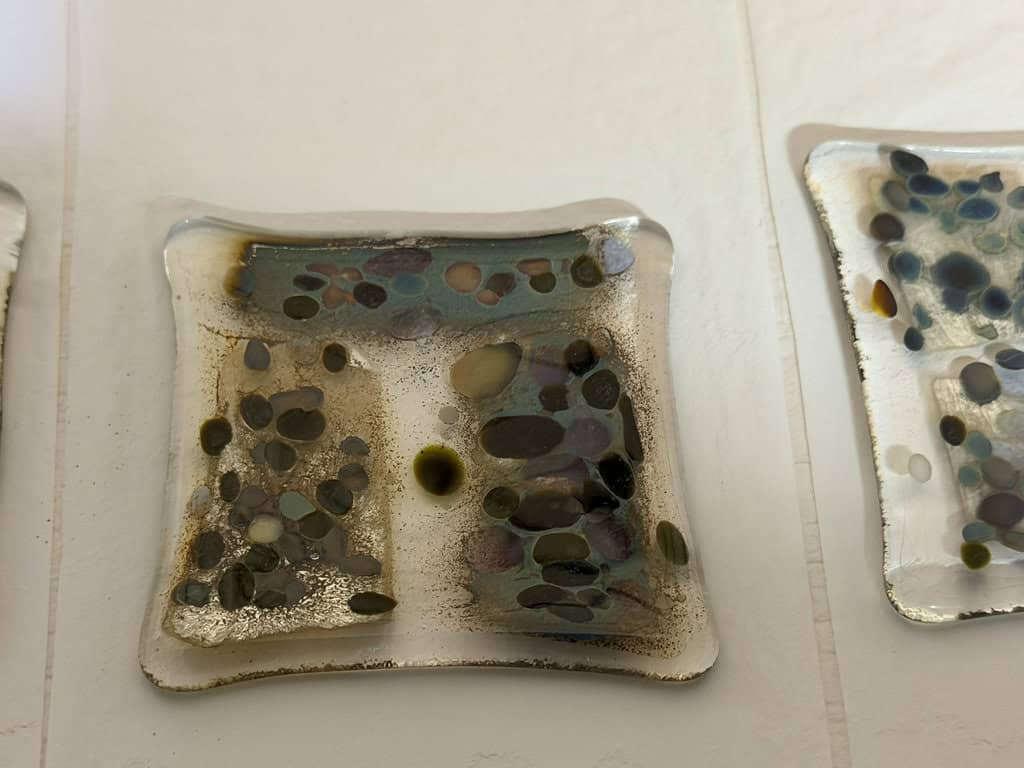
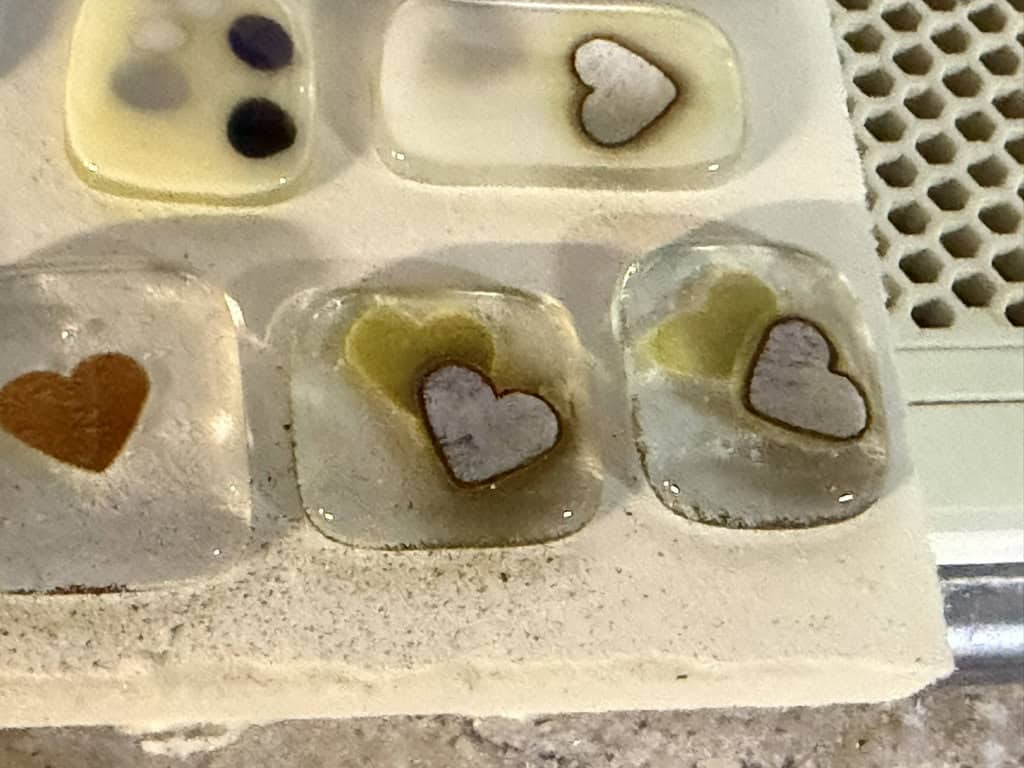
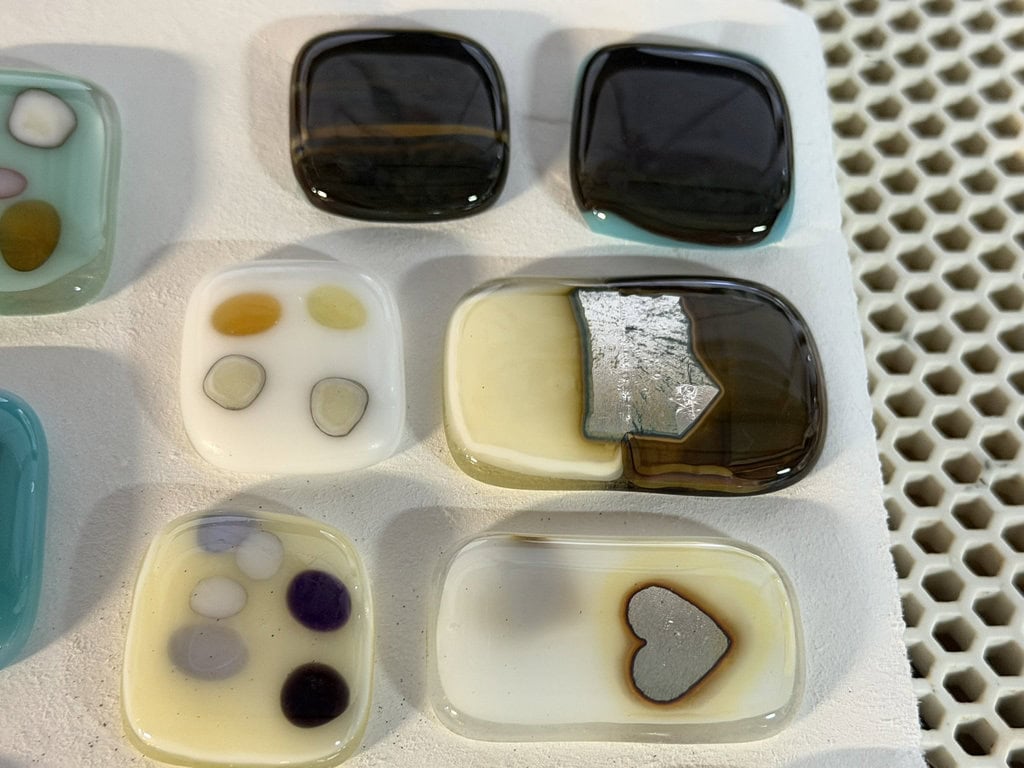
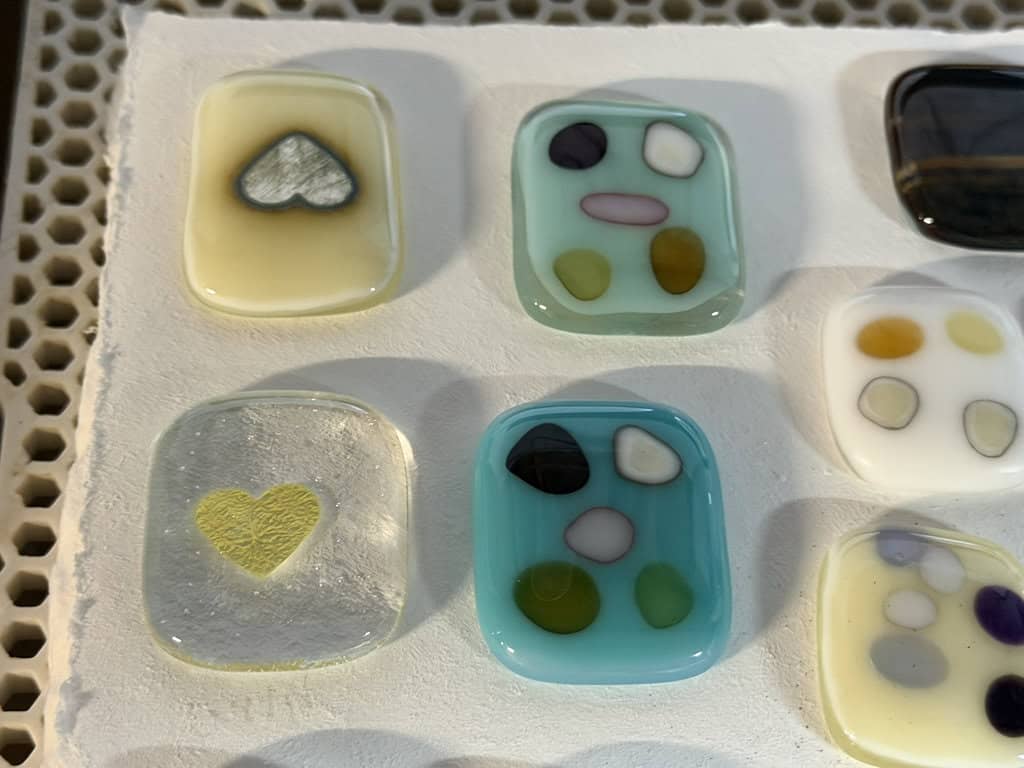
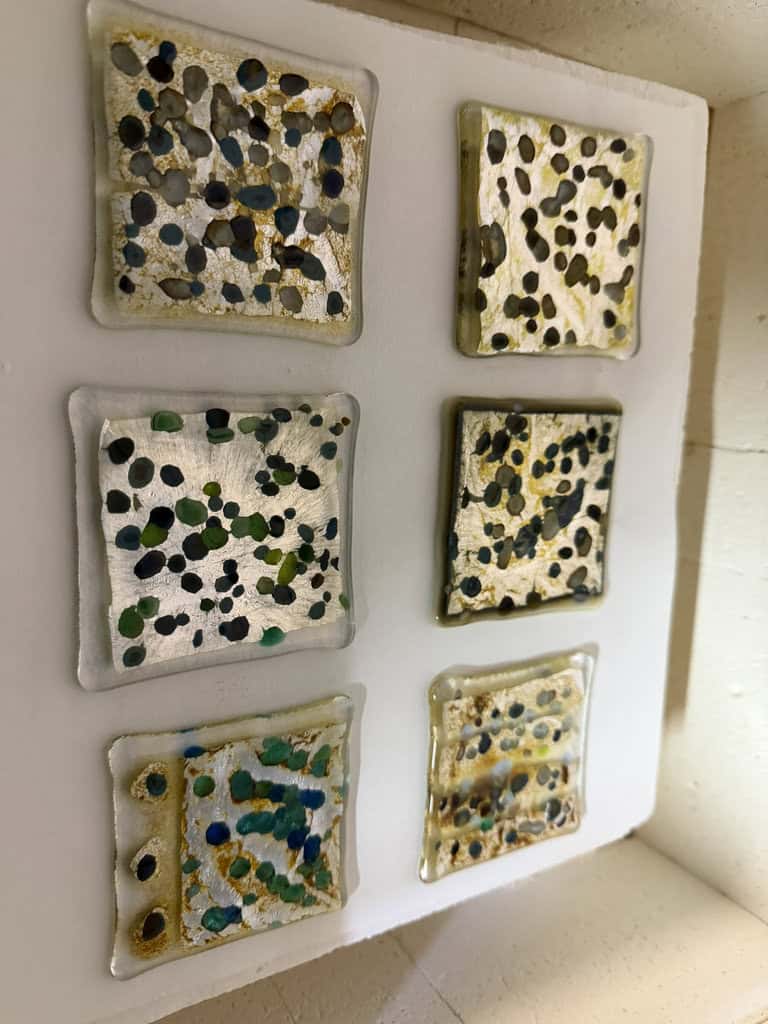
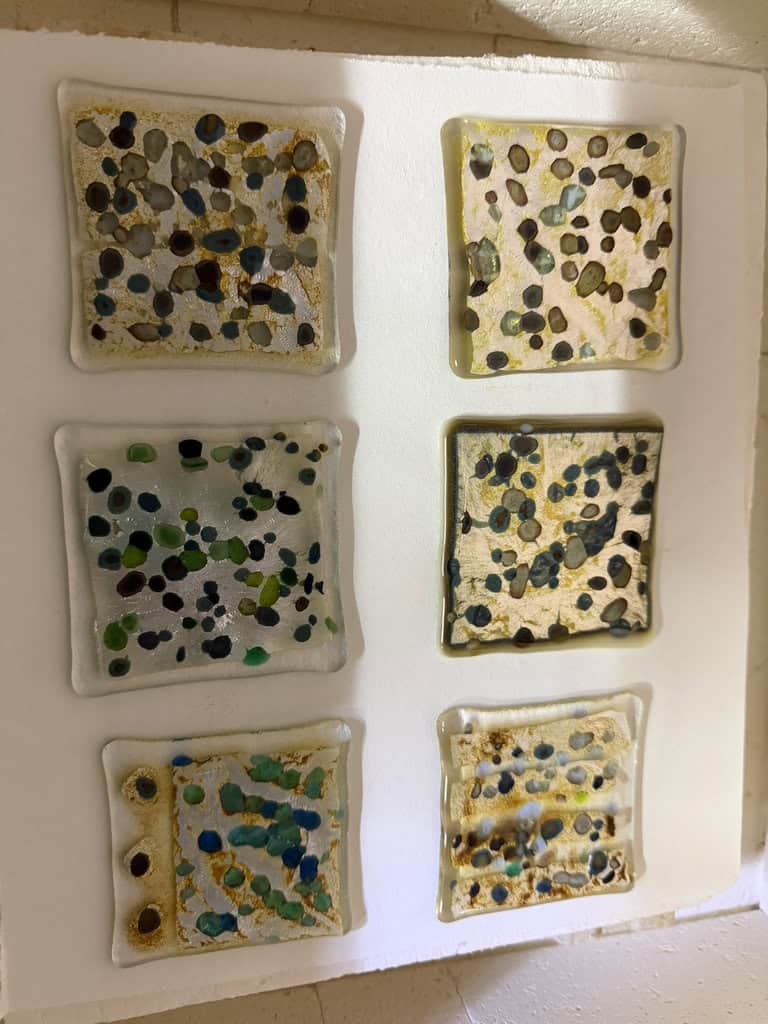
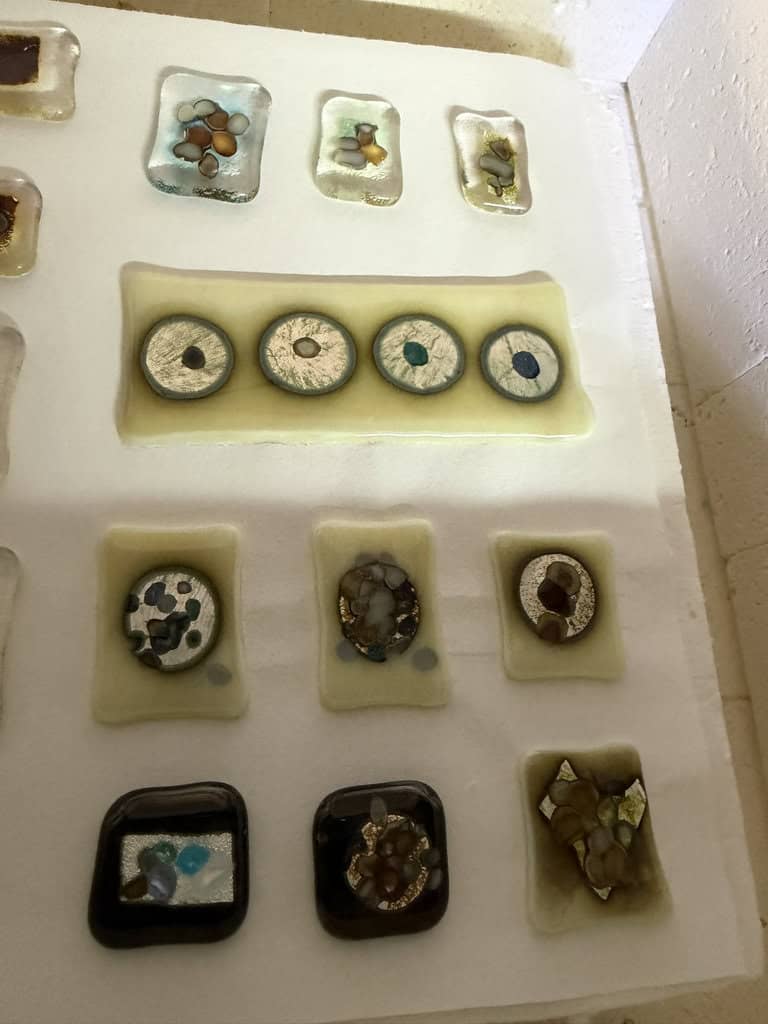

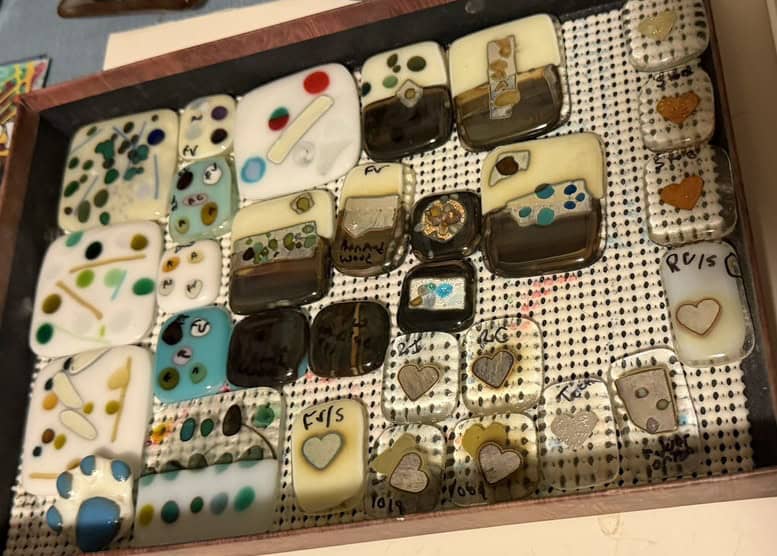
Here are several more samples, showing both what to do and, just as importantly, what not to do when working with reactive glass and silver. I think it’s just as valuable to see combinations that didn’t behave as expected, because reactions don’t always go the way you imagine. These samples help take some of the mystery out of the process and give students a better understanding of how different glasses interact in the kiln.

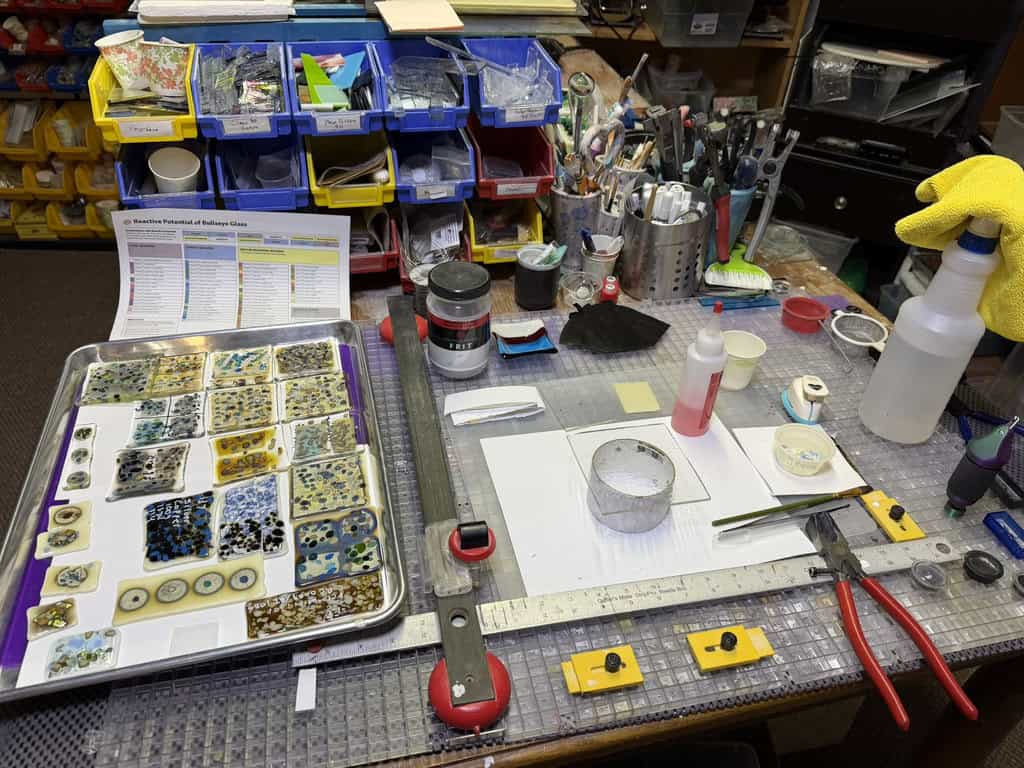
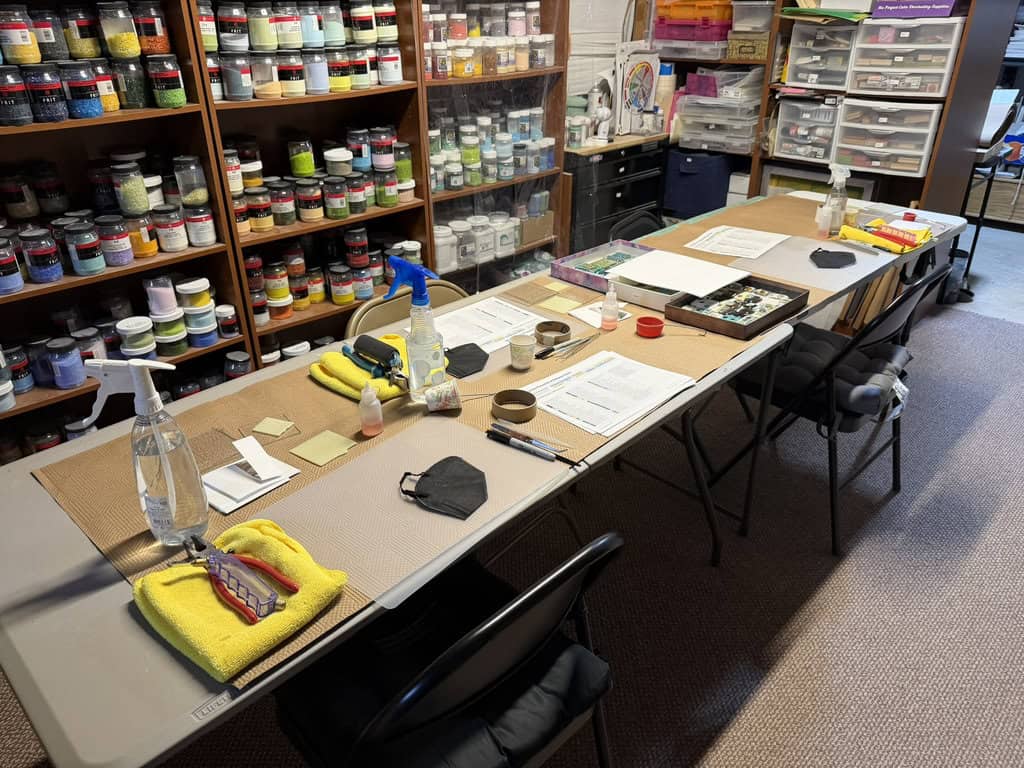
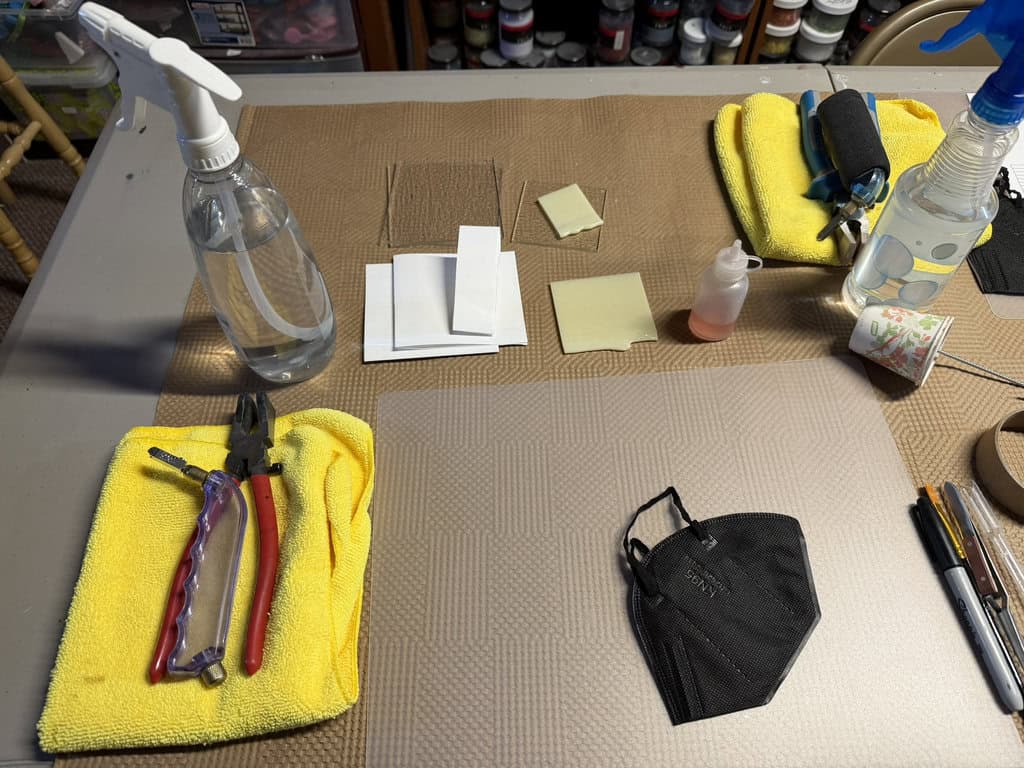
I literally set up a full demo and then made a practice sheet, so I could organize each workstation ahead of time. That way, every student station was set up with all of the supplies they needed, allowing everyone to focus on learning and experimenting rather than searching for materials. A little extra preparation on my end made the class run smoothly and gave the students more confidence going into such an advanced topic.
The thing about advanced classes is that they’re never a one-and-done experience. There’s so much testing, firing, and decision-making that happens along the way. The next blog post will be all about the class itself, and there will be a few more posts after that as well, because we’re still not finished with their pieces. That ongoing process is part of what makes advanced fusing so exciting, and I’m looking forward to sharing each step as the work continues.
If you’d like to see more of my fused glass creations, please visit my website: Elegant Fused Glass by Karen. While you’re there, be sure to explore the full site — and don’t forget to check out my Elegant Fused Glass by Karen YouTube channel for videos and inspiration! If you’d like to stay up-to-date with my latest projects, classes, and events, I also invite you to sign up for my monthly newsletter, published on the last day of each month. And if you’re interested in taking a class, you’ll find all the details about upcoming opportunities right on my website! If you have any questions about taking classes or would like to schedule one, feel free to email me at elegantfusedglass@gmail.com. I’d love to help you create something amazing when you’re ready!
Keeping my kilns warm,
Karen
