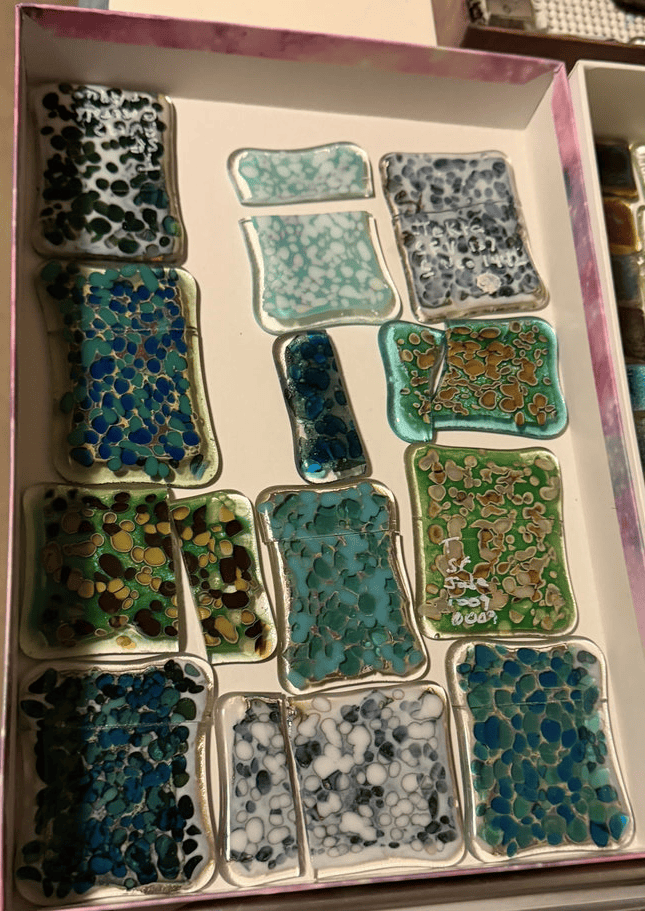
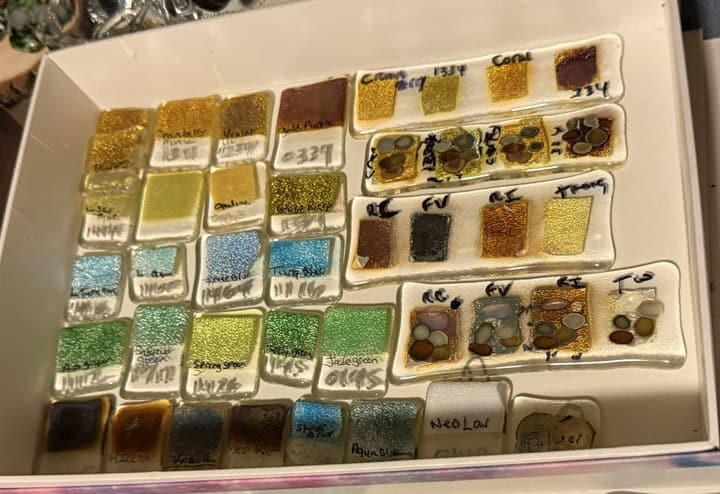
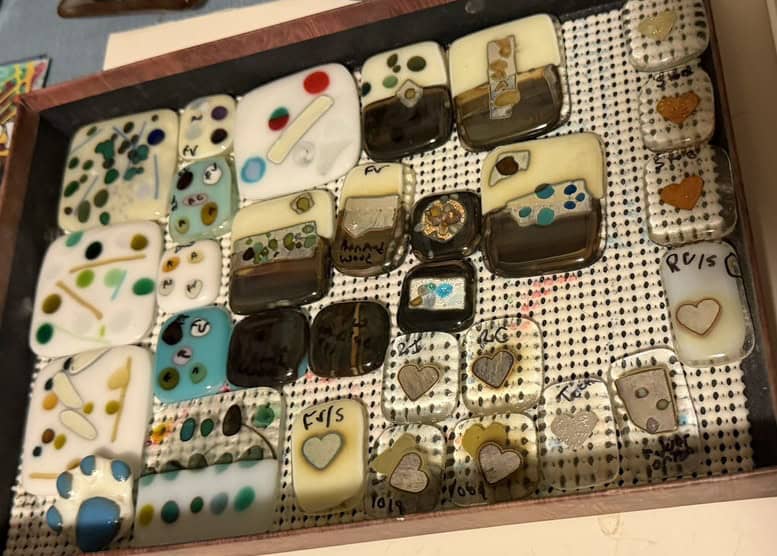
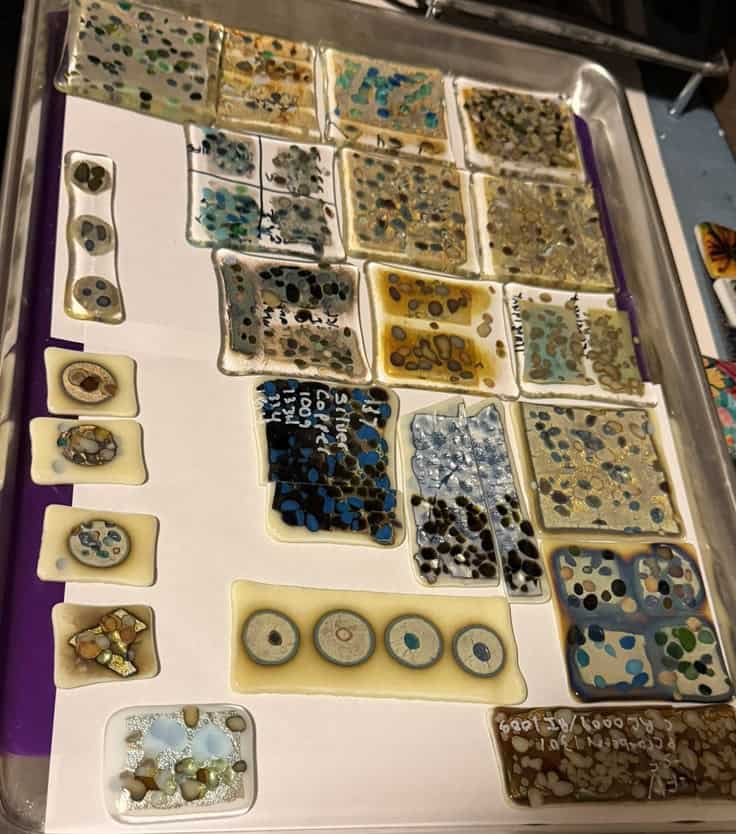
In December, I taught an advanced reactions fused glass class, and in preparation I created a whole collection of sample pieces. I promised my students that I would not only show them how to make reaction-rich glass blanks but also show them examples of how those pieces could be transformed into finished fused glass projects. So of course, I headed into the studio and made plenty of projects using my reactive bases! Below are some of the sample pieces I created for the original class.

Here’s the first finished piece I made using my sample cabochons — and I have to say, I absolutely love it. Those reaction-rich cabochons became the perfect focal points, sitting like tiny glass jewels on a richly textured iridized background. The contrast between the smooth, glossy cabochons and the dark, iridized base glass creates so much depth and movement. It’s one of those pieces where the background really came alive. Isn’t it incredible?

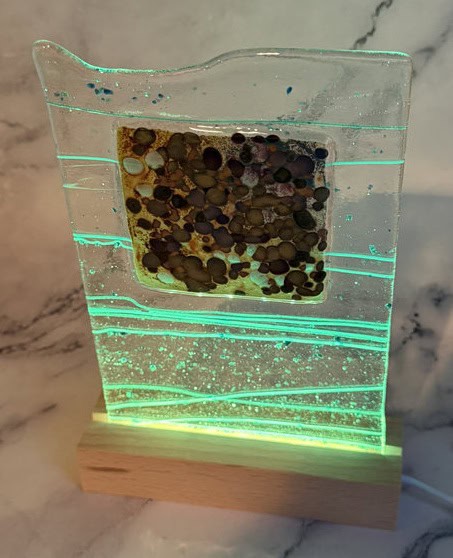
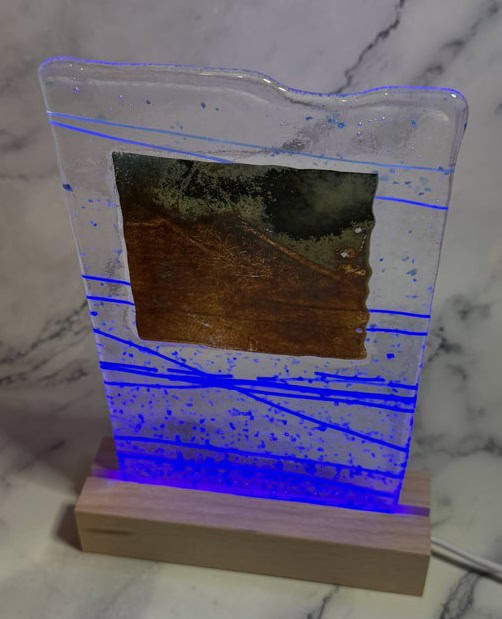
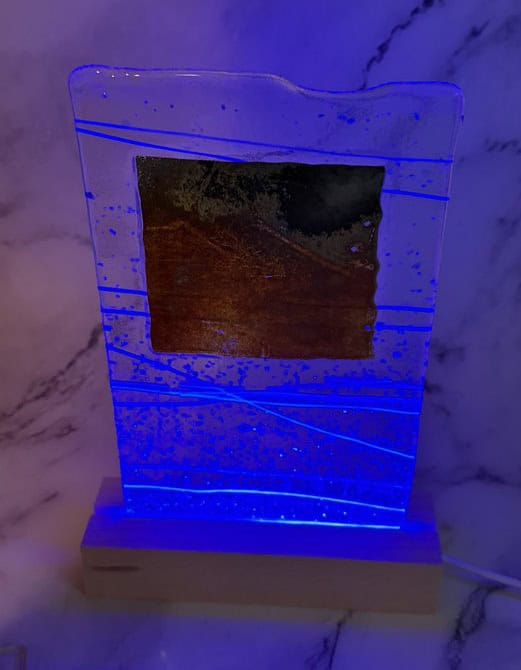
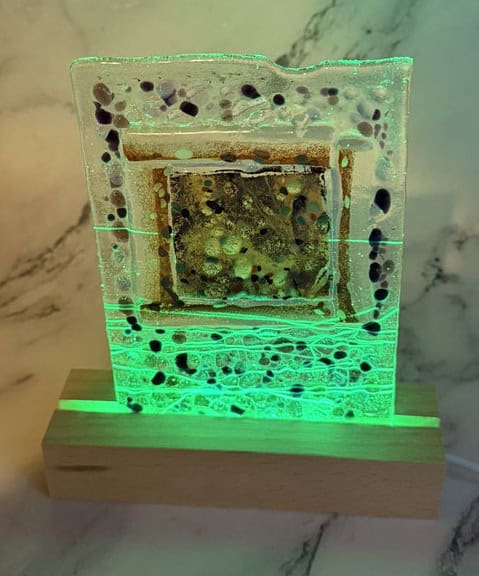
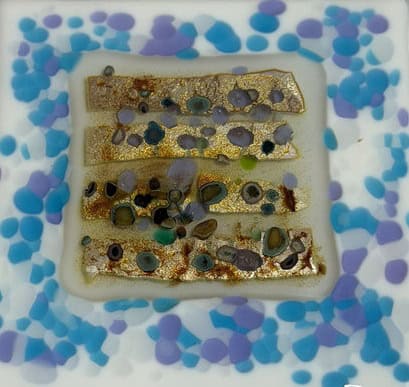
I used one of my reactive test sheets to create this simple, but elegant panel. At first, I planned to drill holes and hang it as a wall piece. But then I rediscovered these lighted display bases I’ve had tucked away forever — and once I placed the panel on one, I was hooked. The changing-colored lights bring out completely different moods in the glass, highlighting reactions and textures I didn’t even notice at first. I love how it looks glowing from below.


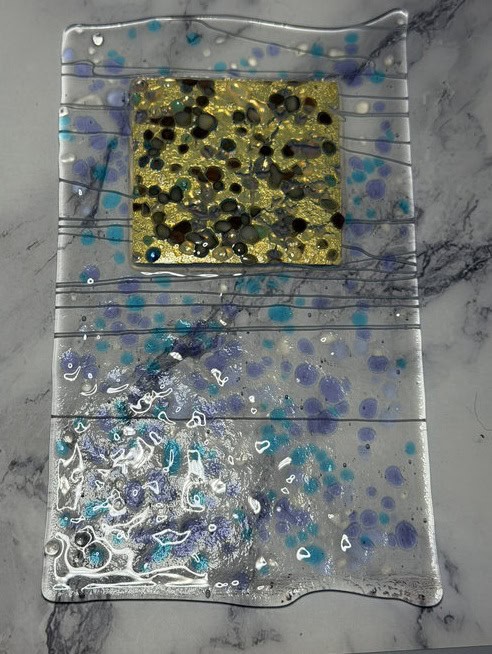
I also made another panel using a different reactive test sheet. This time I cut both the top and bottom edges organically, giving it a free-form shape. The only challenge is deciding how to finish it. I could trim the bottom to make it flat, drill holes to hang it, or even slump it into a shallow dish. But to be honest, I love both sides of this piece — the reactions are beautiful front and back — so I’m leaning toward drilling holes rather than slumping it. Sometimes the hardest part of glasswork is deciding when to stop!
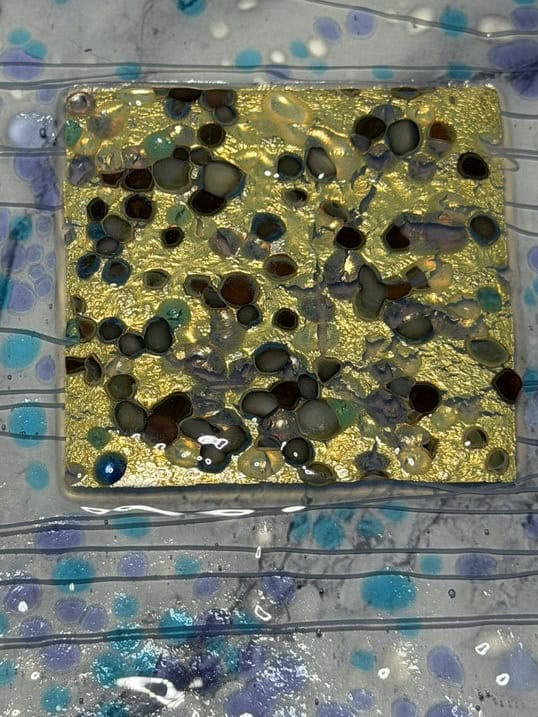
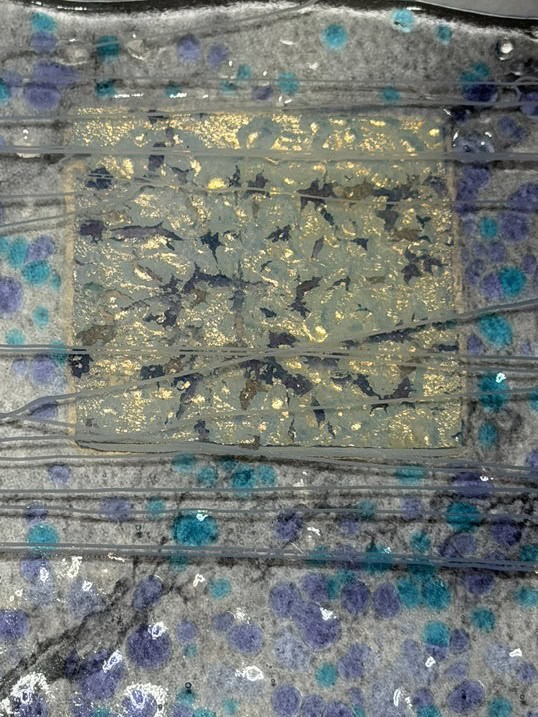
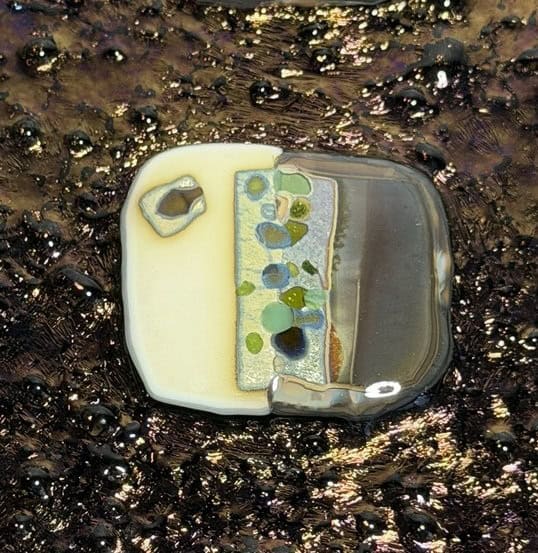
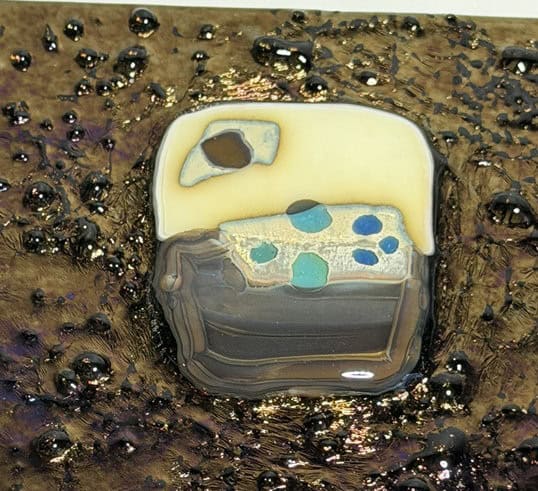
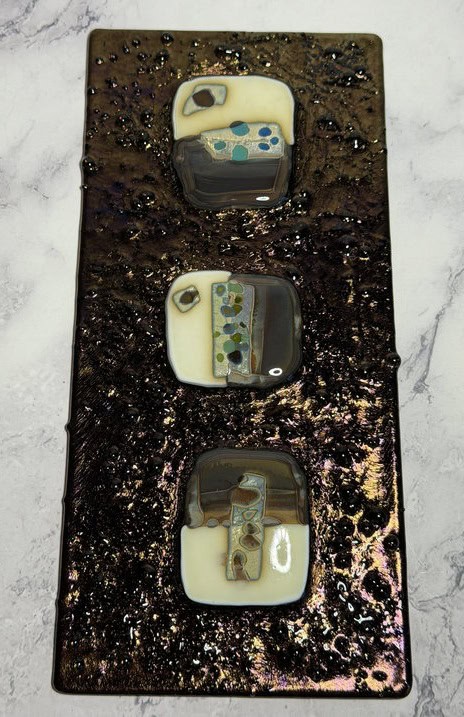
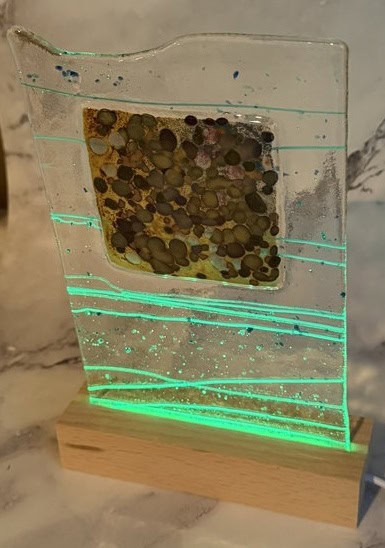
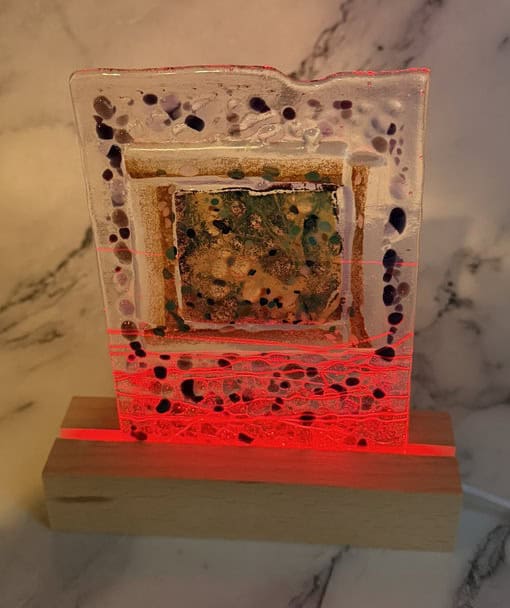
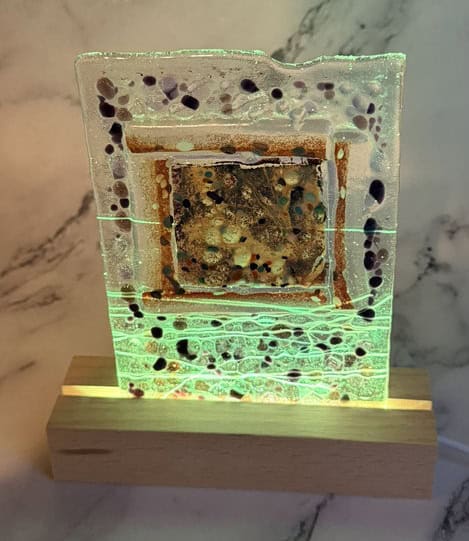
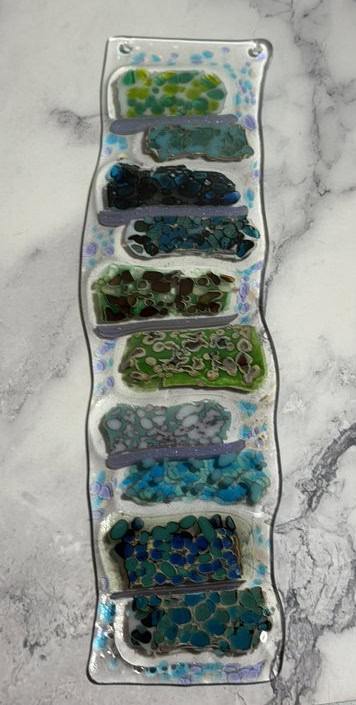
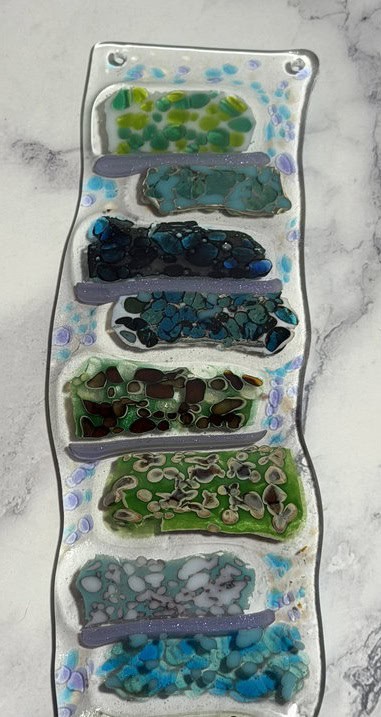
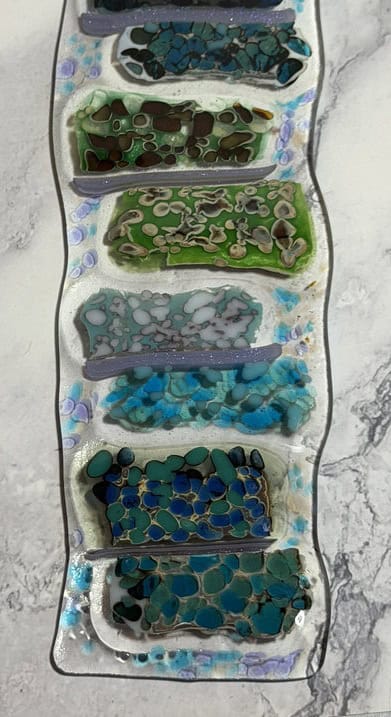
Here’s another of the panels I made using my reactive test sheets. My original plan was to turn these into a three-part panel display for the wall. But once I placed one of the pieces into the lighted stand, I fell in love with how the reactions came alive under the changing colored lights. Now I’m torn — do I stick with my original three-panel idea, or let this piece shine on its own as a lighted display? The far right photo shows the back of the panel, and honestly, I love that side just as much as the front. It’s another one of those happy glass dilemmas where there might not be a wrong answer.

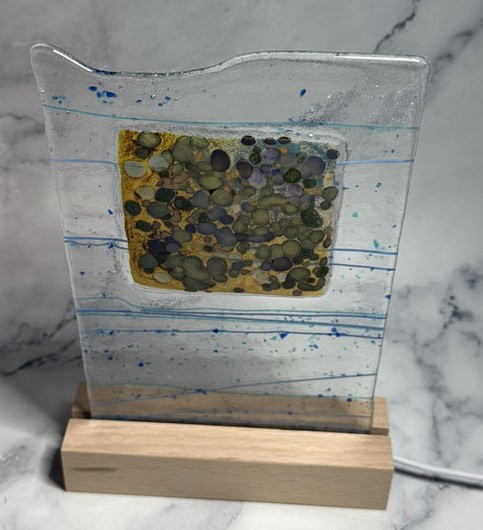
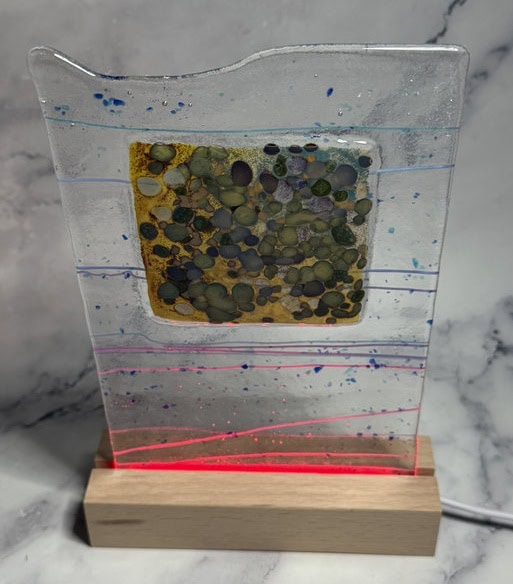
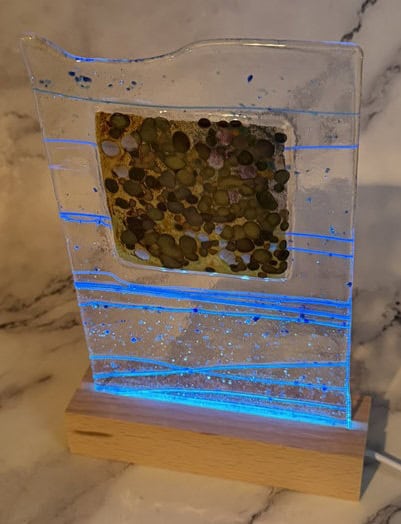
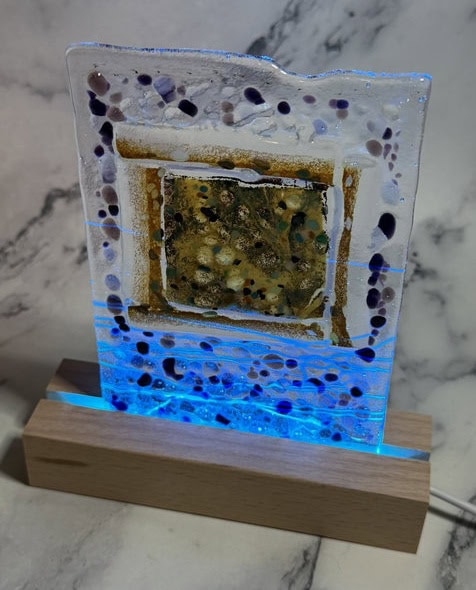
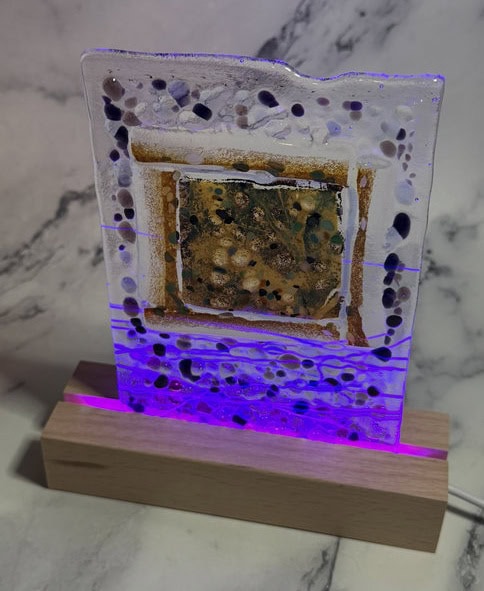
This next piece is similar to the panels above, but I made it a bit shorter so it fits better in the lighted stand. I love how it turned out — it feels just right in that display. And the bonus is that it allows me to use the three larger panels for the three-part wall display after all. Sometimes a small adjustment makes everything fall into place.
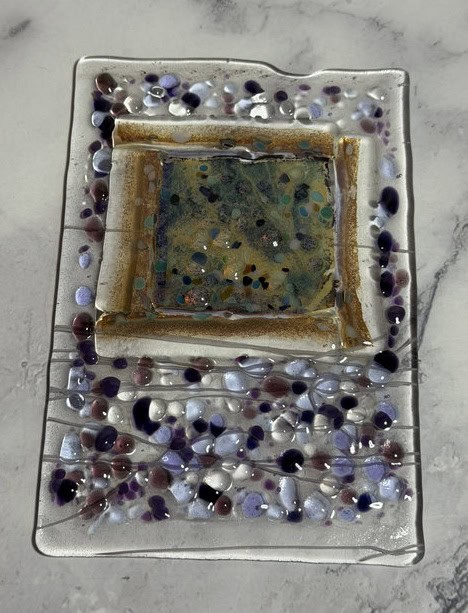
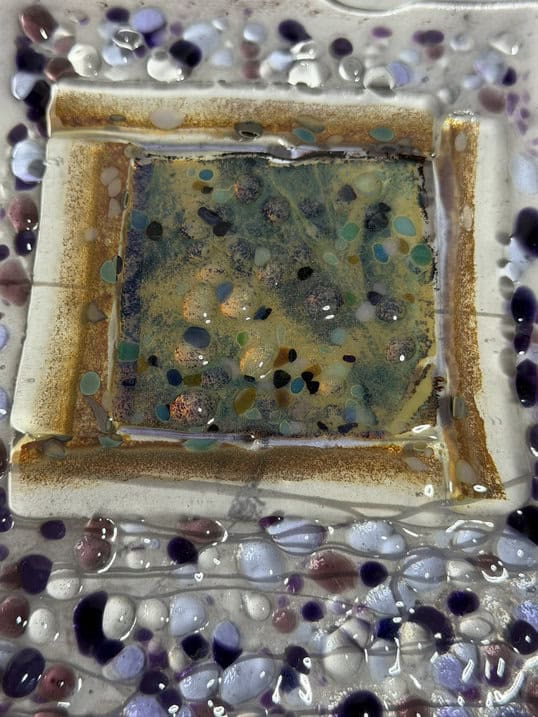
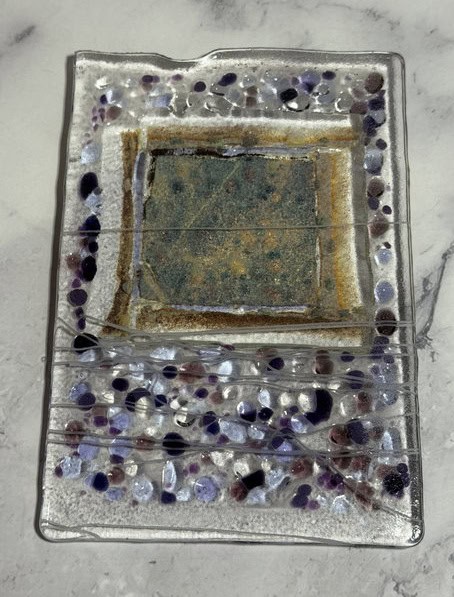
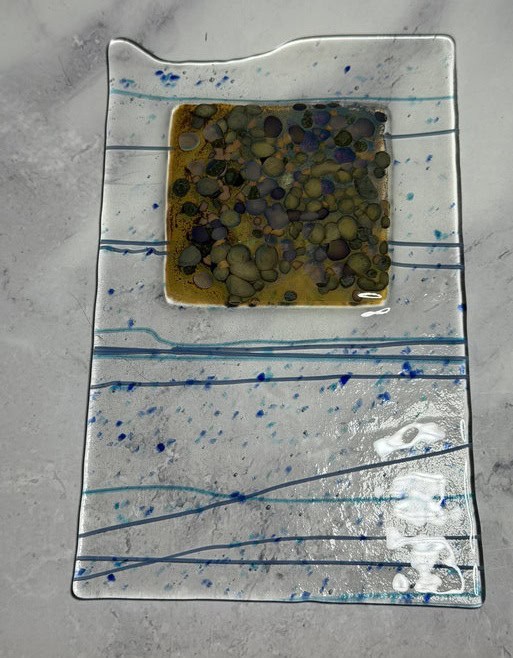
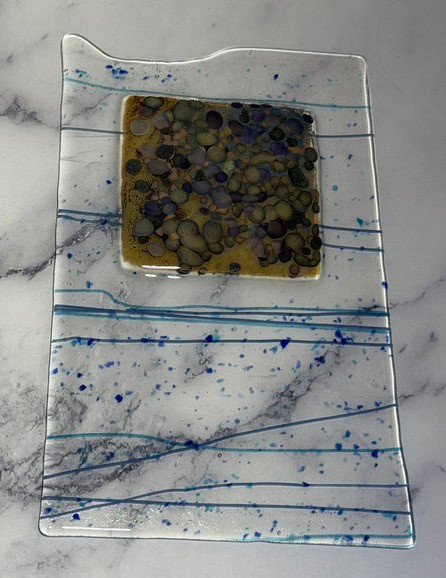
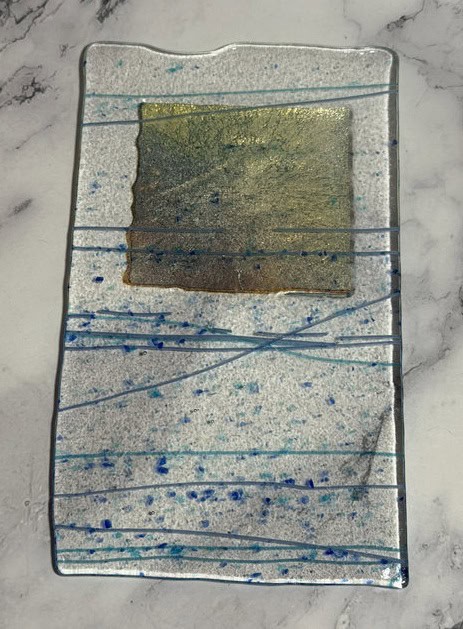
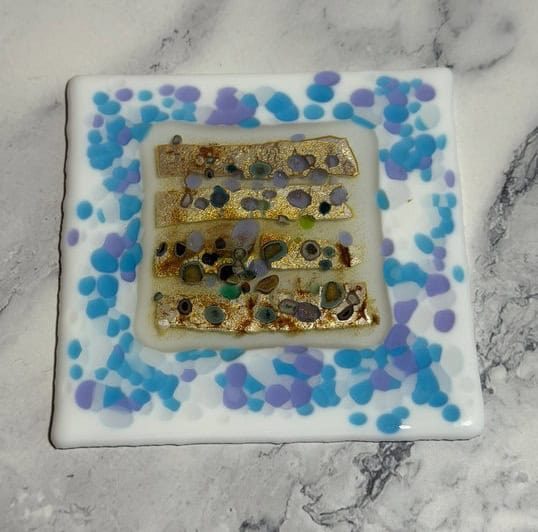
This is the first piece I made using my sample reactive pieces. It could become a dish or a display piece — it just depends on how I choose to finish it. Right now, it’s a bit too wide to fit into the lighted stand, which brings me back to the most challenging part of the process for me: deciding how to complete each piece. Creating the glass is the easy and joyful part… choosing its final form is where the real decisions begin.
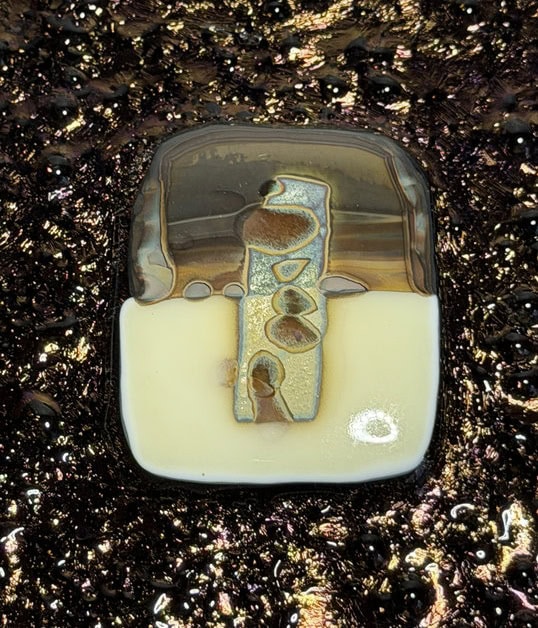
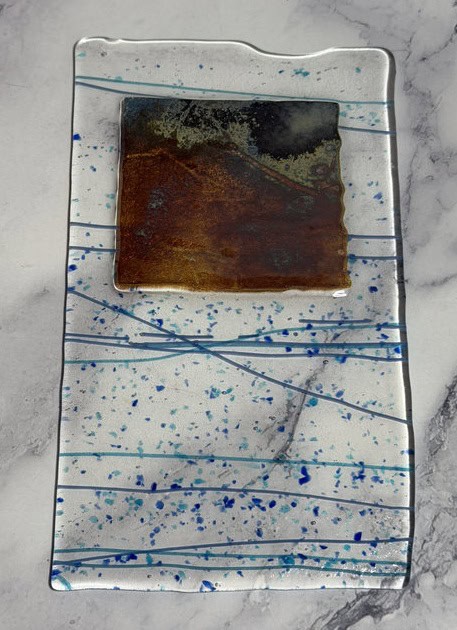
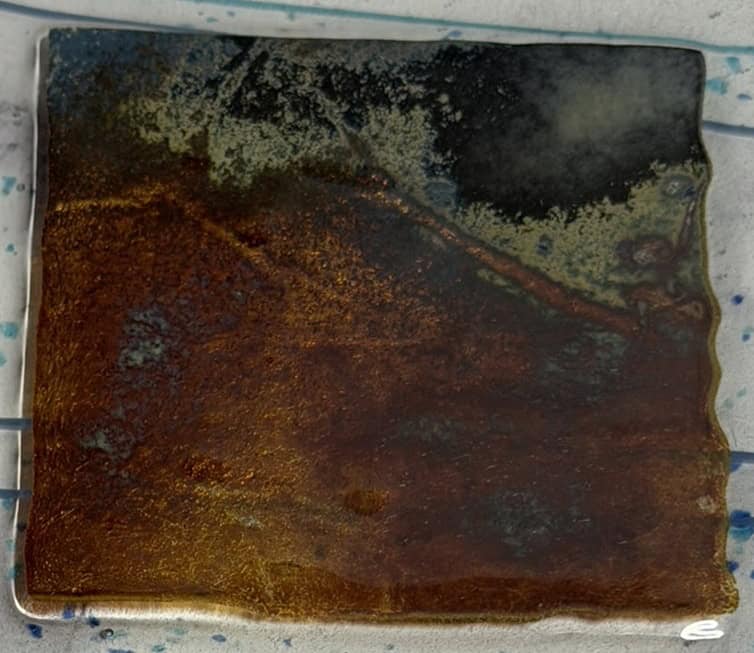
I also made this beautiful yard art piece. I believe it was my second or third finished piece, and it actually became the inspiration for the three-panel display. The reactions and textures turned out so rich and dimensional that I couldn’t stop thinking about creating more pieces in this style. I only wish I had taken a photo of the back as well — it’s just as beautiful as the front. Sometimes glass surprises you from every angle.
Creating these reaction pieces has been such a joyful follow-up to my advanced reactions class. What started as simple sample sheets turned into panels, yard art, display pieces, and a whole new set of design possibilities. I love that reaction glass always has a bit of mystery — you guide it, but the kiln still gets a vote. And as you’ve probably noticed, the hardest part isn’t making the glass… it’s deciding how to finish it. And apparently, sometimes the hardest part for me is giving Glo (my AI assistant) the right instructions — when I asked for a paragraph edit and got an art critique instead! 😂 But honestly, that little moment made me laugh and reminded me that creativity is supposed to be fun. Glass, teaching, experimenting, and figuring out final display decisions — it’s all part of the adventure. I can’t wait to see what these reaction pieces become next.
If you’d like to see more of my fused glass creations, please visit my website: Elegant Fused Glass by Karen. While you’re there, be sure to explore the full site — and don’t forget to check out my Elegant Fused Glass by Karen YouTube channel for videos and inspiration! If you’d like to stay up-to-date with my latest projects, classes, and events, I also invite you to sign up for my monthly newsletter, published on the last day of each month. And if you’re interested in taking a class, you’ll find all the details about upcoming opportunities right on my website! If you have any questions about taking classes or would like to schedule one, feel free to email me at elegantfusedglass@gmail.com. I’d love to help you create something amazing when you’re ready!
Keeping my kilns warm,
Karen
