I’ve shared a few posts about my Advanced Reactions class before, but this one had its own special kind of chaos — the good kind. I set things up a little differently than usual. Right when they walked in, the liability forms and the table was covered in molds. Not just a few — lots. Different shapes, textures, possibilities everywhere you looked. It was like a candy store for glass artists. After class, each of them adopted a couple of molds to take home. I mean really — how could they not?
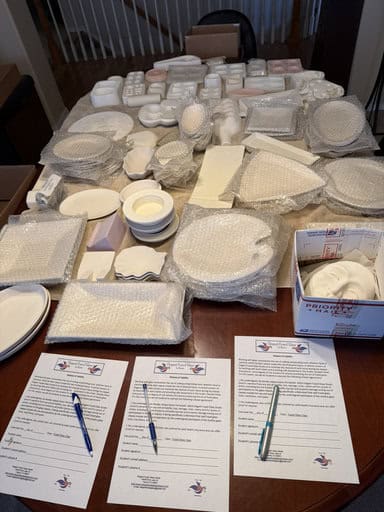
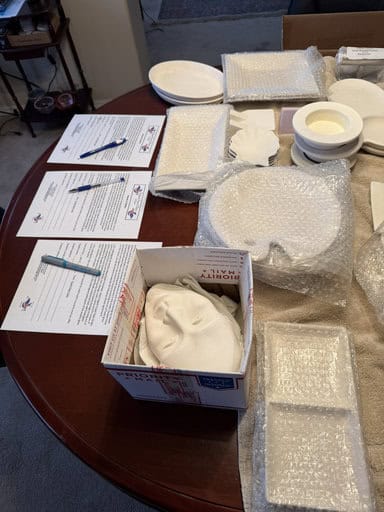

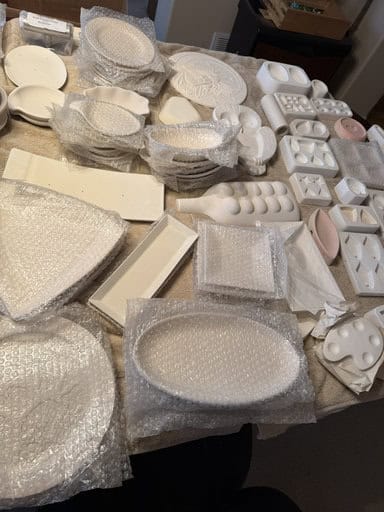
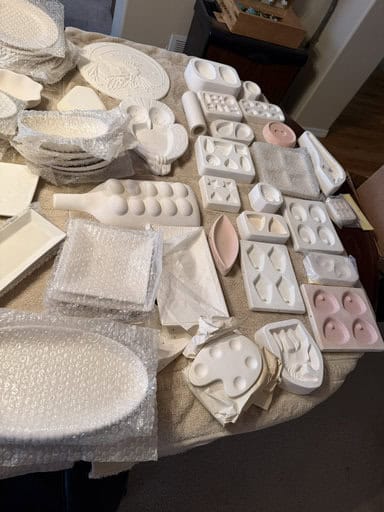
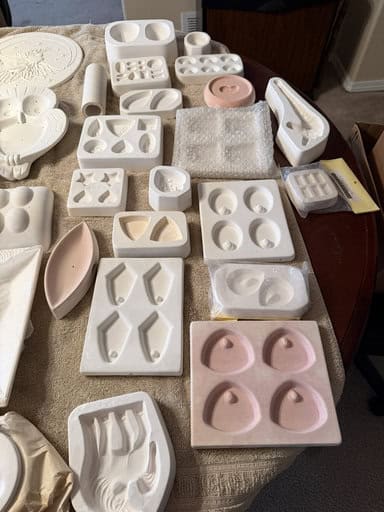
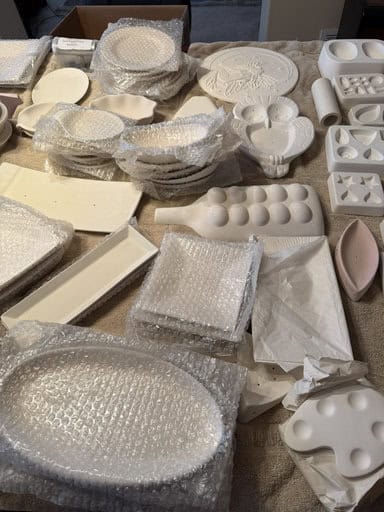
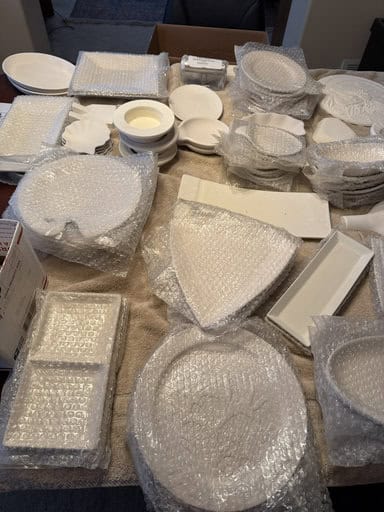
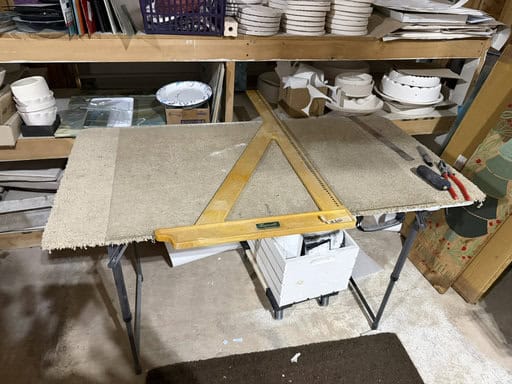
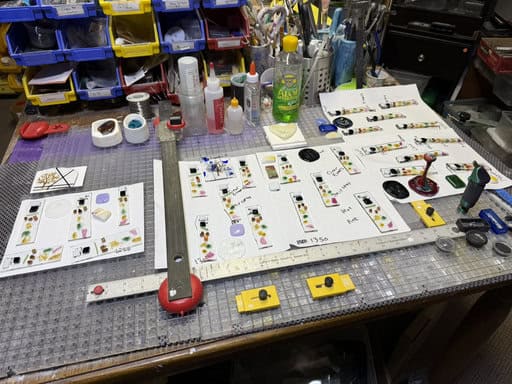
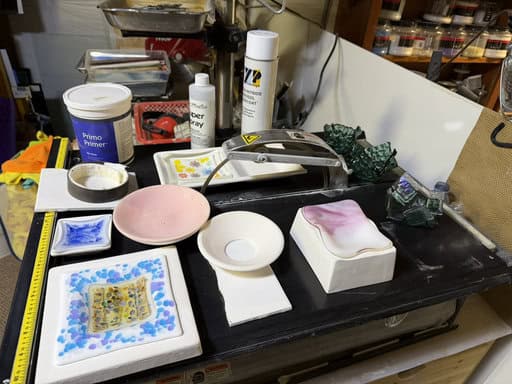
Because this was an advanced class, we covered a lot — and I mean a lot. We didn’t just jump into creating. We started with fundamentals that make confident kiln owners. First up: how to safely break down large sheets of glass. It sounds simple but doing it correctly (and confidently) makes all the difference. Next, we dug into the test pieces (middle photo). This is where things got really interesting. I showed them exactly how frit, confetti, vitrigraph, and sheet glass behave at different temperatures — 1250°, 1300°, 1350°, 1400°, and 1450°. Seeing the progression side by side really helps you understand heat work in a way that no firing chart alone can explain. It’s one thing to read about it — it’s another thing to see it fused. (each student got to keep 1 of each of the test sheets) The third photo shows just some of the molds, kiln separators, and materials we discussed. And honestly? The majority of our time was spent walking through firing schedules — how to adjust them, why they matter, and how small changes can completely affect your outcome. We talked strategy, troubleshooting, and how to think through a firing instead of just copying one. I also recommended two of my favorite e-books (Bob Leatherbarrow & Paul Tarlow) and sent them home with handouts so they could keep building their knowledge long after class ended. I truly think they walked away with a deeper understanding of their kilns — and that’s exactly what they came for.
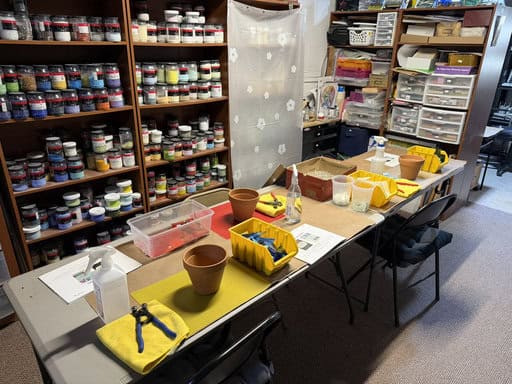
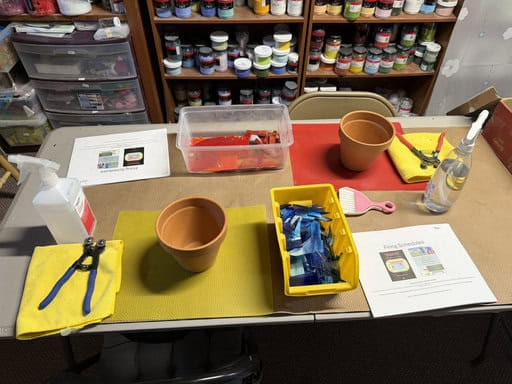
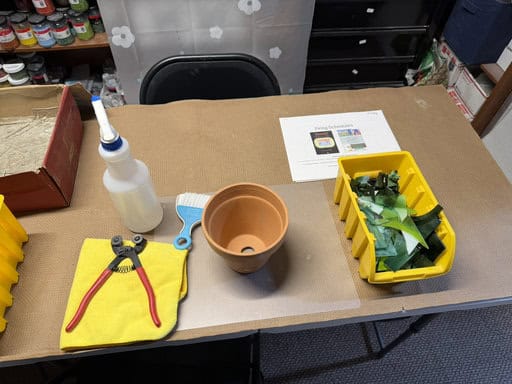
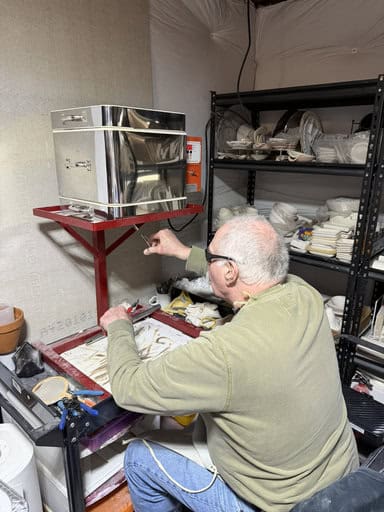
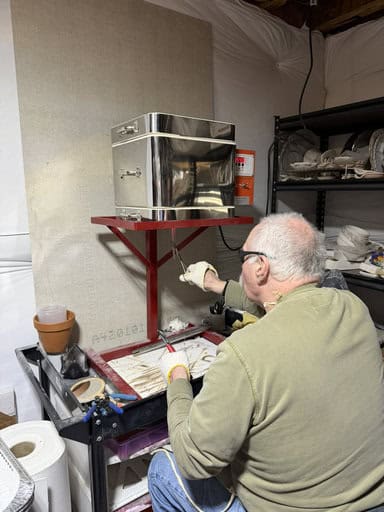
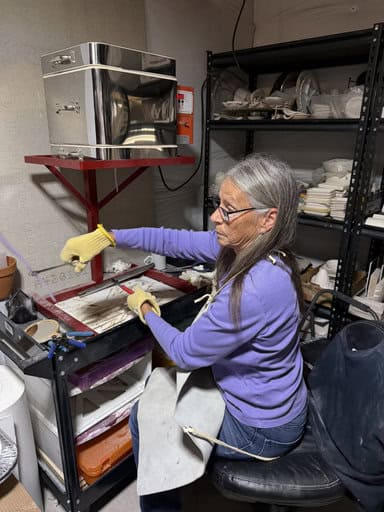
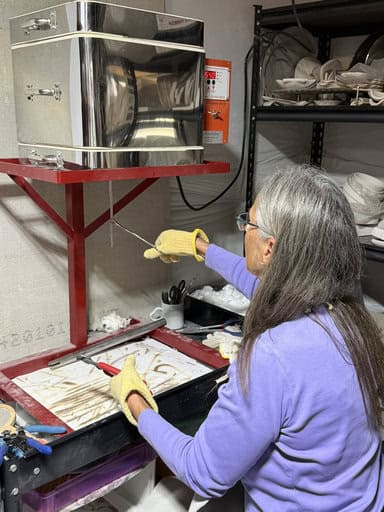
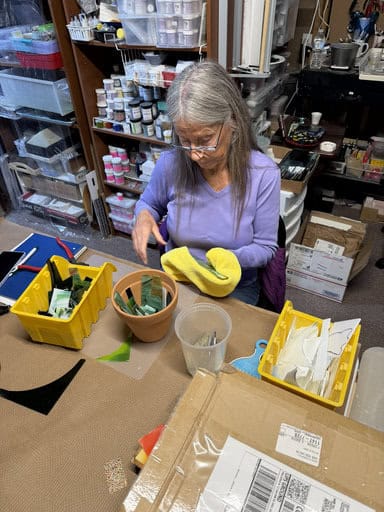
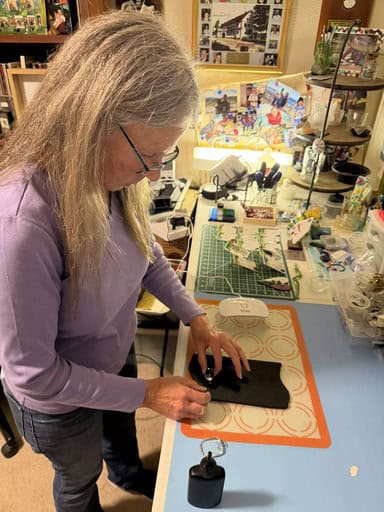
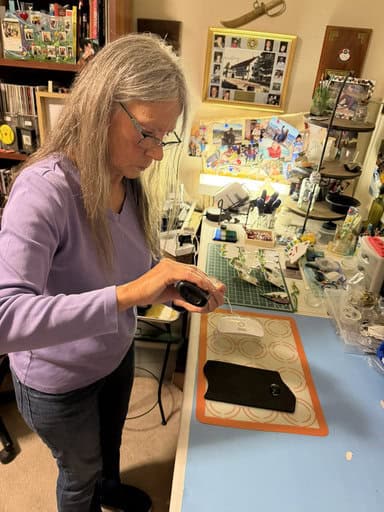
As if that wasn’t enough for one day, we also built vitrigraph pots for each of them. Because if you’re going to own a kiln, you will want vitrigraph. We used terracotta pots that I prepped ahead of time — drilling larger holes so the glass can flow properly when heated. There’s a little bit of science and a little bit of bravery involved when you’re letting molten glass drip out of the bottom of a pot… but that’s part of the magic. I also gave them the option to purchase some of the vitrigraph I’ve pulled in previous firings. It’s always helpful to have samples on hand so you can see what’s possible before you start experimenting on your own. The photos below show the studio all set up and ready for them to build their own pots. There’s something exciting about a room full of tools, molds, separators, glass, and possibility — especially when you know everyone in the room is ready to level up their skills.
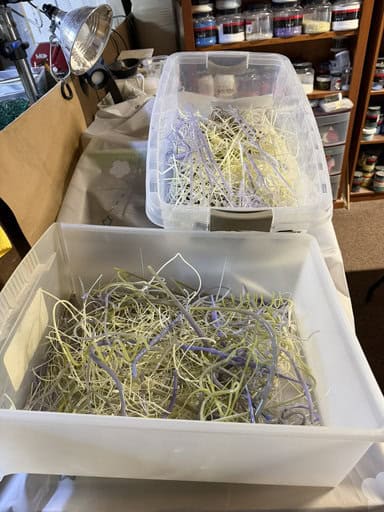
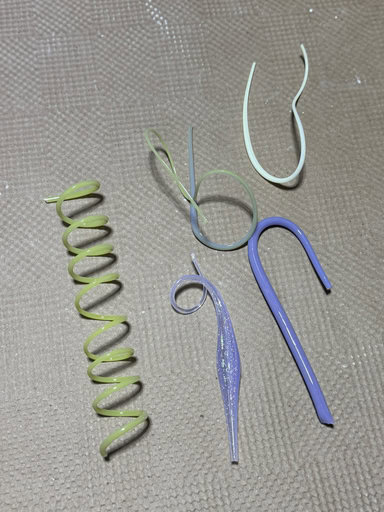
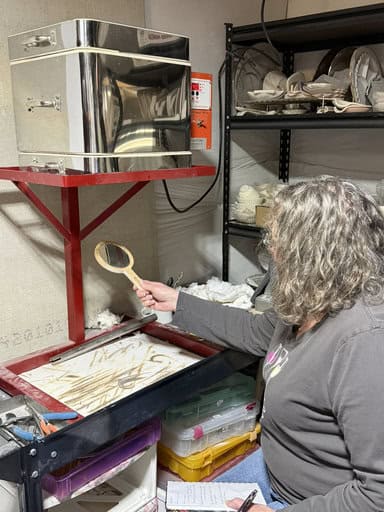
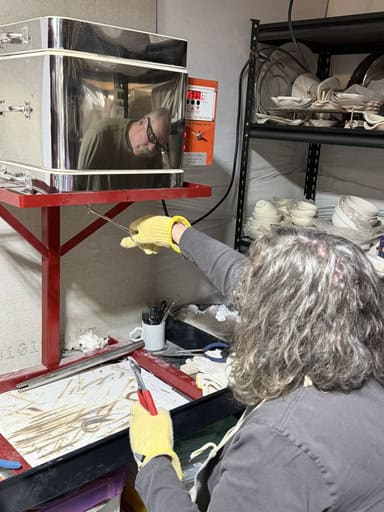
Because building a vitrigraph pot takes time to prep and fire, I had one ready to go in the vitrigraph kiln so we could actually pull glass after all our discussions. There’s nothing like talking about molten glass… and then actually watching it drip out of the bottom of a kiln. I demonstrated several different pulling techniques — slow pulls, faster pulls, how changing your movement affects thickness, twist, and shape. Then it was their turn. Each of them had the opportunity to do a couple of pulls themselves. Now, was it perfect? Not exactly. The majority of the pulls came out hollow, but that’s part of the process. The key was that each of them felt what it’s like to control molten glass in motion. That experience is something you just can’t get from reading a book. After we finished, we divided up the vitrigraph into four separate boxes so everyone went home with pieces to experiment with. Because let’s be honest… once you start pulling vitrigraph, you’re going to want to use it.
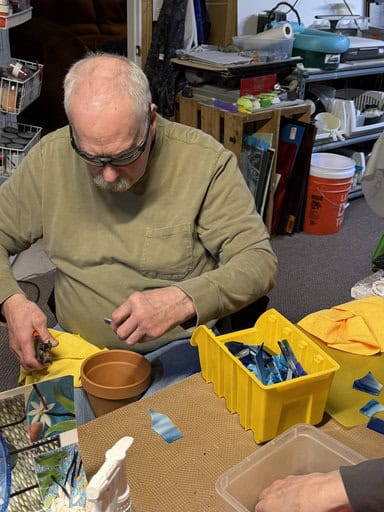
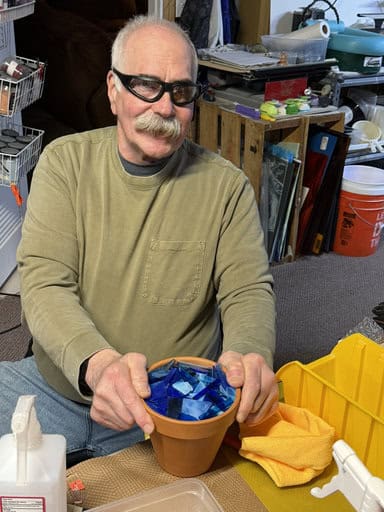
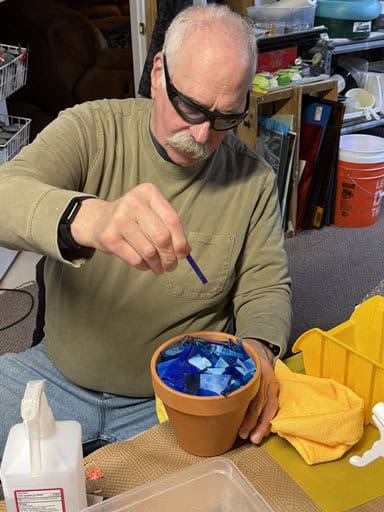
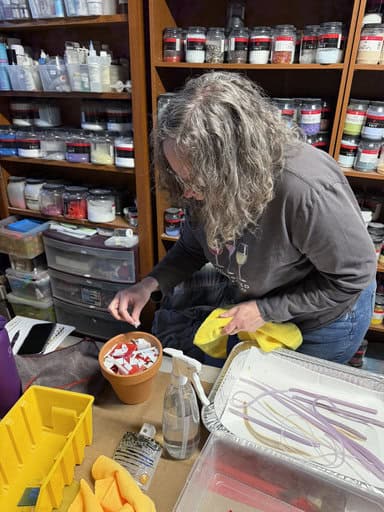
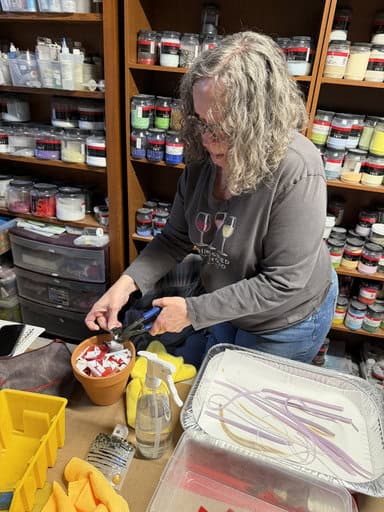
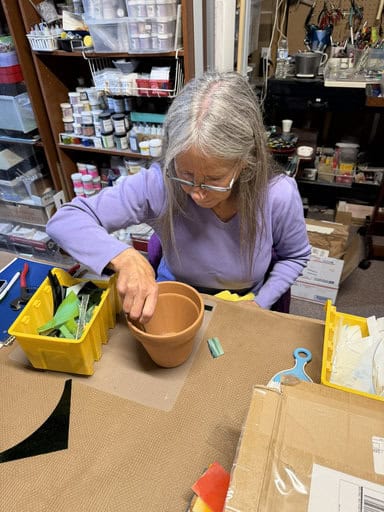
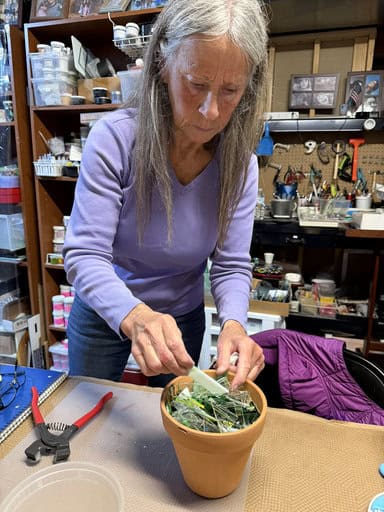
Here are Jim, Julie, and Cindy building their own vitrigraph pots — and this is where their personalities really started to show. Jim went all in with blue. And when I say all in… look how full that pot is! He packed it like he meant business. I cannot wait to see how those blues flow when we fire it. Julie chose red, but we added a bit of white for some contrast and movement. That combination is going to create some beautiful dimension once it starts pulling. A little planning now makes a big difference later. Cindy selected green and did a fantastic job layering and packing her pot nice and full. Proper packing really matters with vitrigraph — it affects flow, consistency, and how smooth your pull will be. She was thoughtful and precise, which I love to see. I’ll do another blog once we fire these and actually pull their pots. That’s when the real magic (and suspense) begins.


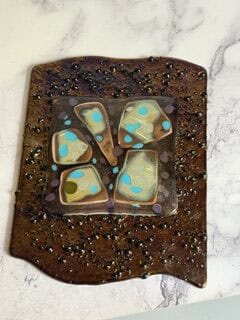
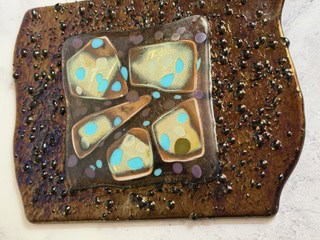
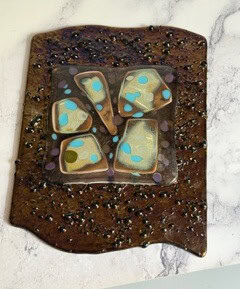
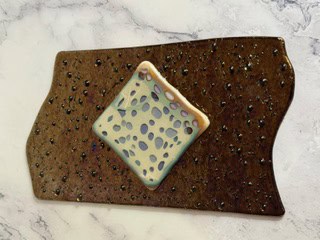
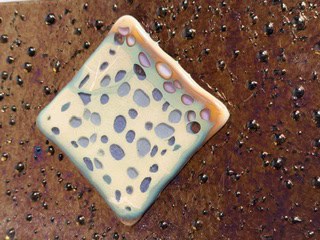
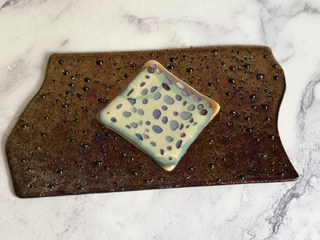
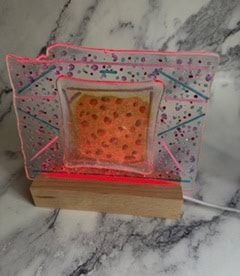
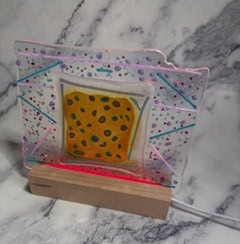
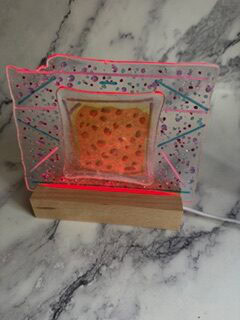
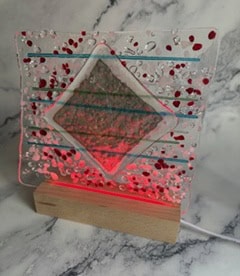
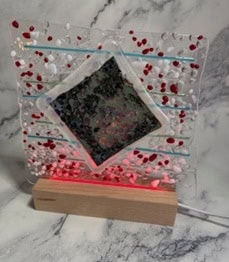
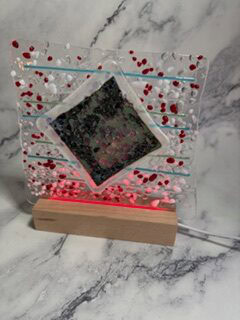
In addition to all the new techniques and kiln deep-dives, we also finished their previous pieces. There’s something so satisfying about bringing a project full circle. We glued hangers onto the backs of the iridized pieces — and wow. They turned out beautifully. The colors were absolutely gorgeous, with that rich, shimmery depth that only iridized glass can give. It’s always a little bit of a surprise when you see how reactions settle after firing, and these did not disappoint. Their clear and silver pieces were equally lovely and fit perfectly into the lighted stands. When the lights came on, the glass just glowed. That moment — when everyone sees their finished work illuminated — never gets old. You could see the pride on their faces. Advanced class, kiln science, molten glass… and beautiful finished pieces to take home. That’s a pretty perfect day in the studio.
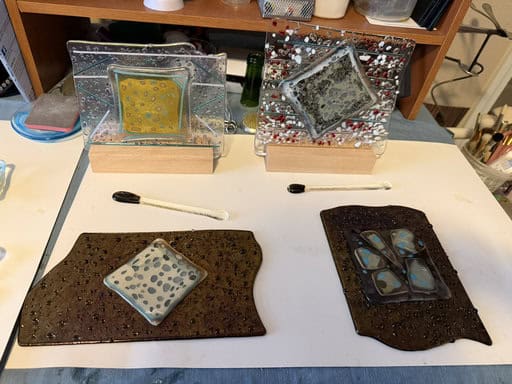
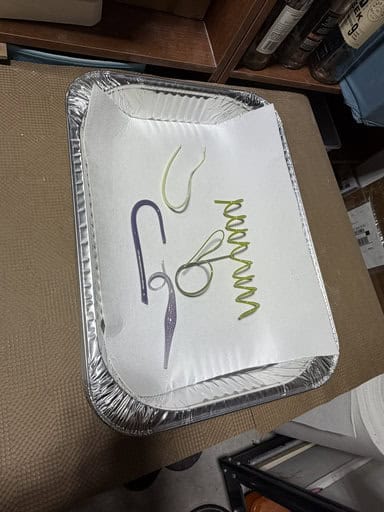
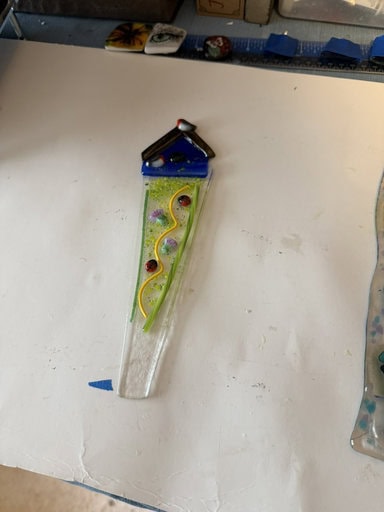
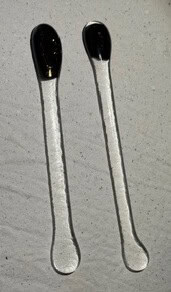
I also sent them home with two drink stirrers — because why not add a little extra fun? And of course, they couldn’t leave without picking up Julie’s plant stake. Her plant stake turned out beautifully. The design, the colors, the balance — it all came together so nicely. I’m honestly a little irritated that this is the photo I have of it. The lighting in this room just does not do it justice. You know how glass is — it needs light to really sing. In person, it’s vibrant and dimensional. In this picture? Not so much. Trust me… it’s far prettier than this photo lets on.
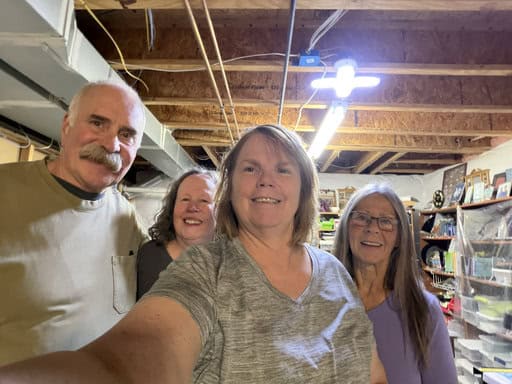
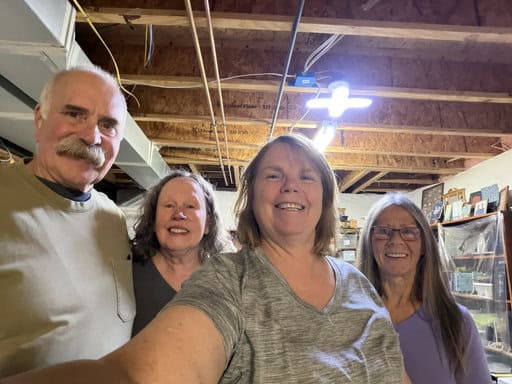
We truly had such a wonderful time. I absolutely love teaching, but what I love even more is watching my students grow in confidence and skill. Seeing Cindy, Jim, and Julie excel the way they have — asking deeper questions, experimenting fearlessly, and really understanding their kilns — makes it all worth it. There’s something incredibly rewarding about watching artists move from “following directions” to truly mastering their craft. I couldn’t be prouder of them, and I can’t wait to see what they create next.
If you’d like to see more of my fused glass creations, please visit my website: Elegant Fused Glass by Karen. While you’re there, be sure to explore the full site — and don’t forget to check out my Elegant Fused Glass by Karen YouTube channel for videos and inspiration! If you’d like to stay up-to-date with my latest projects, classes, and events, I also invite you to sign up for my monthly newsletter, published on the last day of each month. And if you’re interested in taking a class, you’ll find all the details about upcoming opportunities right on my website! If you have any questions about taking classes or would like to schedule one, feel free to email me at elegantfusedglass@gmail.com. I’d love to help you create something amazing when you’re ready!
Keeping my kilns warm,
Karen
