This next fused glass class was such a joy! My students were Christina and Jennifer, two wonderful friends who are part of a mom’s group for special kids. These women are truly inspiring, and it was an honor to share creative time with them. As always, I set out a table of free fused glass pieces for my students to choose from, and of course, had the liability forms ready as a gentle reminder that glass can cut.
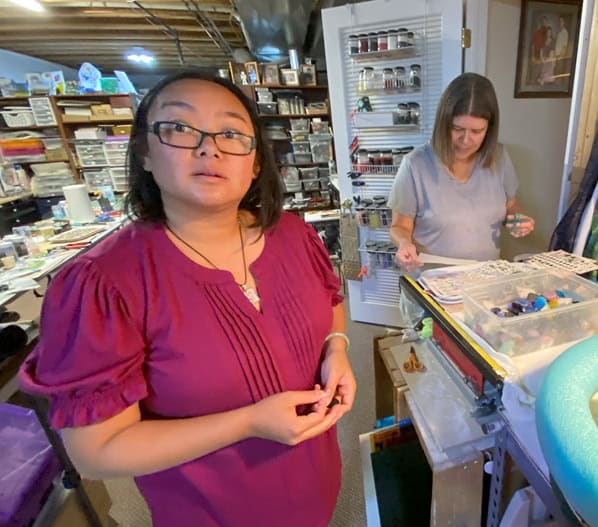
Christina had taken a class with me before, but Jennifer hadn’t so I showed her my glass areas.
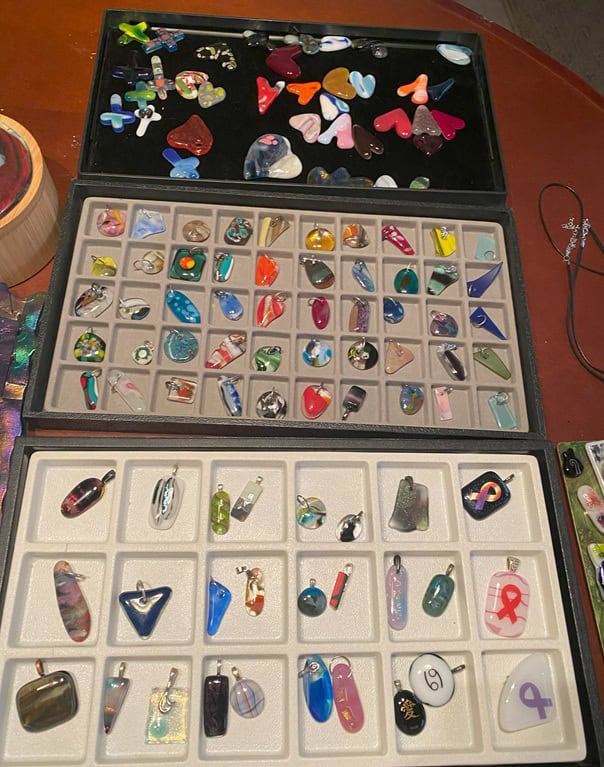
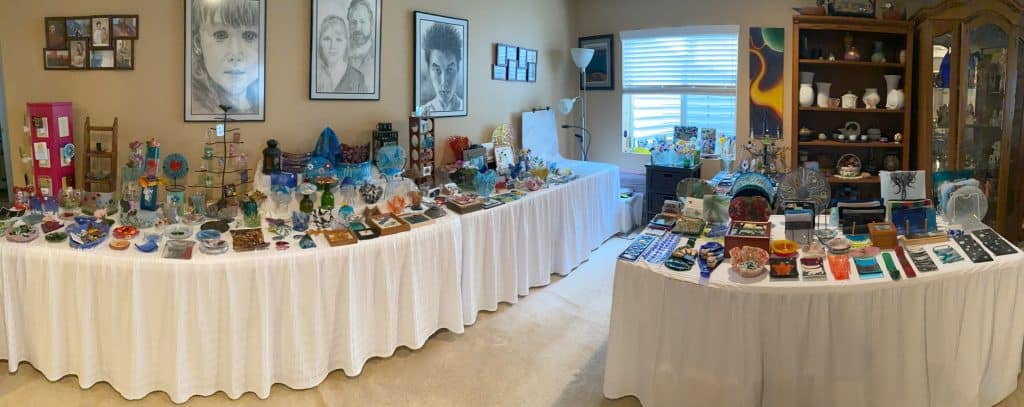
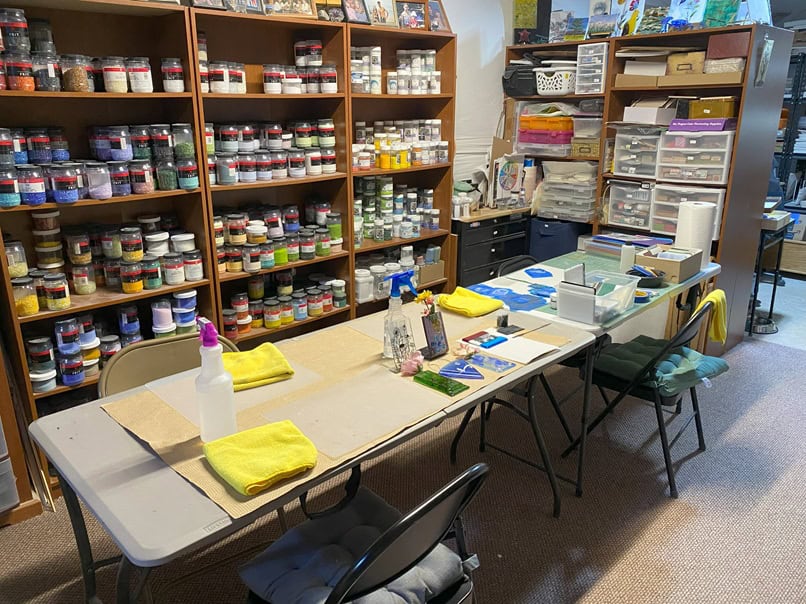
- First stop: The Finished Room, full of jewelry and colorful fused glass art available for sale, and a place where I take pictures of my glass.
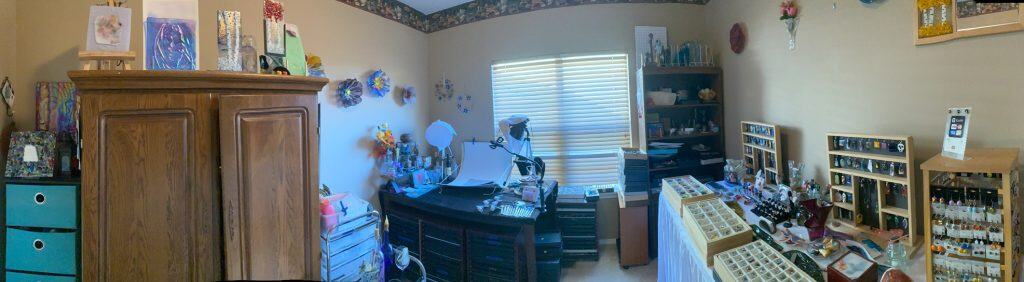
- Then The Finishing and Inspiration Room, my space for adding final touches and surrounding myself with pieces that keep my creativity flowing.
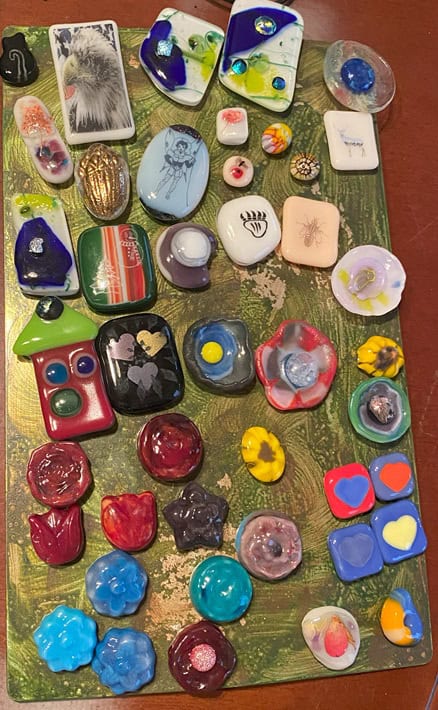
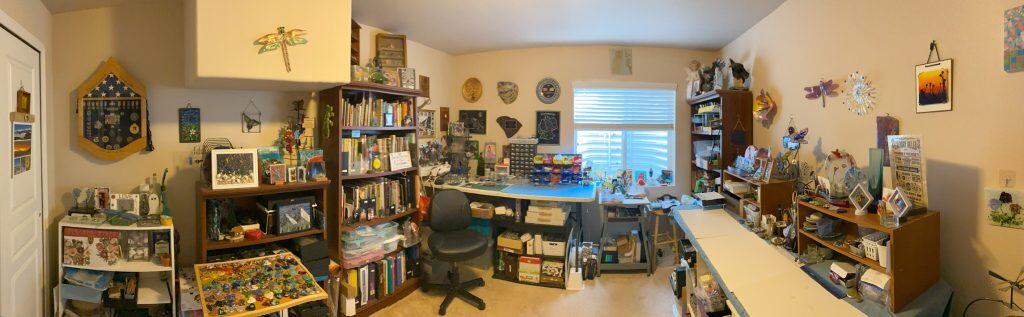
- The Gallery Area, where finished pieces are displayed and waiting to find new homes. It’s also a great place for students to gather ideas for their own projects.
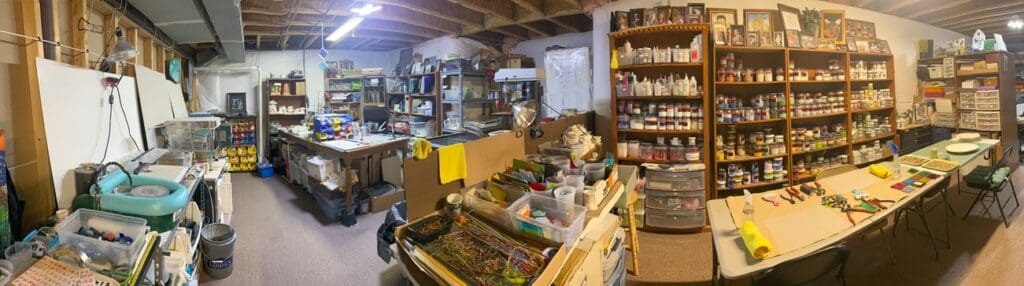
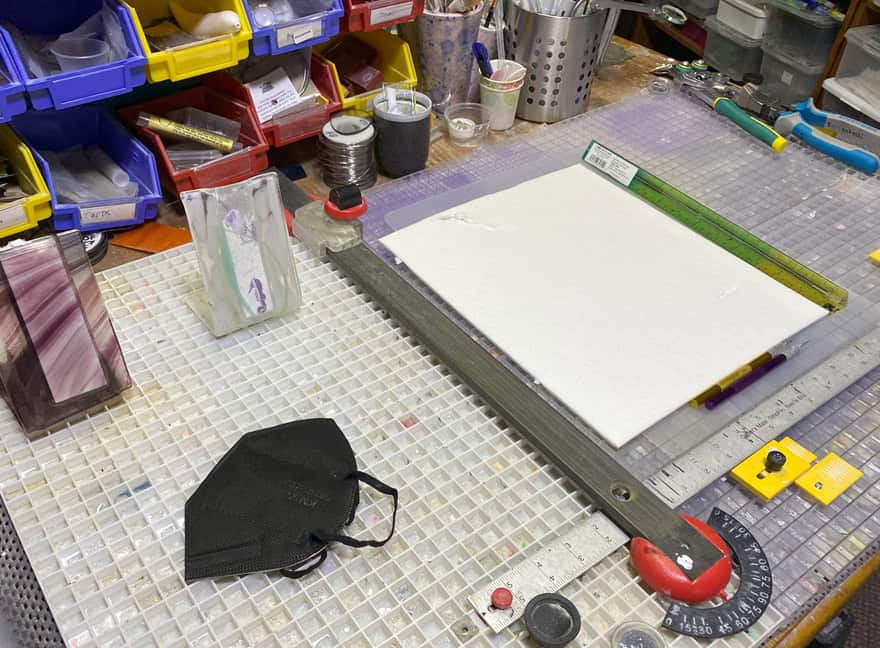
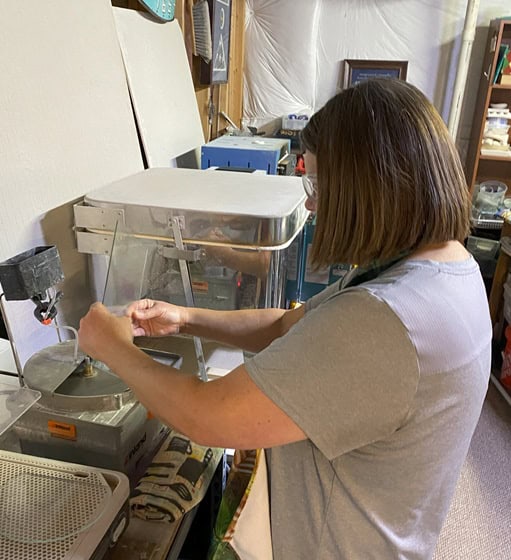
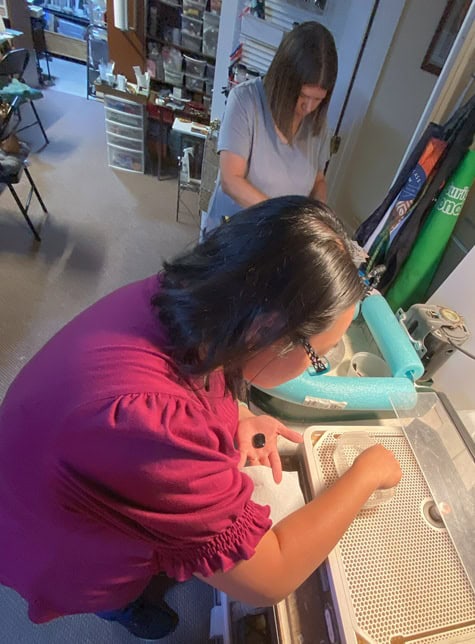
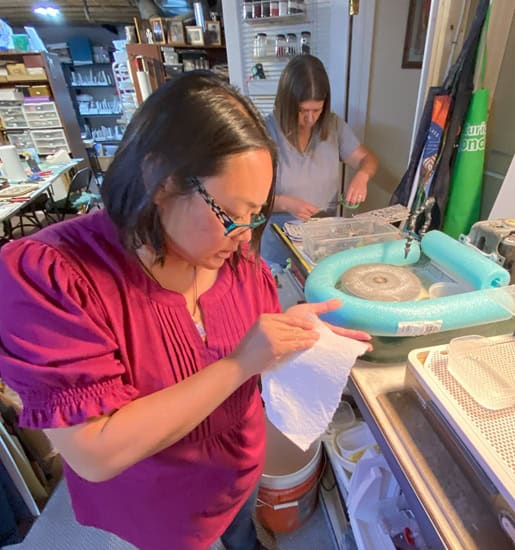
- And finally, there’s the heart of it all—The Studio itself. Here, equipment and supplies line the walls, and in the center sits the main table where students bring their visions to life. It’s a space designed to be both practical and inspiring, ensuring everyone feels supported as they dive into their glass journey.
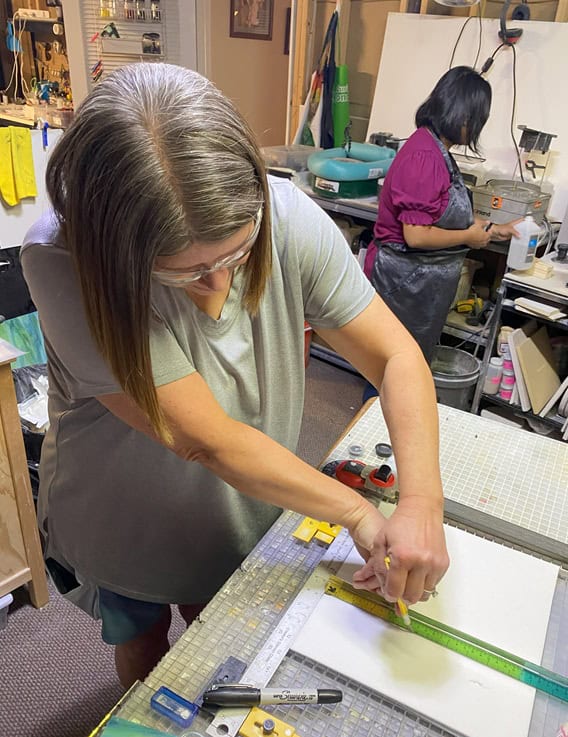
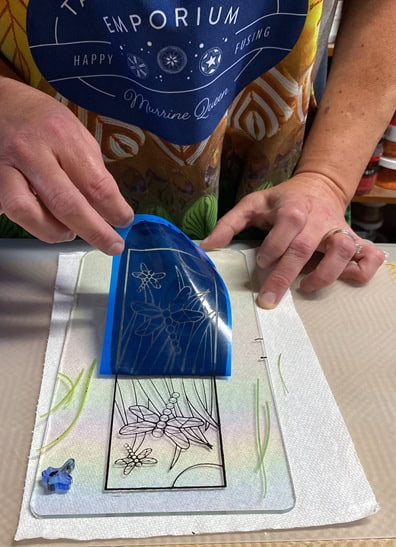
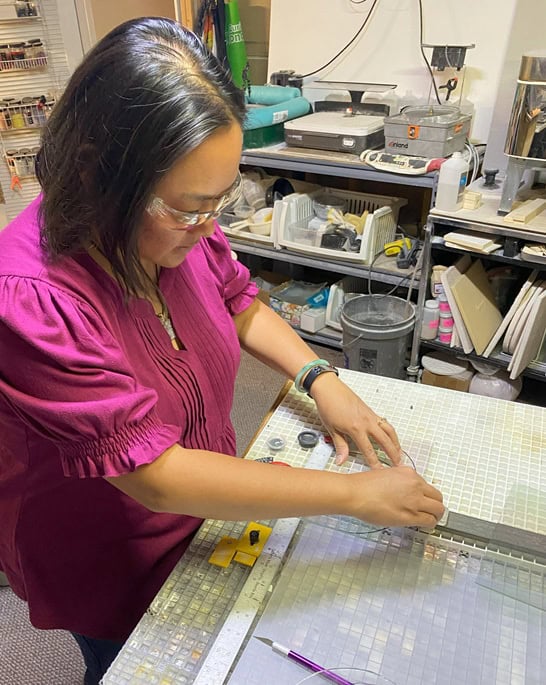
First up is Christina, and there’s kind of a funny story behind her project. When I originally scheduled this class, there were going to be four women attending, and one of them specifically wanted to try screen-printing and pocket vases—both of which are more advanced techniques. So, I went all out preparing for it! I pulled out several of my own screen-printed pocket vase examples to inspire them, including three different styles: self-standing, hanging, and pocket vases with stands. I also set out a variety of screens for them to choose from and even prepped fiber paper so they could cut their own pocket sizes. It was a lot of extra preparation, but I always love giving my students options and introducing them to new techniques.

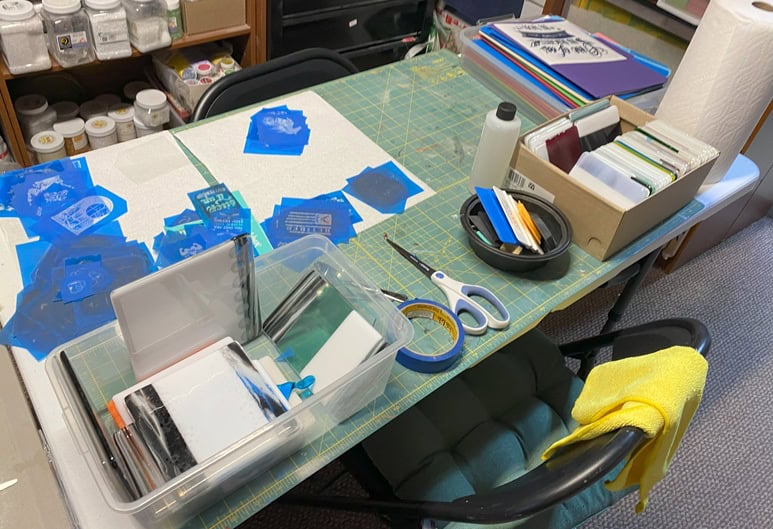
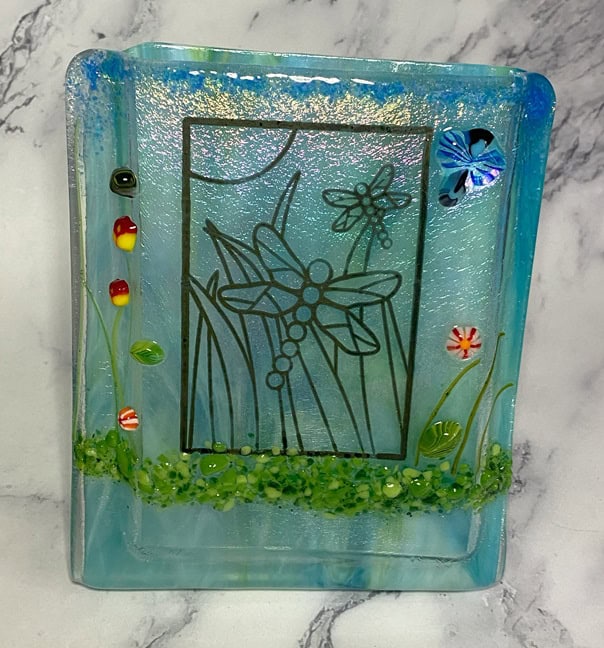
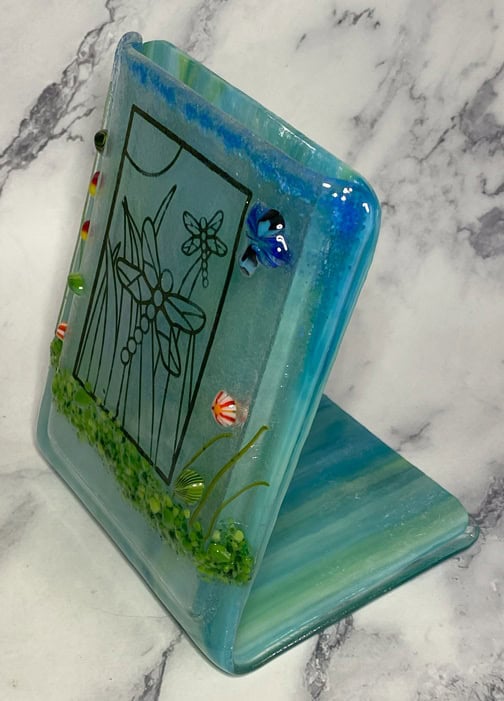
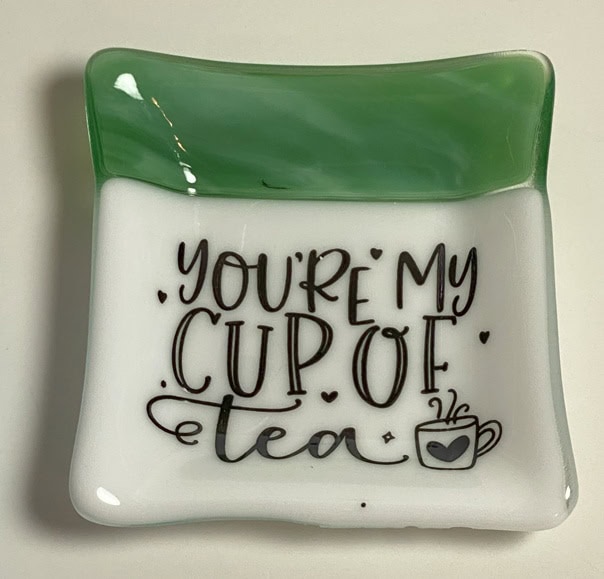
The reason I say it’s funny is because, after all that prep work, I showed them all the options and explained everything—only to find out Christina wasn’t even the one who had originally wanted to do screen-printing! But when she saw all the prep work I took, she decided to go for it anyway, and I’m so glad she did. Screen-printing is a challenging technique, but she did a fabulous job. Christina chose some truly amazing glass, picked out a beautiful screen, and decided to take it up a notch by adding vitrigraph, murrine, and frit to create a self-standing pocket vase. It turned out absolutely stunning. You can also see all the extra steps she took, including practicing the technique on one of my tea dishes first. Screen-printing can be tricky, so having a practice piece is such an important step before moving on to the final project.
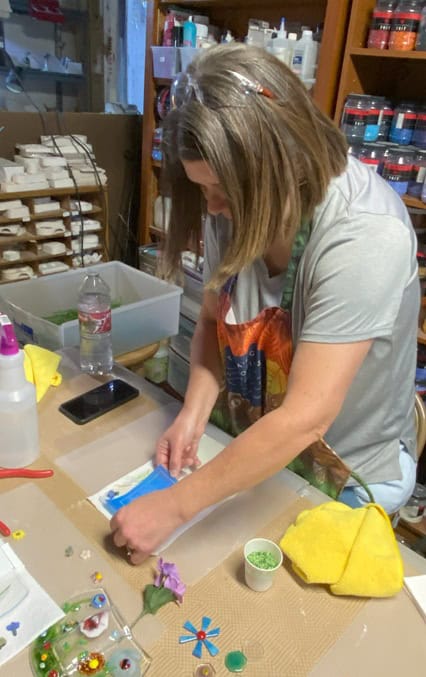
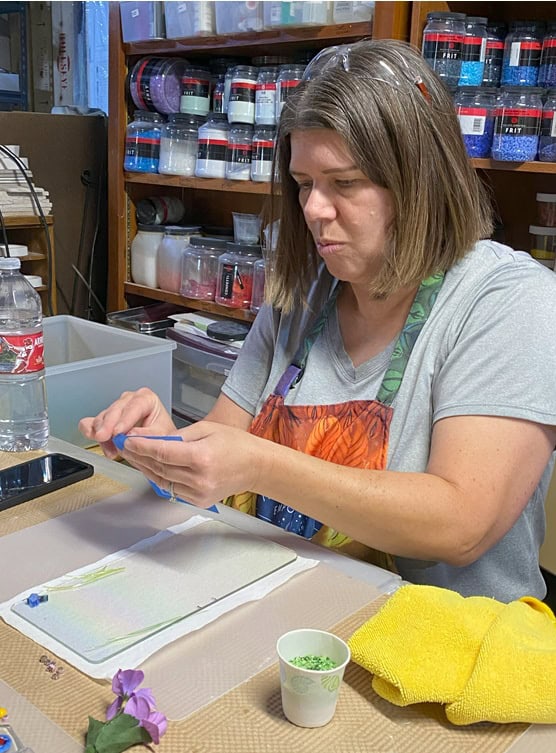
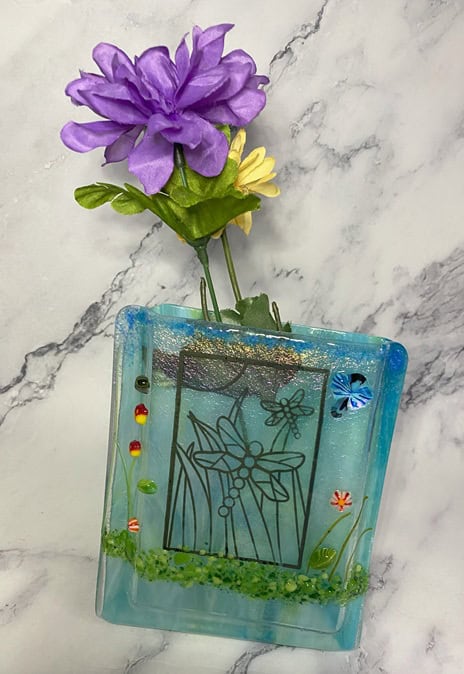
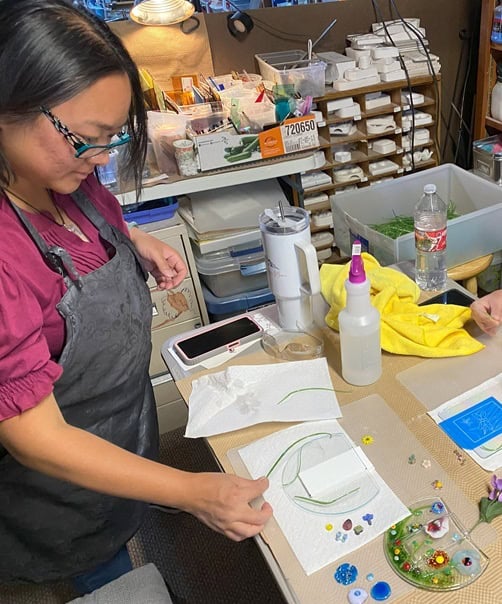
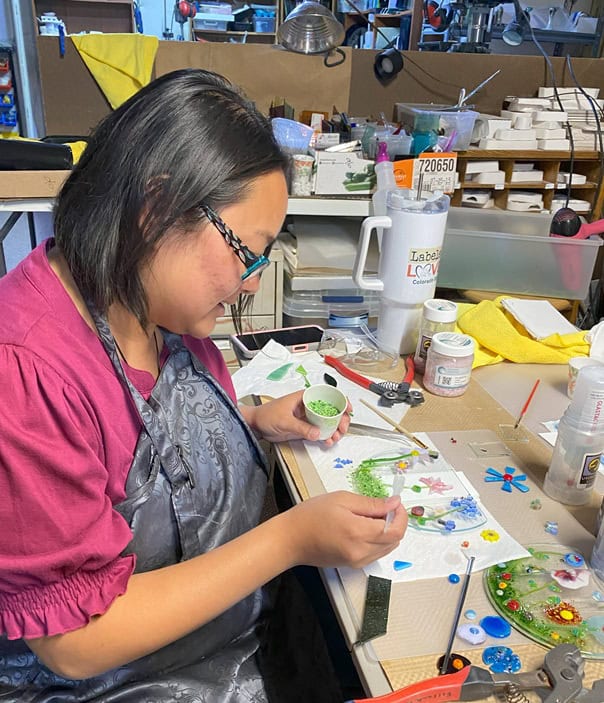
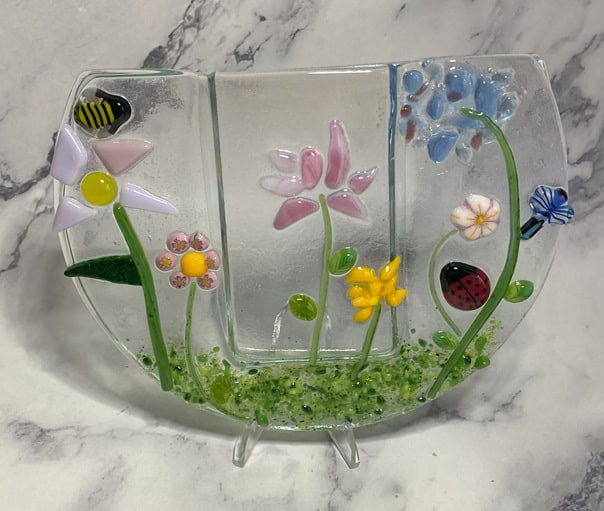
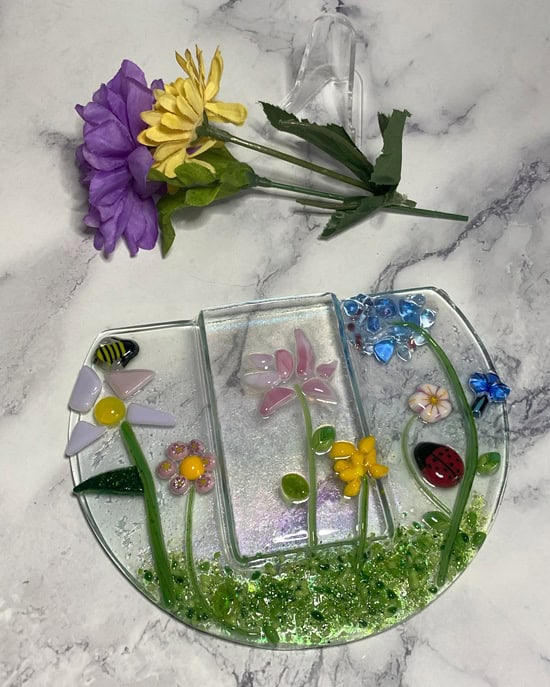
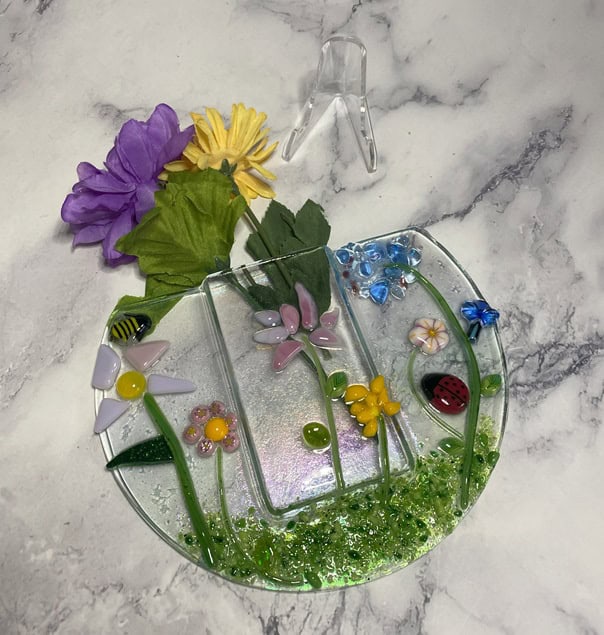
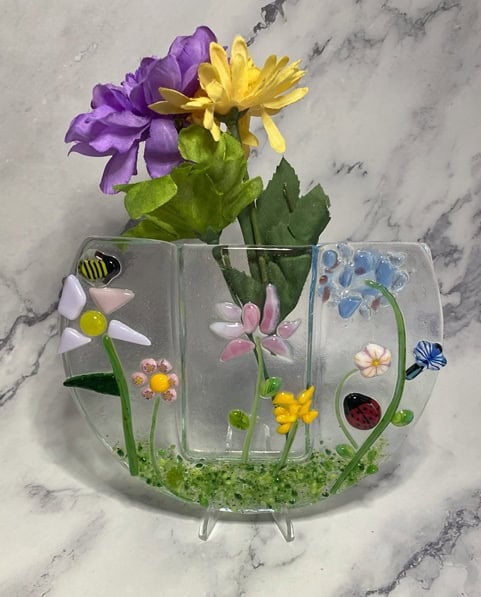
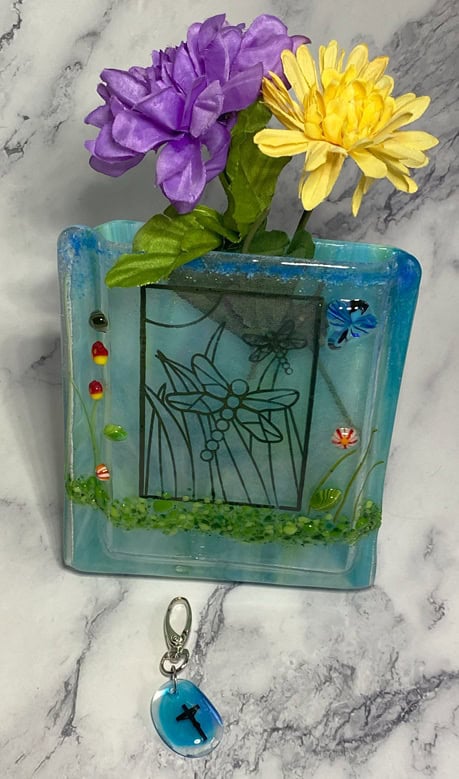
Next was Jennifer, who decided to create a flower pocket vase as a special gift for her daughter—and it turned out absolutely gorgeous! She chose a piece of clear iridescent glass as her base, which gave the whole piece a beautiful shimmer. Jennifer added vitrigraph for stems, colorful murrine, layers of frit, and even made her own delicate flowers to bring the design to life. The finished vase was absolutely stunning, full of light and texture, and such a heartfelt piece for her daughter.
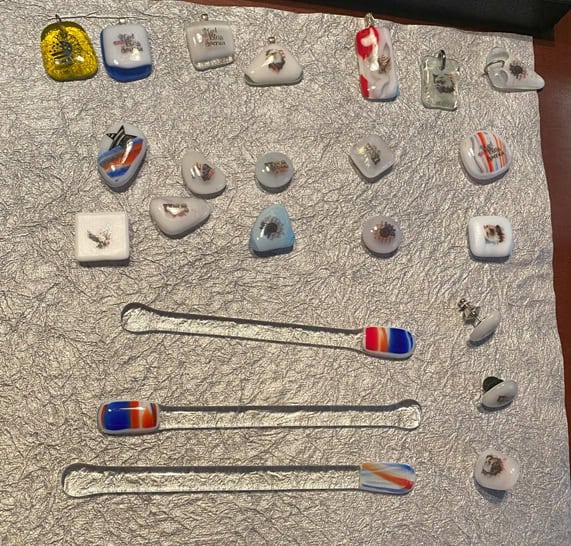
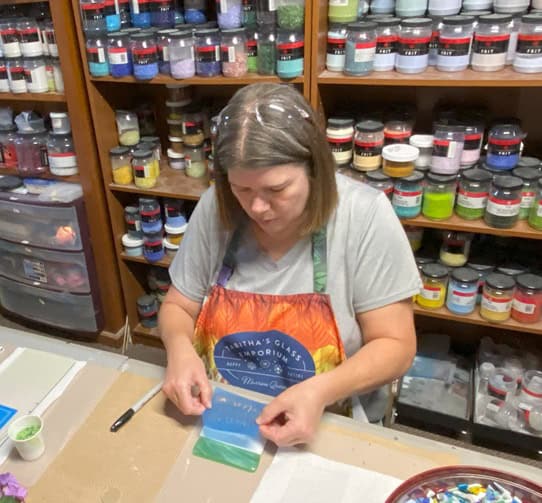
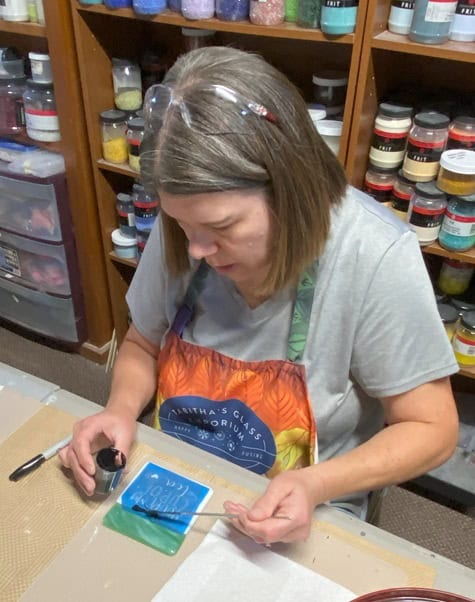
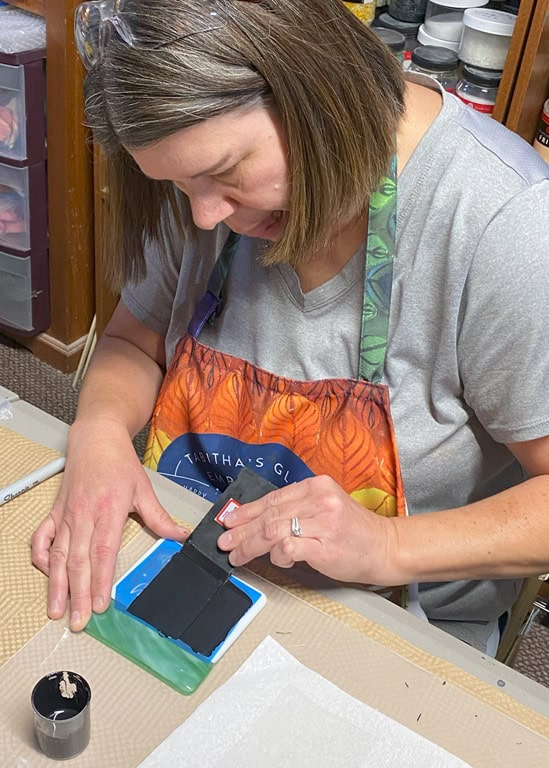
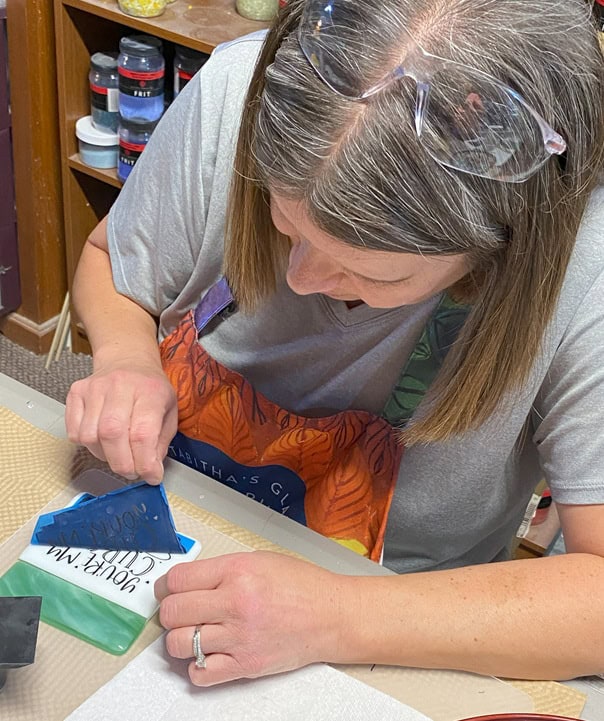
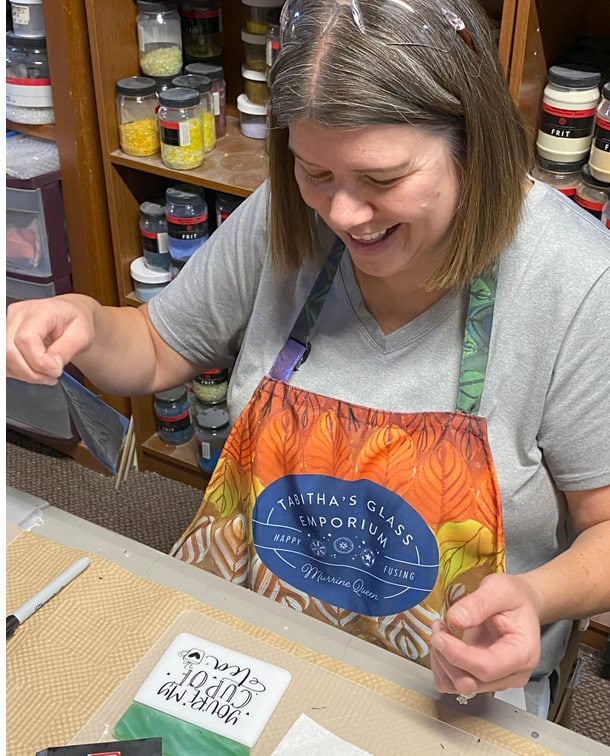
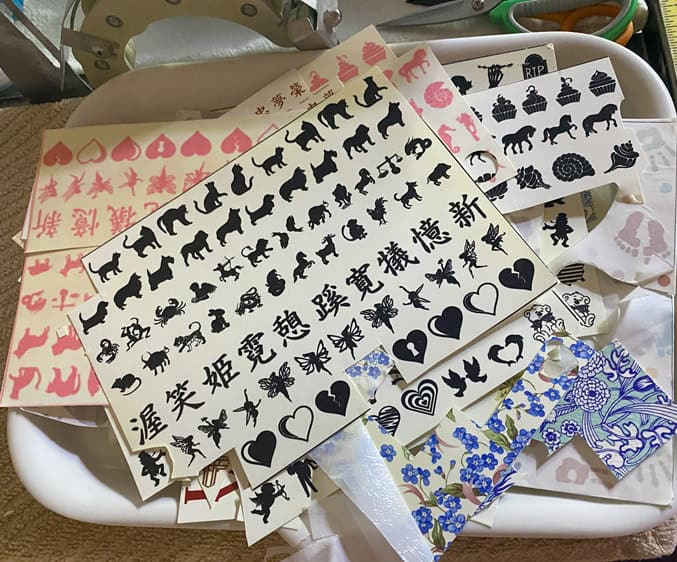
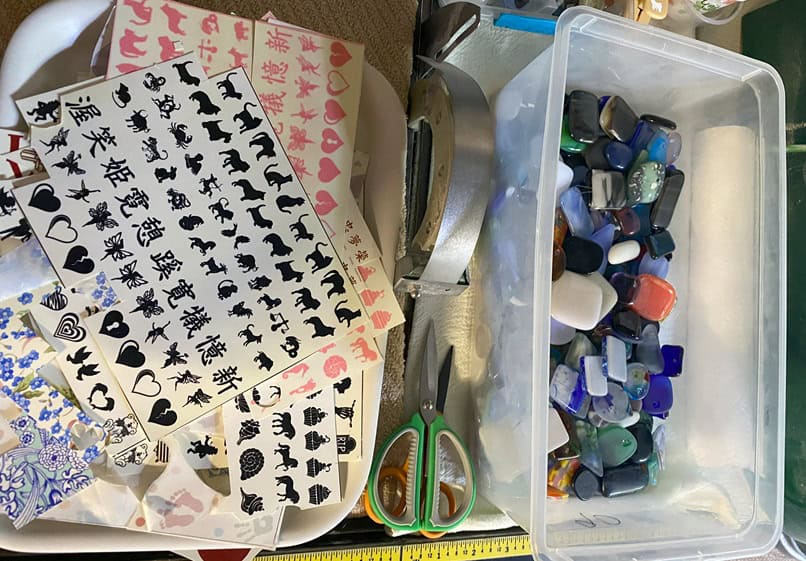
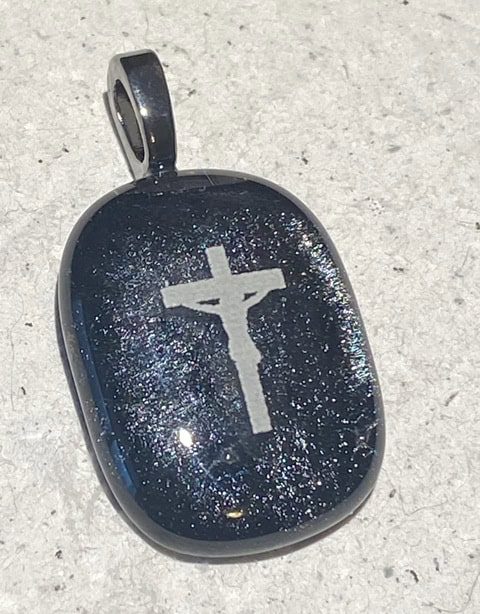
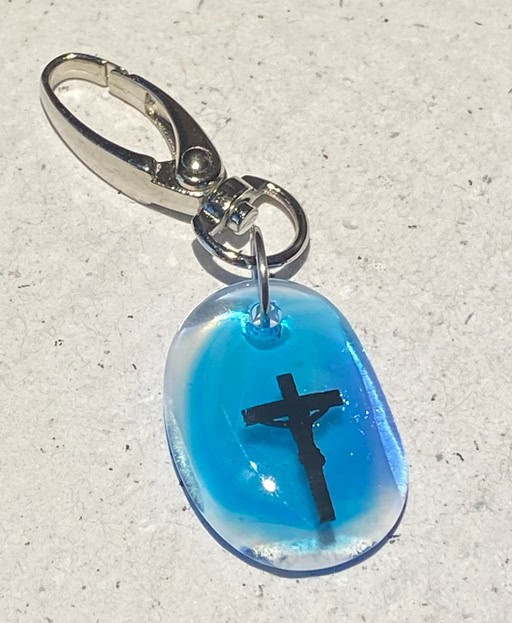
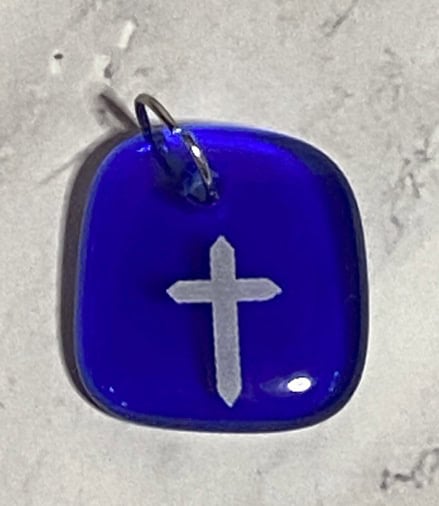
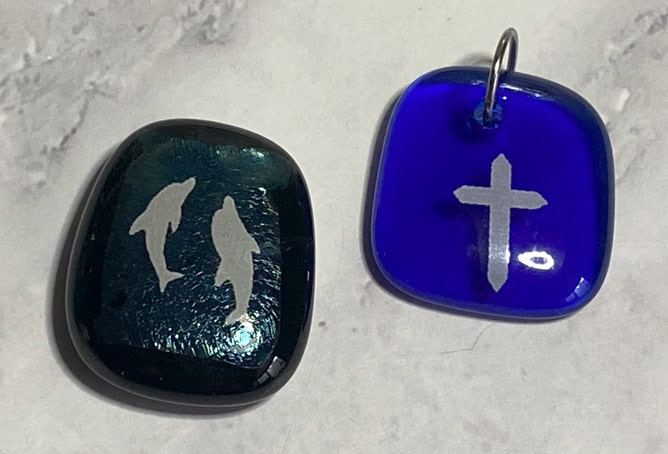
To wrap up the class, I gave both Jennifer and Christina the opportunity to try the fused glass decal technique, which is such a fun way to personalize a piece. In the photos, you can see the top row filled with an array of decals and cabochons they had to choose from. For their projects, Jennifer created a beautiful pendant while Christina made a charming keychain. These little bonus pieces are always a great way to experiment with something new and leave with an extra bit of handmade art.
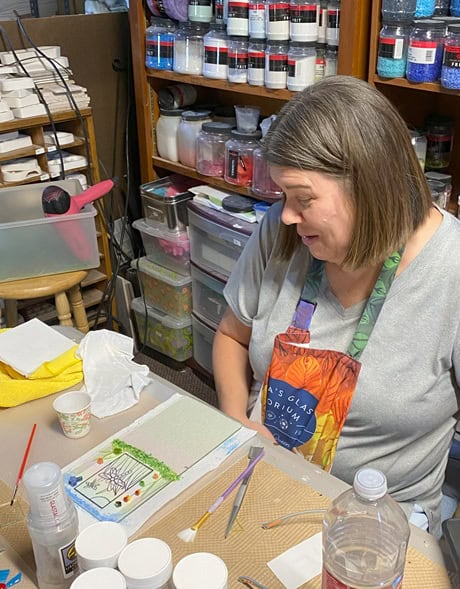
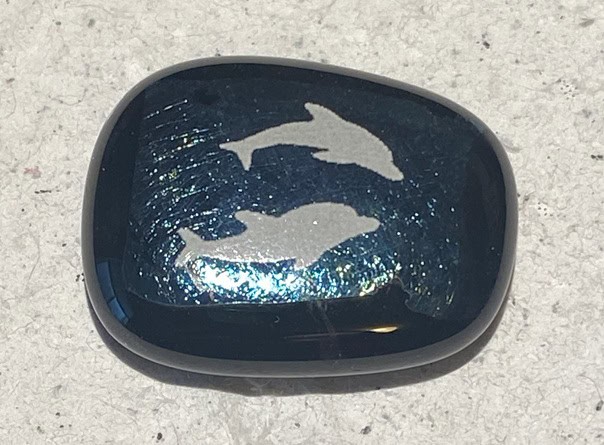
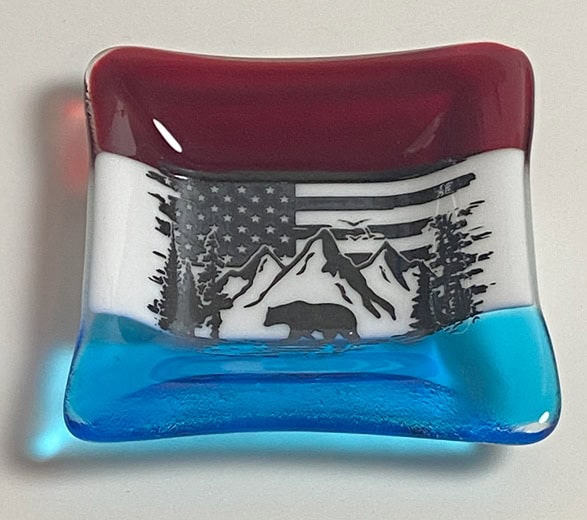
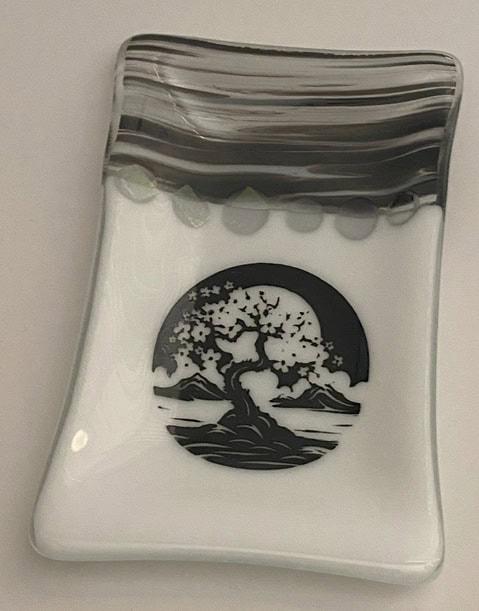
Sometimes, when I’m preparing for a class, I like to make practice pieces alongside my students. For this class, I created two sample decal pieces to demonstrate the technique. I also made two screen-printed pieces of my own and the small dish I had Christina practice on before she moved on to her standing pocket vase. It’s always fun to experiment right alongside my students—it keeps me inspired and gives them examples to spark their own creativity.
Teaching Christina and Jennifer was such a rewarding experience. Not only did they dive into more advanced techniques like screen-printing and pocket vases, but they also added their own unique touches with vitrigraph, murrine, and frit. Their creativity and willingness to try something new made the class so much fun. Moments like these remind me why I love teaching fused glass—it’s not just about the techniques, but the laughter, learning, and beautiful memories made along the way. I can’t wait to see what they’ll create next time! If you’d like to experience the magic of glass for yourself, reach out to schedule your own class by emailing me at elegantfusedglass@gmail.com or visit my website at www.ElegantFusedGlassbyKaren.com.

If you’d like to see more of my fused glass work, please visit my website: Elegant Fused Glass by Karen.
While you’re there, be sure to explore the full site — and don’t forget to check out my Elegant Fused Glass by Karen YouTube for even more inspiration! If you’d like to stay up-to-date with my latest projects, classes, and special offerings, you can also sign up for my monthly newsletter, published on the information on my site. If you have any questions or would like to schedule a private class, feel free to email me at elegantfusedglass@gmail.com. I’d love to help you create something beautiful!
Keeping my kilns warm,
Karen
