
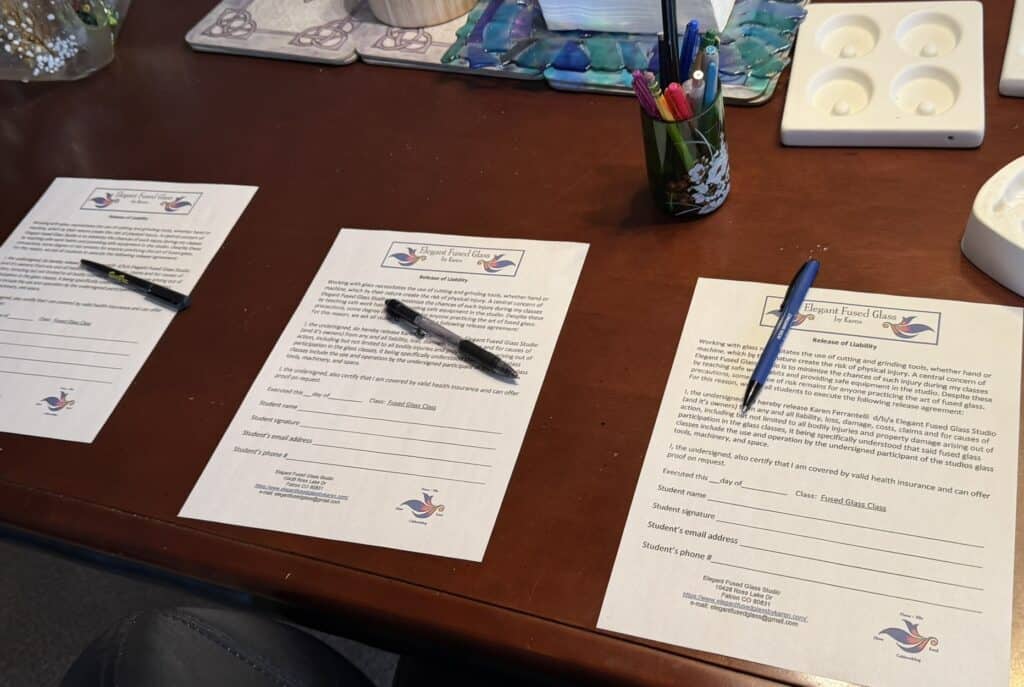
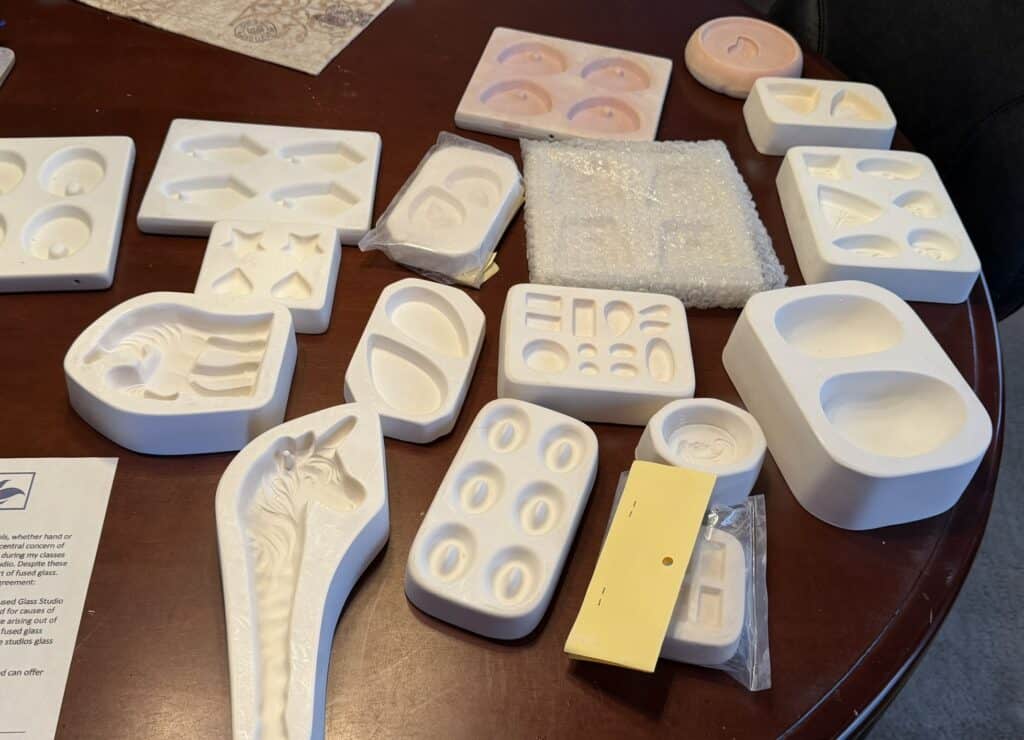
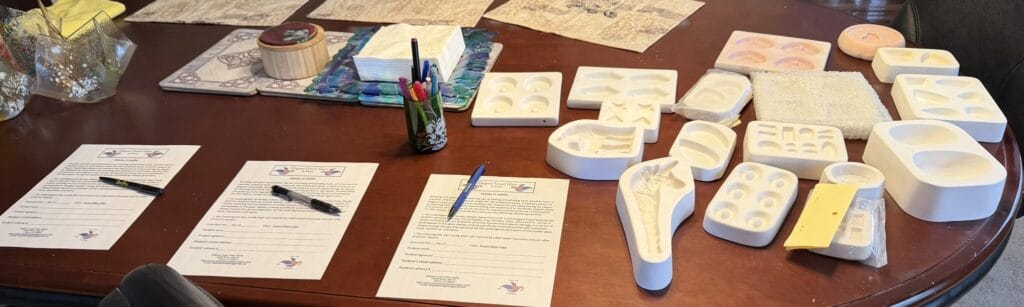
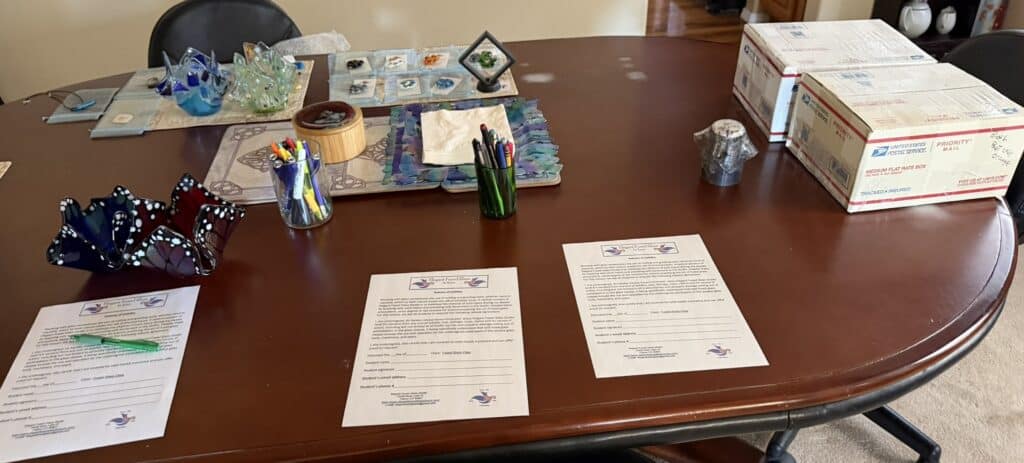
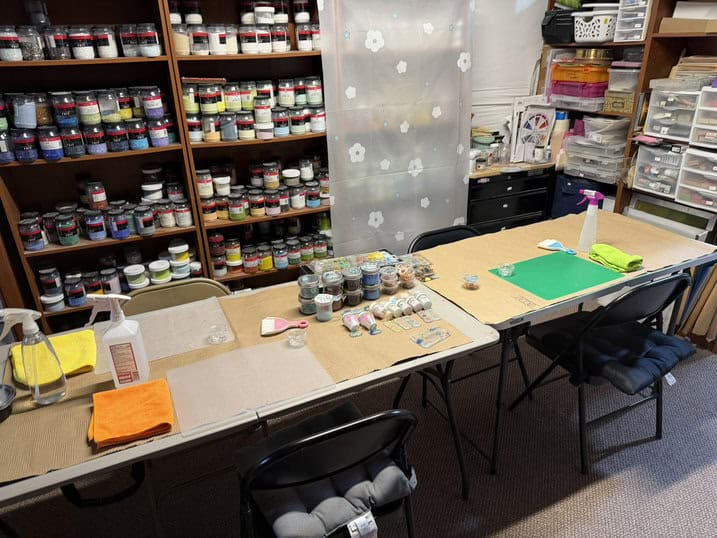
This blog features two months of advanced fused glass classes with three of my talented returning students—Cindy, Jim, and Julie. Since these classes combined both April and May sessions, this is going to be a fun and interesting post filled with experimentation, creativity, and lots of advanced techniques. One of the things I enjoy most about teaching advanced students is that they’re always willing to try something new, push creative boundaries, and explore different ways to work with glass. As always, we began class with liability forms and studio setup, but if you look closely at the photos, you’ll notice there are actually two different class setups shown. The top row features our April advanced class, and instead of my usual fused glass gifts, I surprised them with bubble powder to experiment with (I’ll share photos of that later in the post). The bottom row shows our May session, where I decided to switch things up again with a few creative surprises. Julie received a draping mold to take home and experiment with in her own studio, while Jim and Cindy each received a box of scrap glass to continue creating, testing reactions, and exploring new ideas long after class ended.
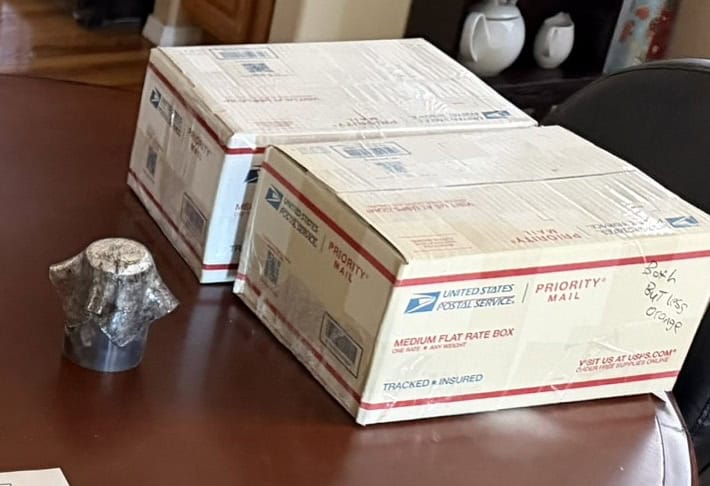
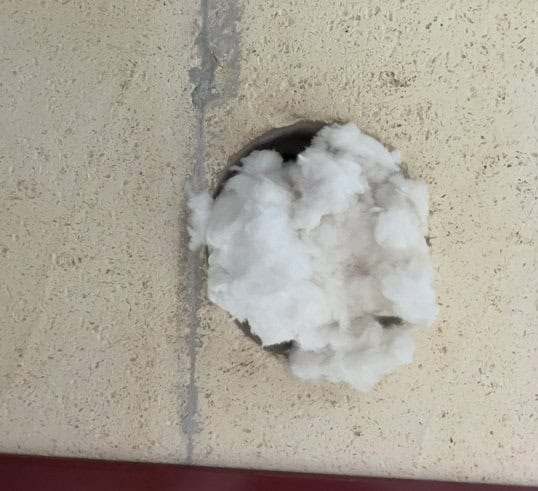
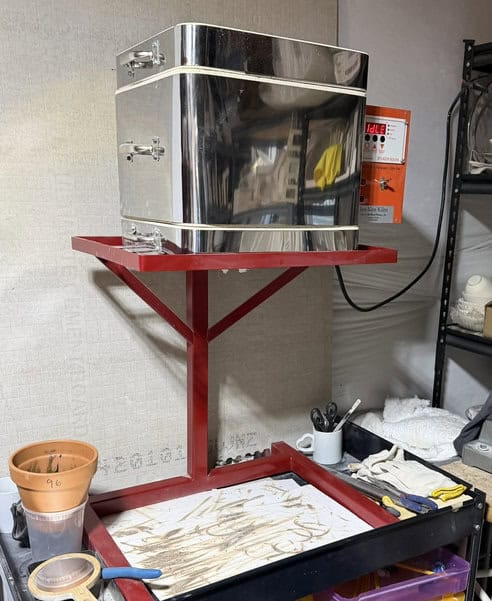
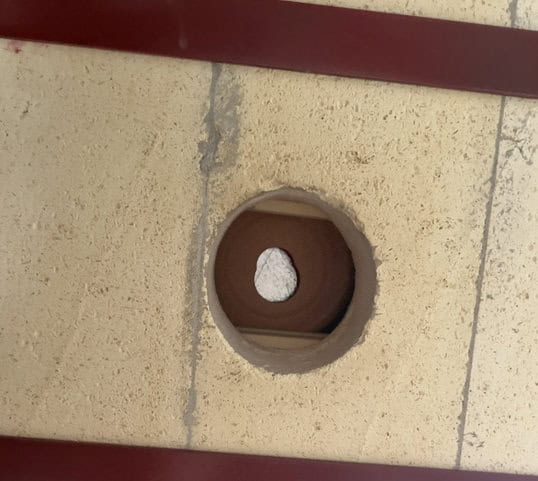
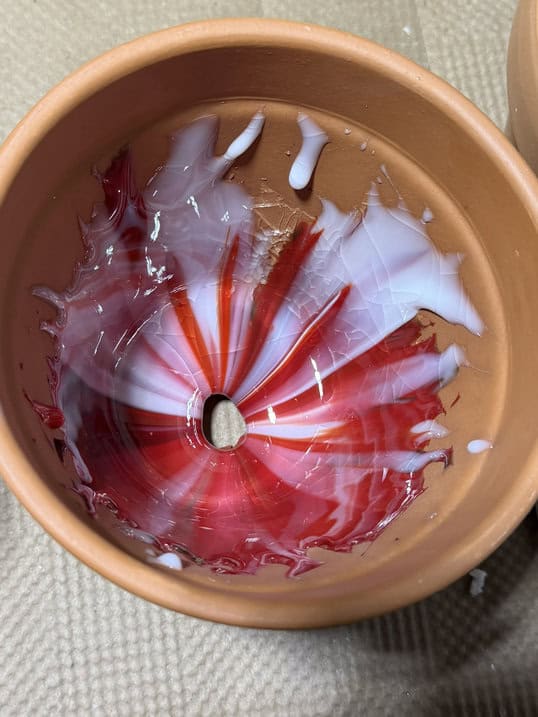
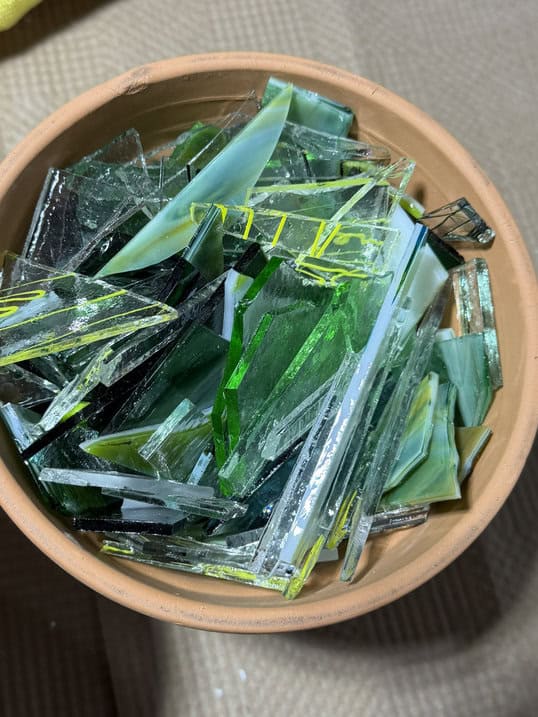
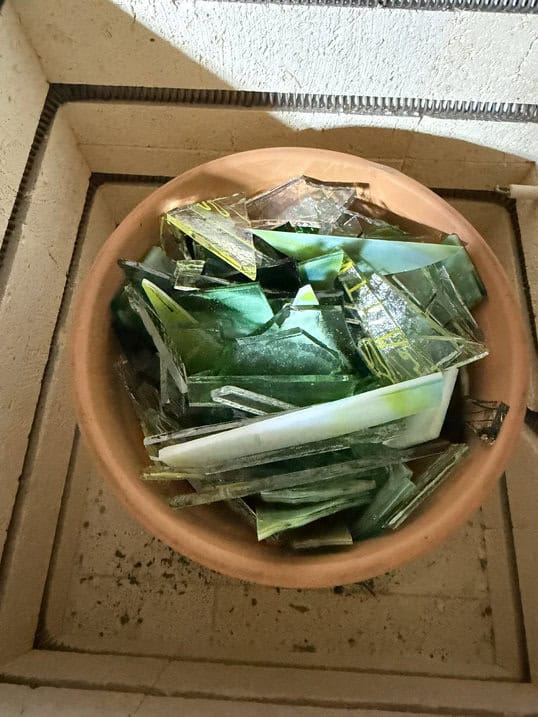
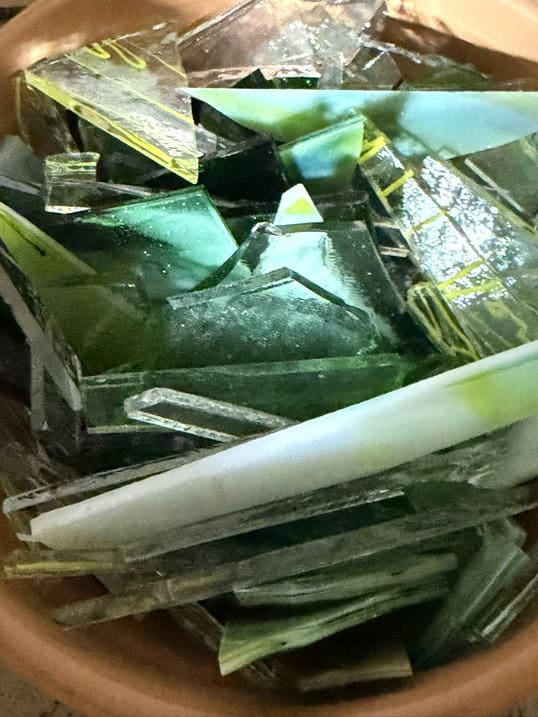
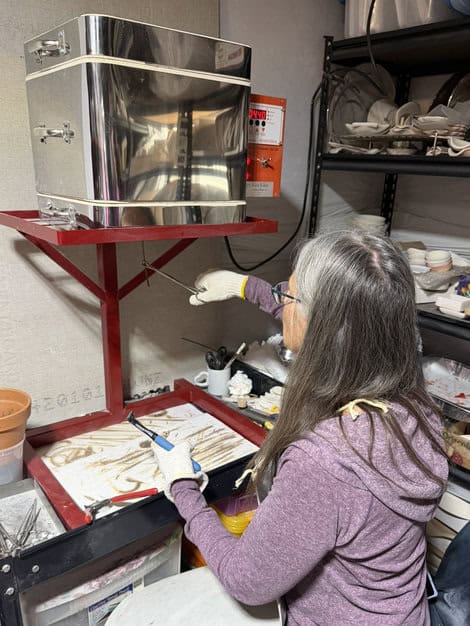
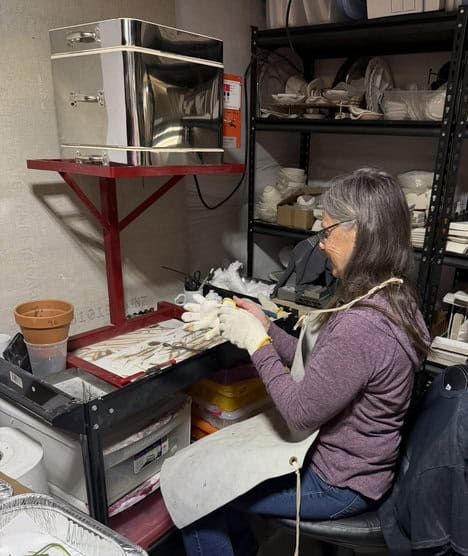
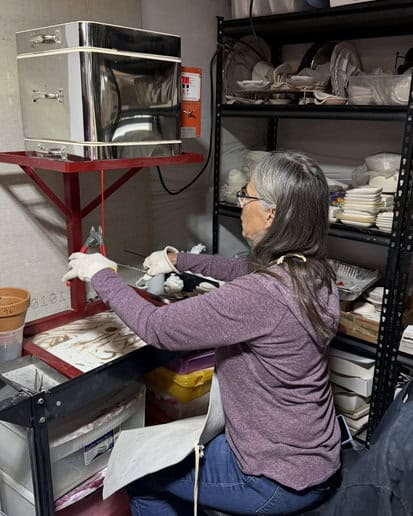
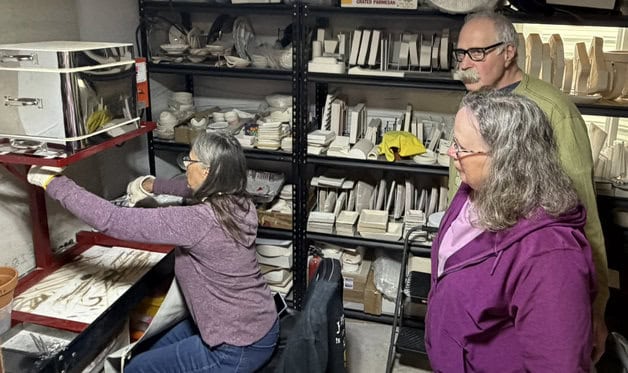
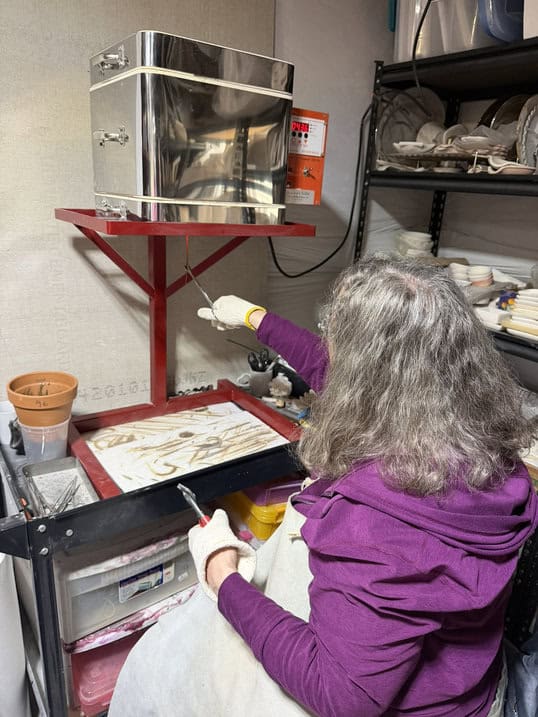
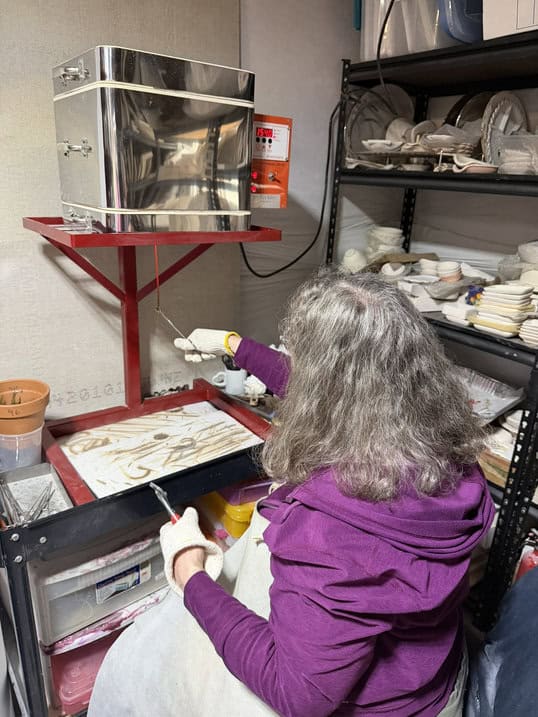
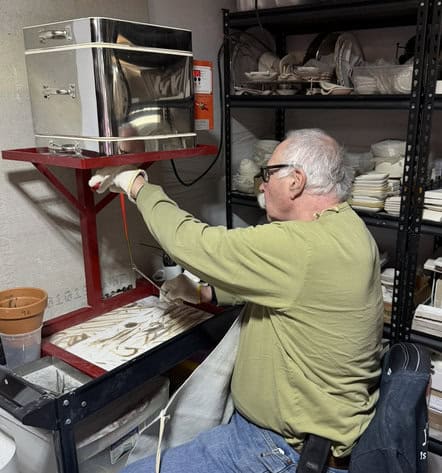
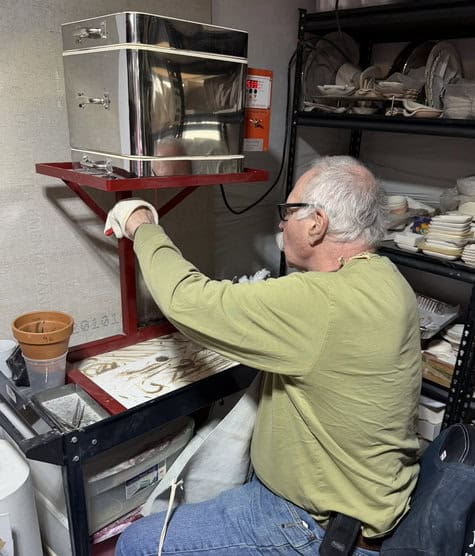
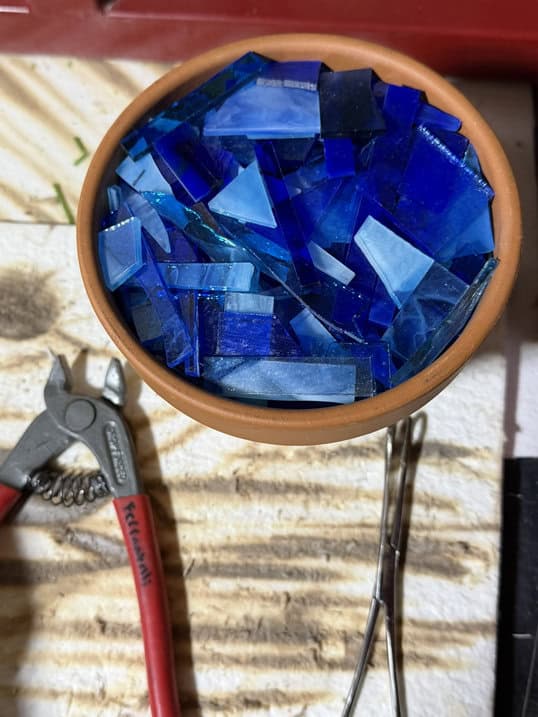
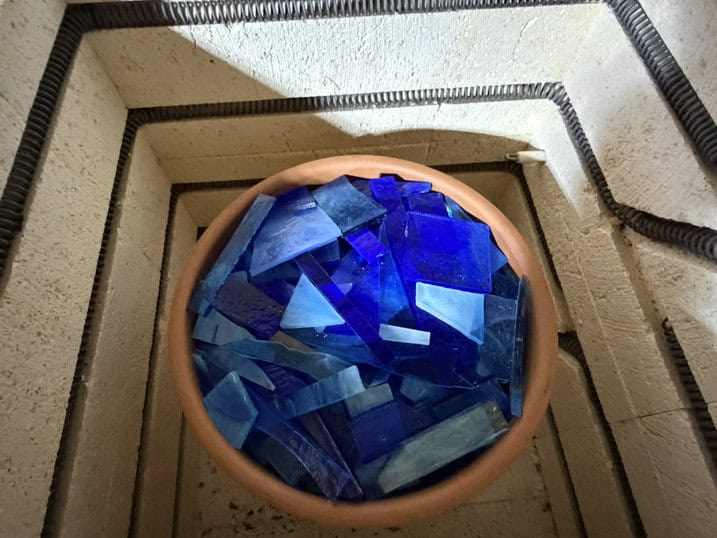
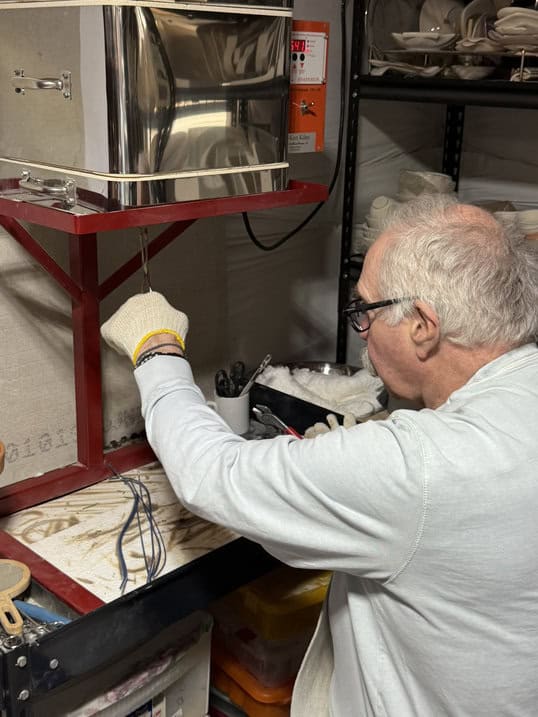
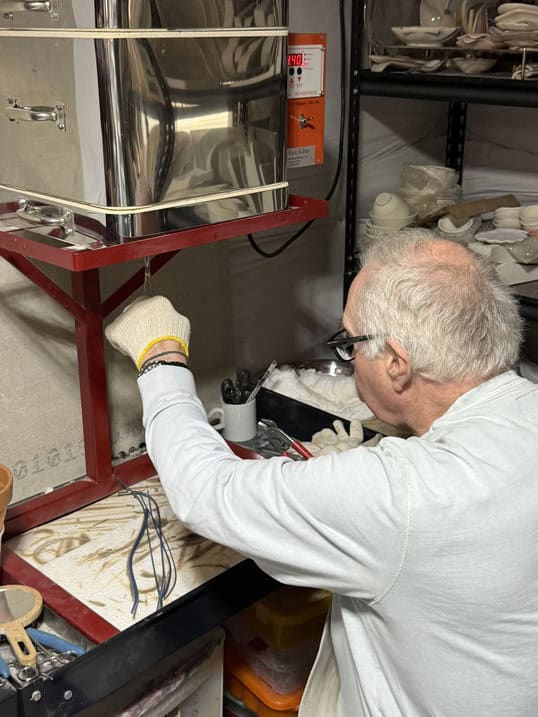
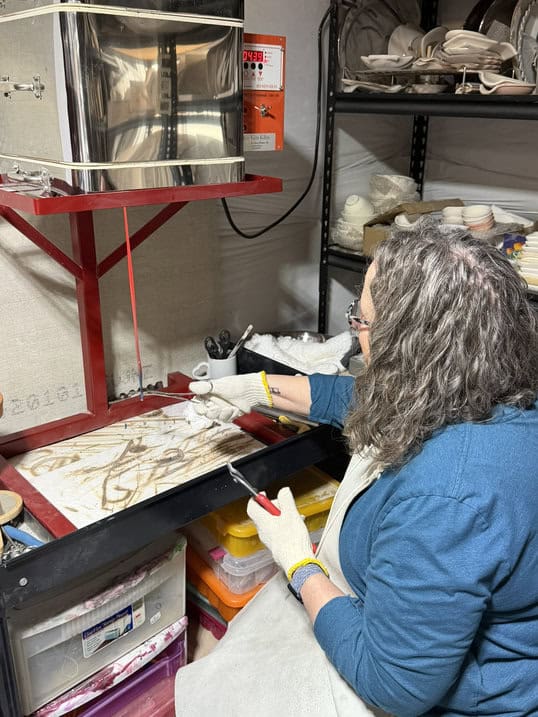
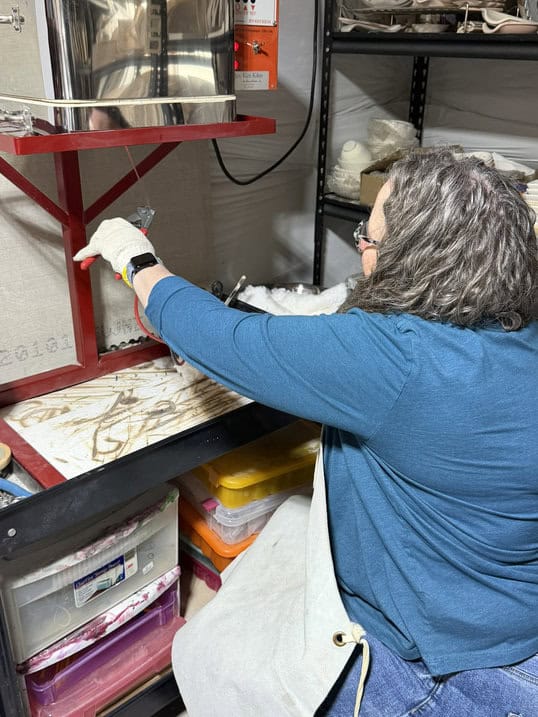
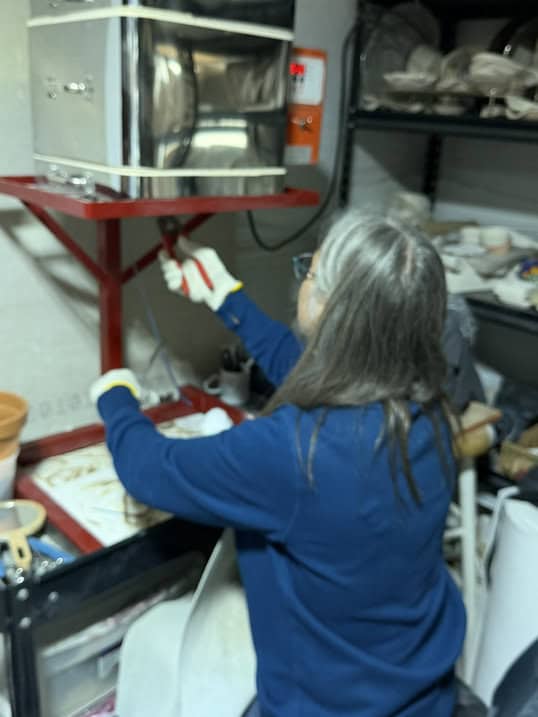
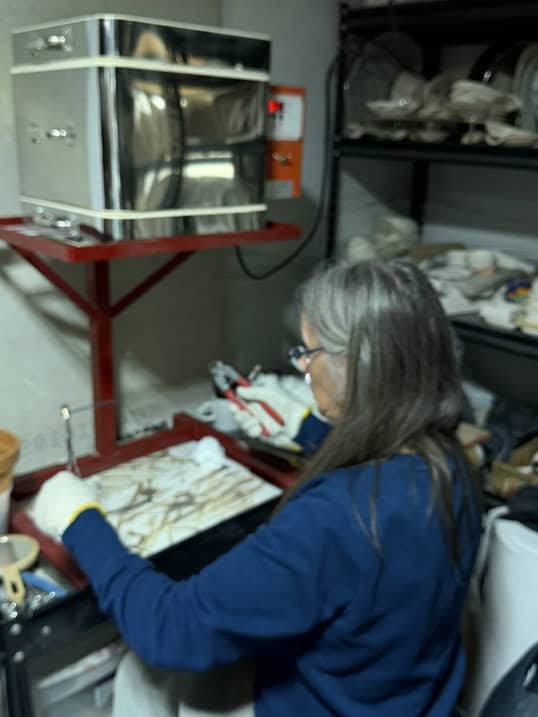
For this advanced session, we explored a variety of techniques and projects—including vitrigraph! In a previous class, Cindy, Jim, and Julie had each created their own vitrigraph pots, so this class was all about finally getting to do the pulls. Since this blog combines both the April and May advanced classes, there were actually two separate vitrigraph pulls. Cindy’s green pot was used during the April class, while Jim’s blue pot was featured in May. And of course, the red pot belonged to Julie—you can definitely tell we used every last bit of glass from that one! To keep things fair and give everyone a chance to participate, we set up a simple rotation system. Whoever owned the pot would start first, and then each person took turns doing five pulls before passing it along to the next person. It always amazes me how different each pull can look depending on timing, temperature, speed, and even gravity. Some pulls came out thick and dramatic, while others were long, flowing, and delicate. Vitrigraph is one of those techniques that’s equal parts exciting, unpredictable, and addicting. There’s always a little anticipation while waiting for the molten glass to begin flowing from the kiln, and once it starts, everyone immediately gathers around to watch. Advanced classes like these are so much fun because they give students the opportunity to experiment, troubleshoot, and truly experience how versatile fused glass can be.
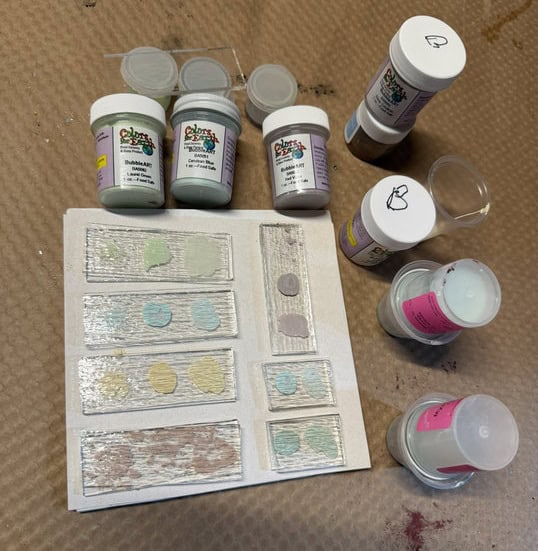
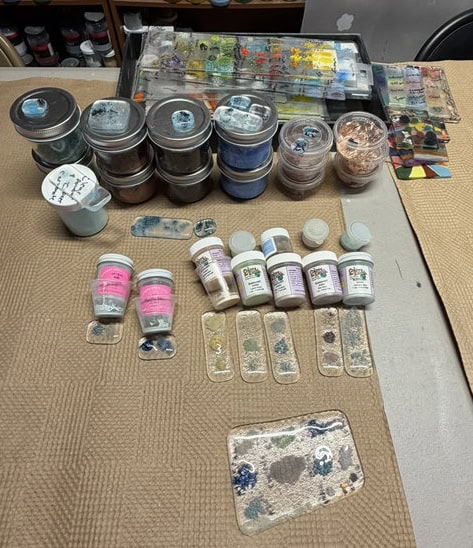
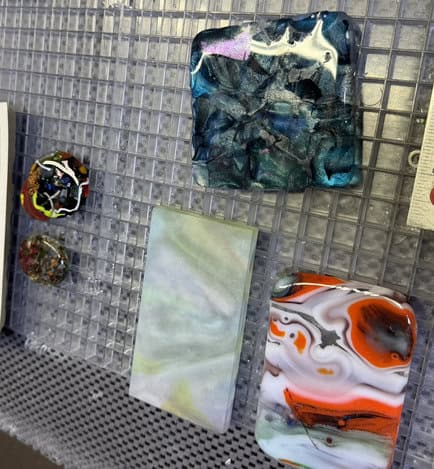
Here is the studio setup from our April advanced class. During this session, I introduced Cindy, Jim, and Julie to a variety of bubble powders, copper inclusions, powders, and paints so they could experiment with different reactions and effects in their glass work. One of the things I love most about advanced classes is having the opportunity to explore materials that students may not normally use and encouraging them to test, layer, and push their creativity even further. I also shared several of my own test sheets and sample pieces showing different combinations of powders, paints, and reactions. Test pieces like these are incredibly helpful because they allow students to actually see how materials behave after firing instead of just imagining the results. With techniques like bubble powder and copper inclusions, every firing can produce slightly different outcomes, which makes experimenting even more exciting. Of course, once the supplies were spread across the tables, the creative ideas immediately started flowing. Advanced classes are always filled with curiosity, questions, experimentation, and lots of “I wonder what this will do?” moments—which honestly are some of my favorite moments in the studio.
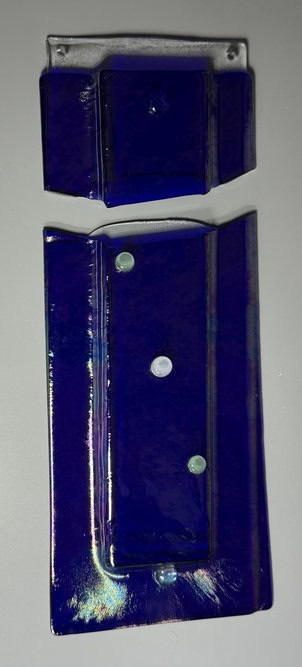
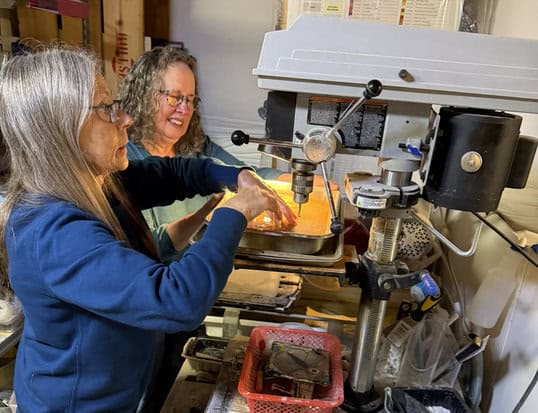
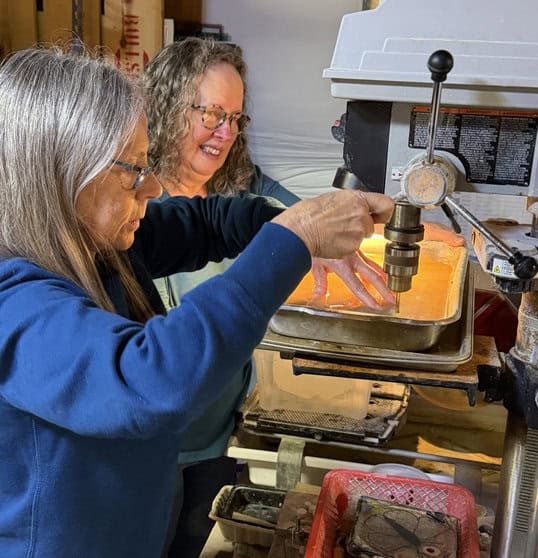
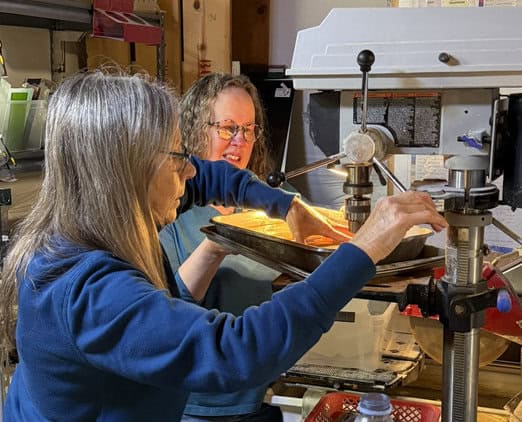
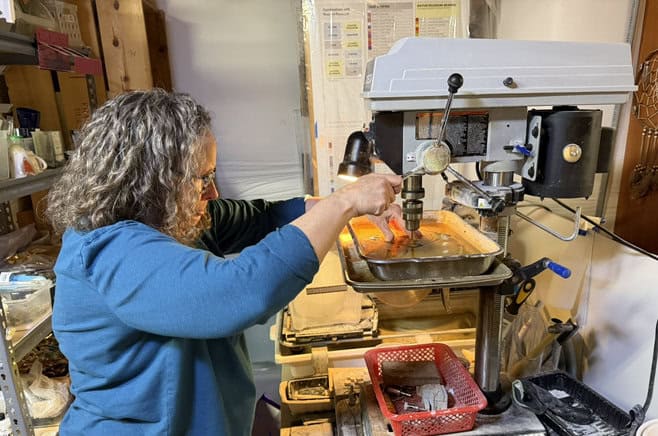
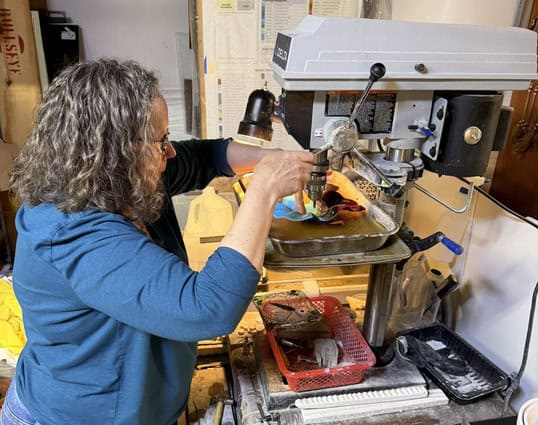
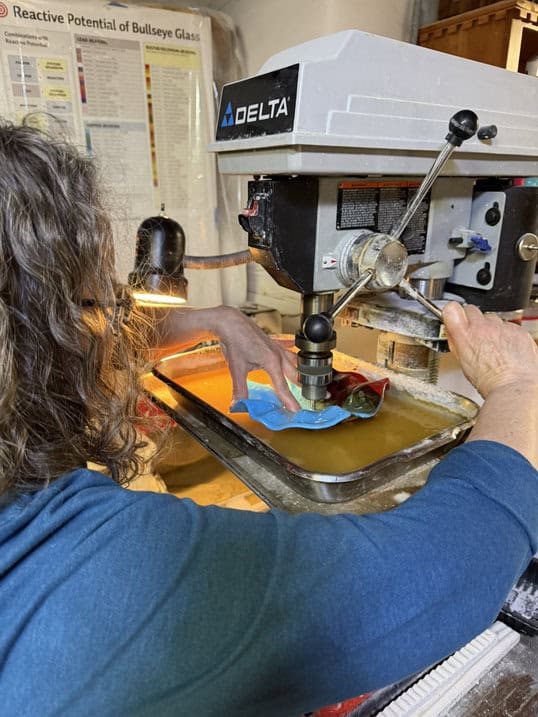
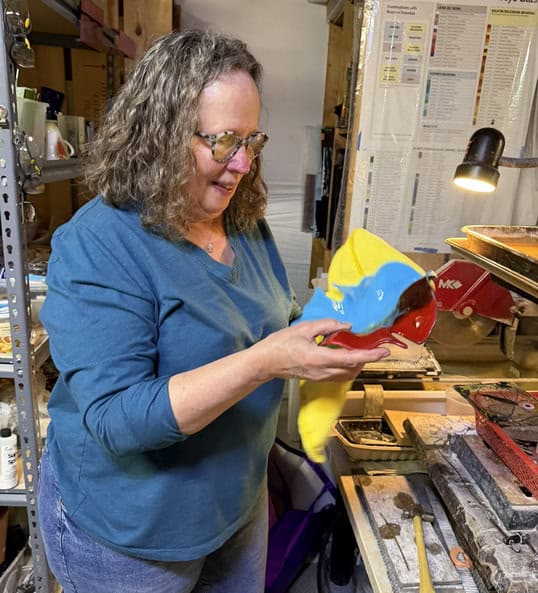
In our April advanced class, Cindy decided to tackle something ambitious—a large pocket vase, actually the largest pocket vase I’ve ever made. Pocket vases are such fun projects because they combine both fused and functional glass art, but they also involve multiple detailed steps and careful planning along the way. The first row of photos shows Cindy drilling the holes and cutting the glass pocket that would eventually be attached to the base piece. The second row shows her creating the beautiful top layer using a stunning luminescent blue glass. The color and glow of this glass were absolutely gorgeous, and we were all excited to see how the final piece would turn out after firing. Unfortunately, even with an extremely conservative firing schedule, the piece developed a crack on the back and eventually broke in half. While it was definitely disappointing, moments like this are also part of working with glass—especially when creating larger and more advanced pieces. Glass can sometimes have a mind of its own, and even experienced artists encounter unexpected breakage or stress issues. One thing I really admire about advanced students like Cindy is their willingness to take creative risks and try challenging projects despite knowing that not everything works perfectly the first time. Honestly, some of the best learning experiences come from the projects that don’t go exactly as planned. And even though this piece broke, it was still a beautiful experiment and an important part of the creative process. I refired them and now I have two extra pocket vases.
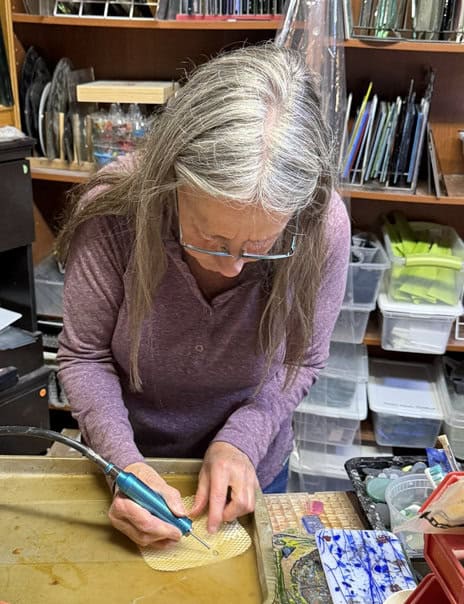
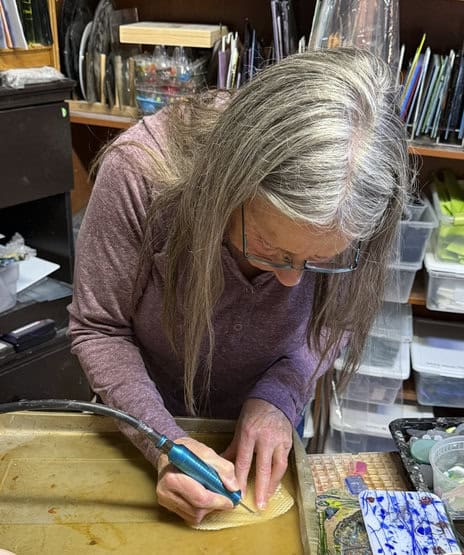
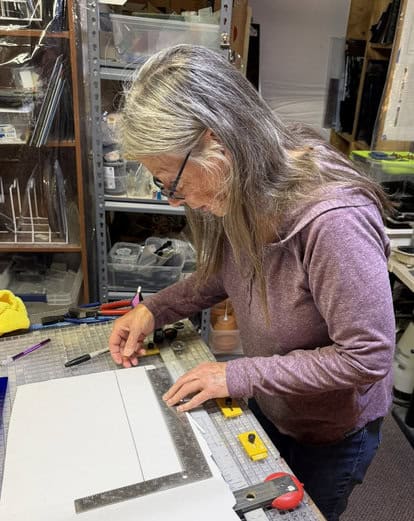
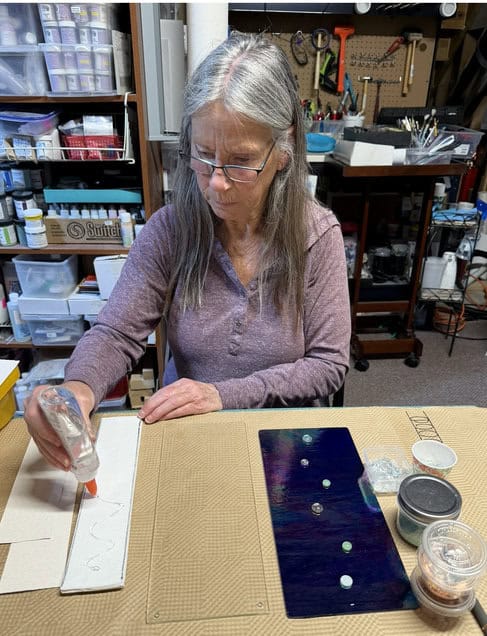
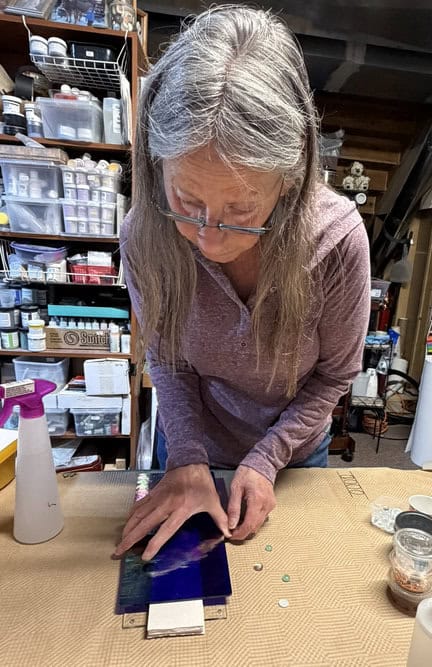
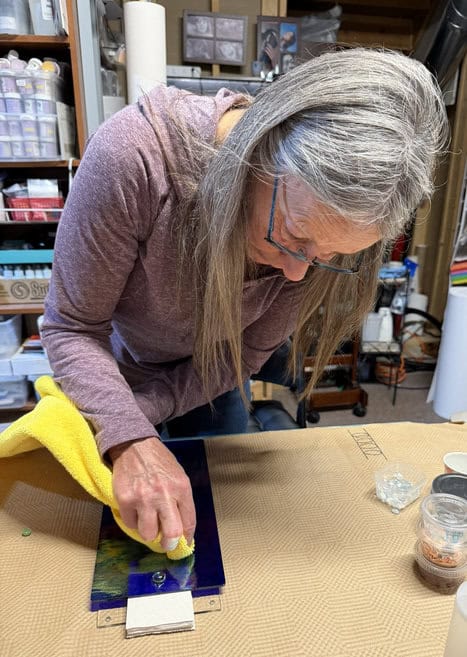
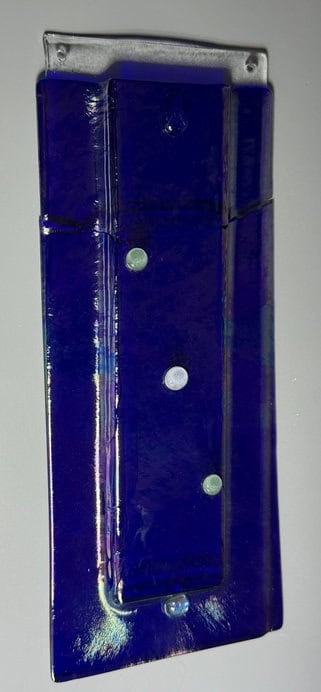
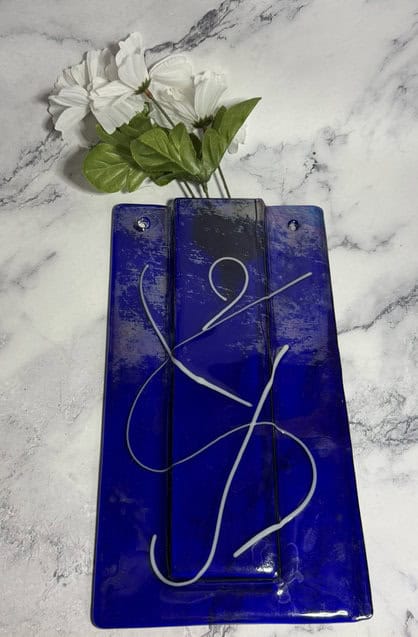
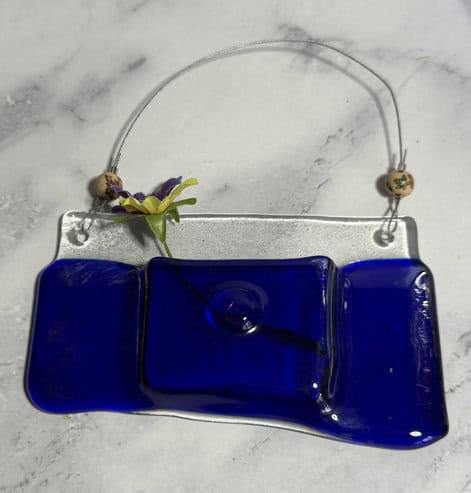
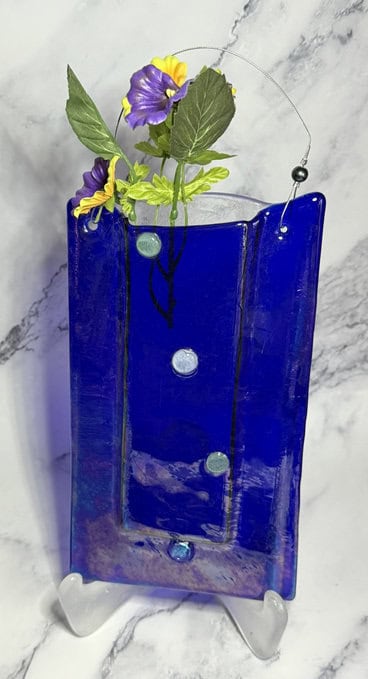
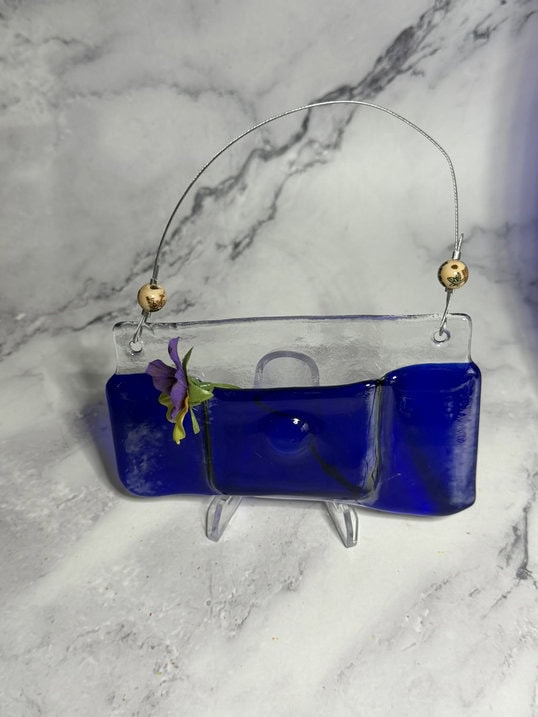
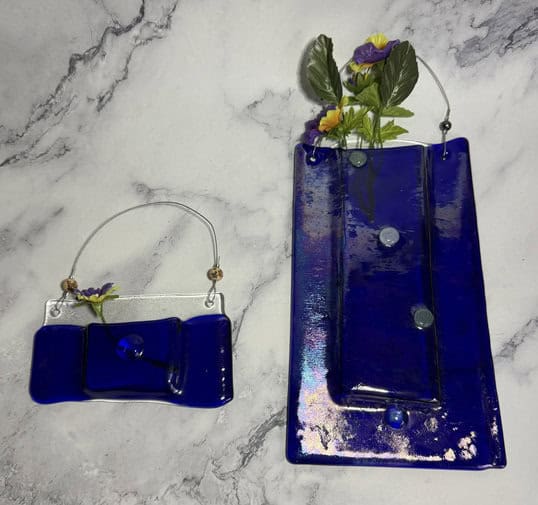
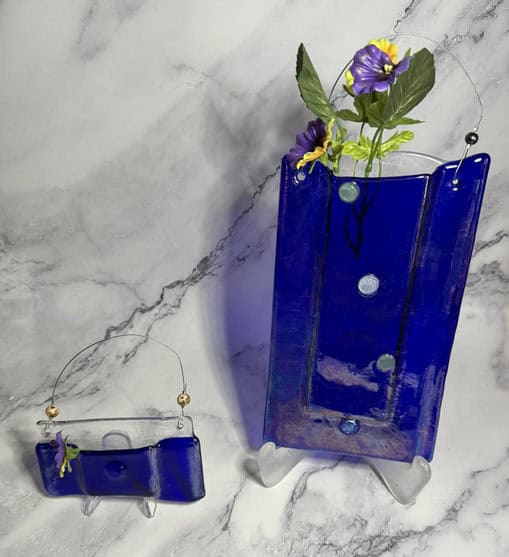
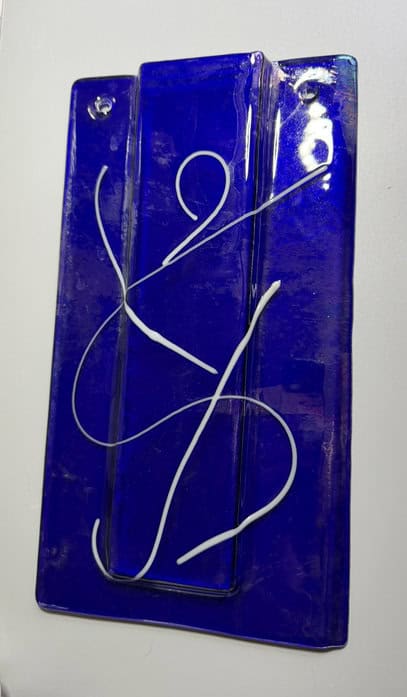
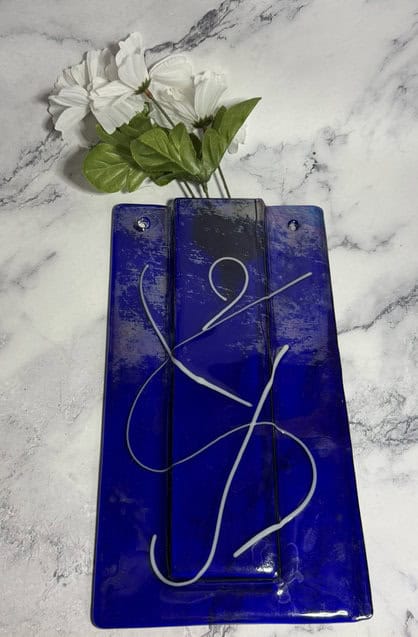
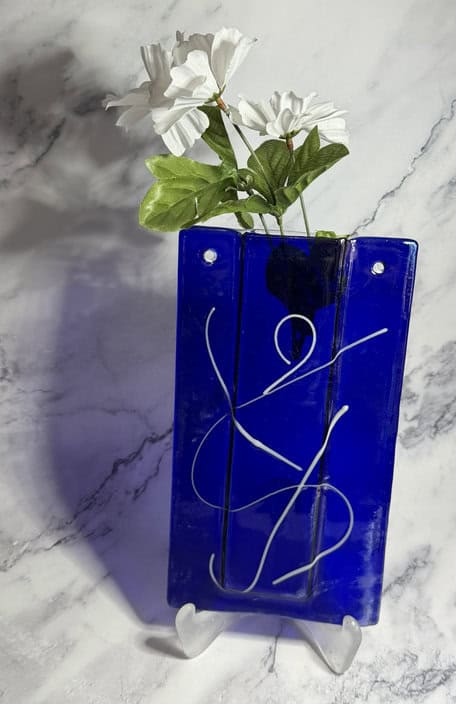
In May, Cindy decided she wasn’t going to let the previous pocket vase defeat her, so we decided to create another one. This time, she made an important design change by drilling holes in both the top and bottom glass to better distribute the stress and support the piece during firing and assembly. I’m happy to say her second pocket vase turned out beautifully! The rich blue glass and sleek modern design made the finished piece absolutely stunning. One of the things I love most about advanced classes is that students learn not only from their successes, but also from the projects that don’t quite go as planned. Cindy took what she learned from the first vase, adjusted the design, and came back even stronger with this second version. Honestly, that’s such a huge part of fused glass—experimenting, troubleshooting, and trying again. Sometimes the best projects come from learning through failure first, and Cindy’s beautiful finished pocket vase is the perfect example of that creative perseverance paying off.
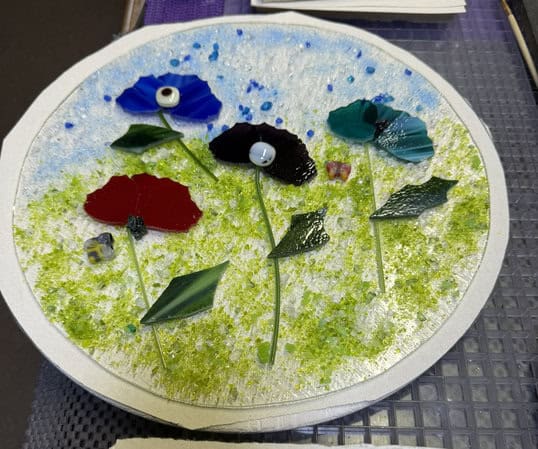
In our April advanced class, Jim created a stunning poppy design filled with beautiful color, texture, and dimension. The flowers themselves were fairly thick, and from the beginning I was a little concerned the project might be too thick overall for a stress-free firing. Because of that, I used an extremely cautious firing schedule, slowing things down significantly to give the glass every chance possible to anneal properly. Unfortunately, despite the conservative firing schedule, the piece still broke. Since advanced students understand that glass sometimes has a mind of its own, we decided to experiment and see if we could save it by adding another layer of glass underneath. Sadly, even after trying that approach, the piece broke again. In reality, adding a second layer underneath a broken piece very rarely works successfully, especially with projects that already contain a lot of thickness and stress points. That’s honestly one of the reasons I enjoy working with advanced students so much—they understand that not every project turns out perfectly, and sometimes the failures teach us just as much as the successes. Even though the piece ultimately didn’t survive, it was still absolutely beautiful, and the process itself sparked great discussions about thickness, stress, firing schedules, and problem-solving in fused glass. Sometimes the most valuable lessons happen when things don’t go according to plan.
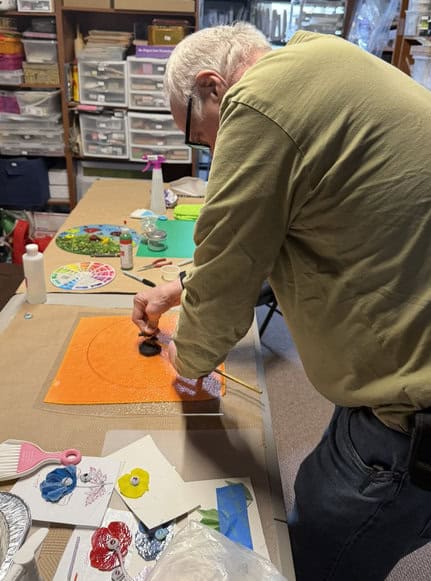
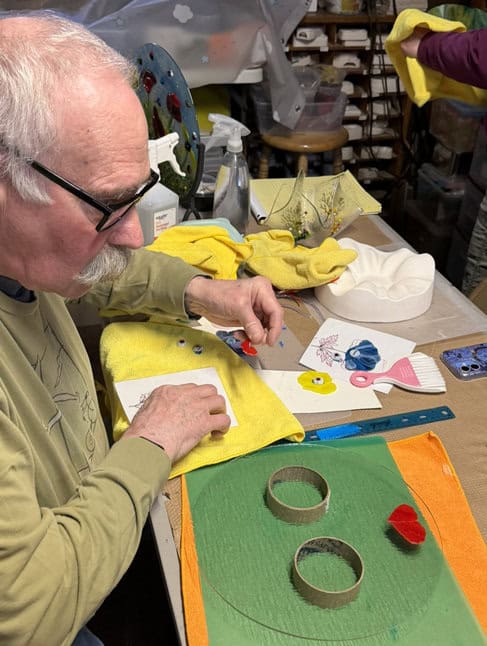
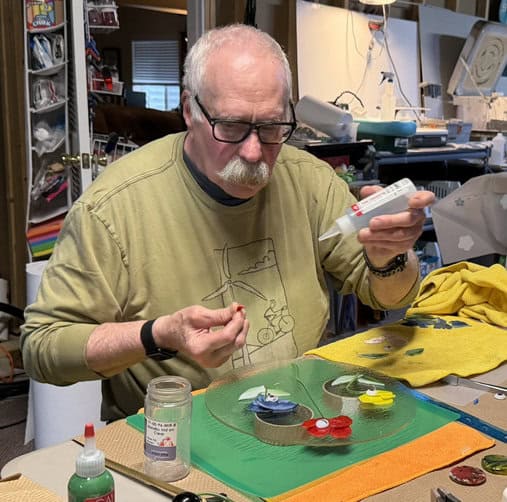
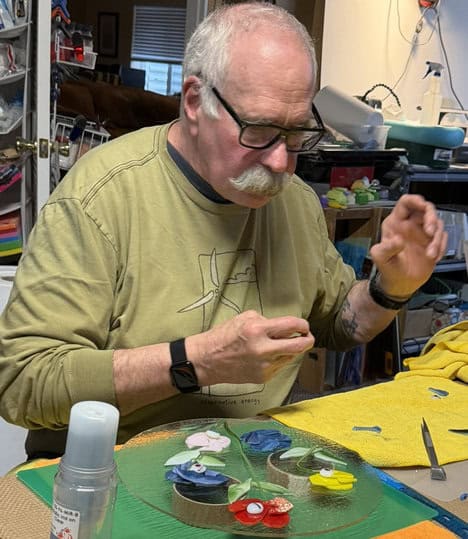
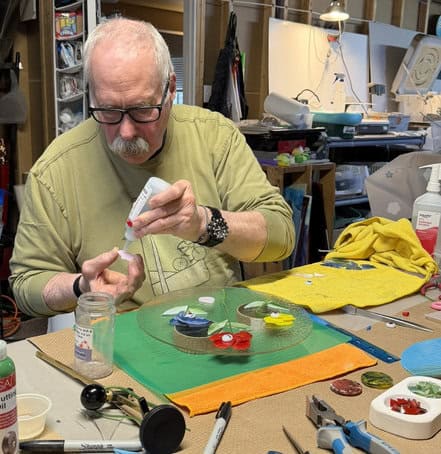
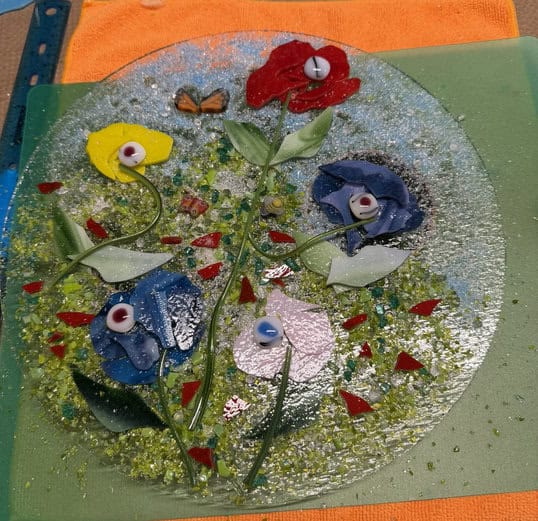
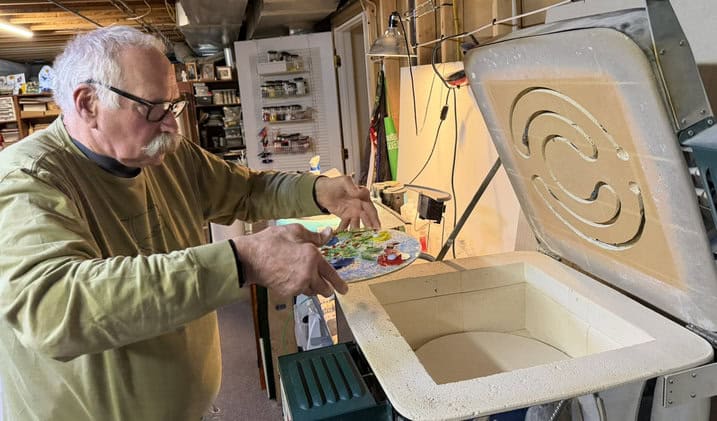
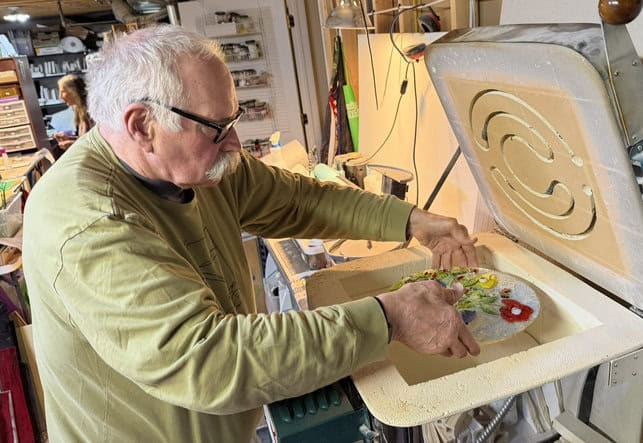
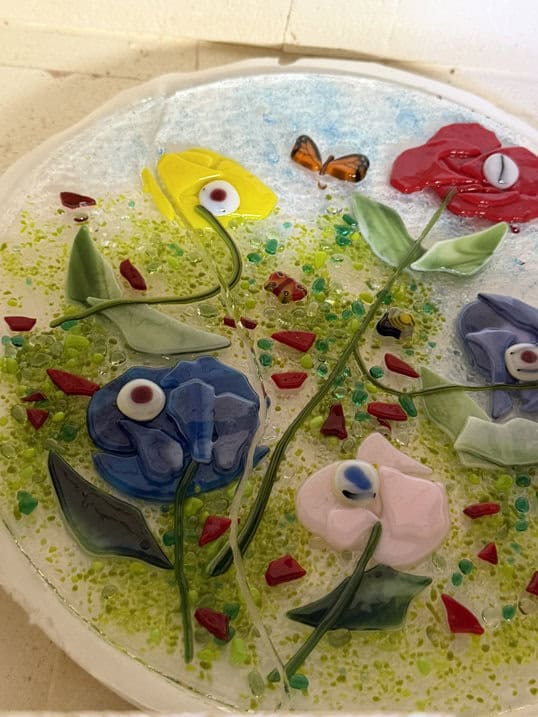
(by yellow flower)
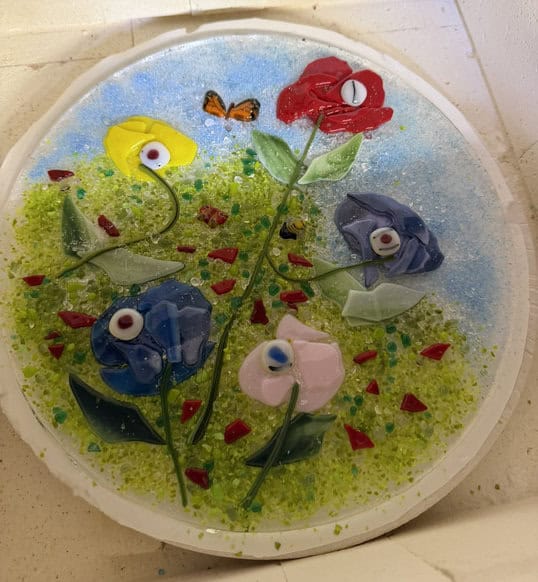
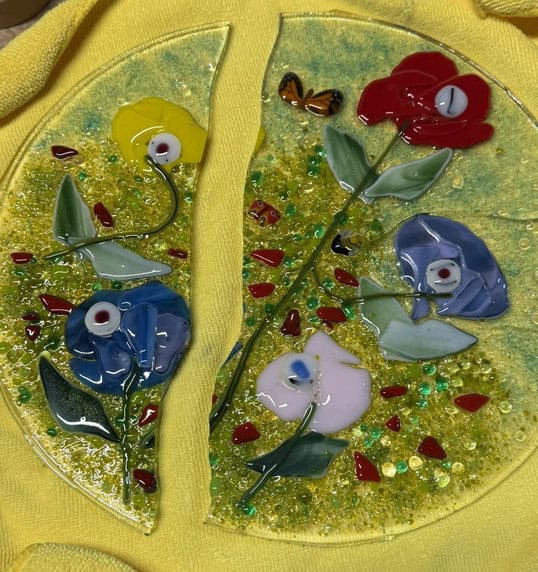
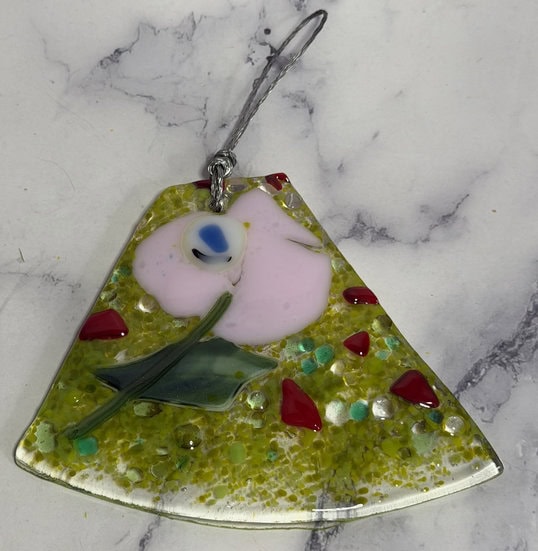
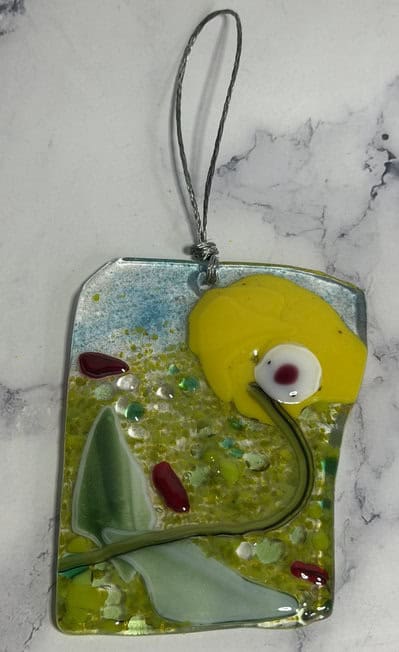
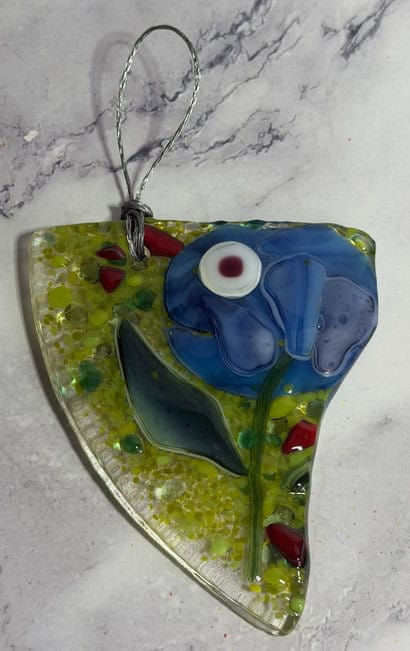
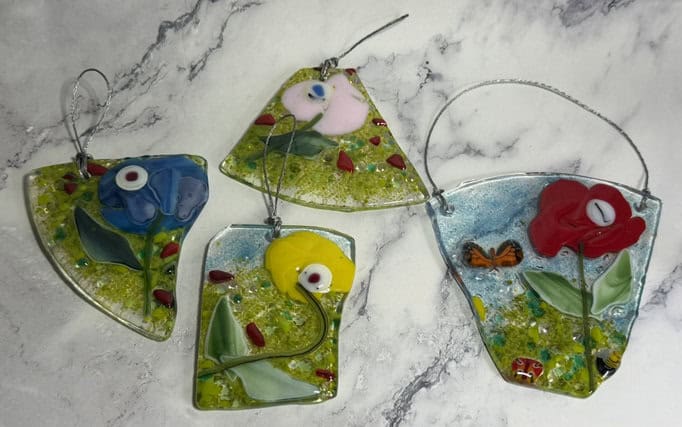
the 1st poppy
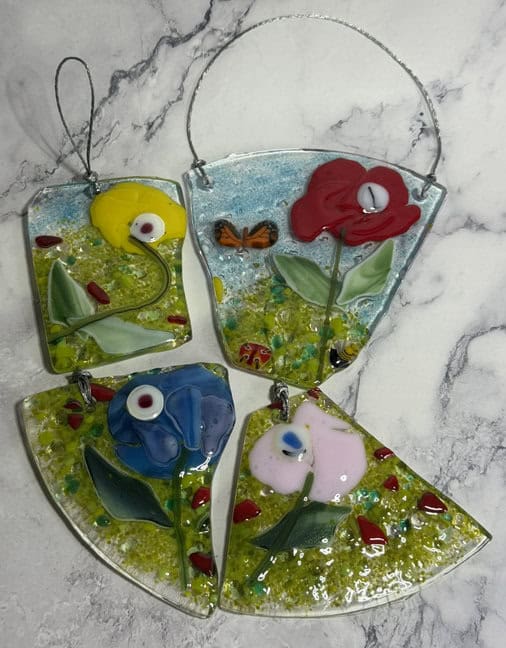
the 1st poppy
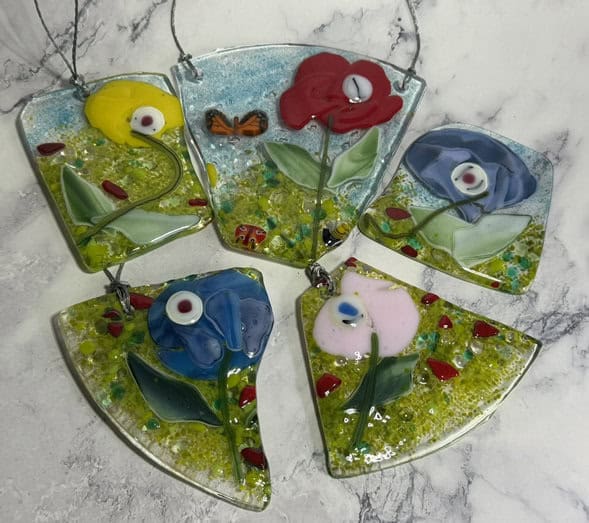
the 1st poppy
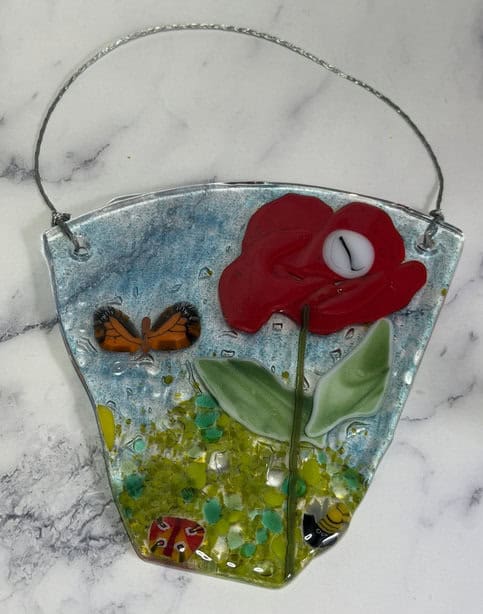
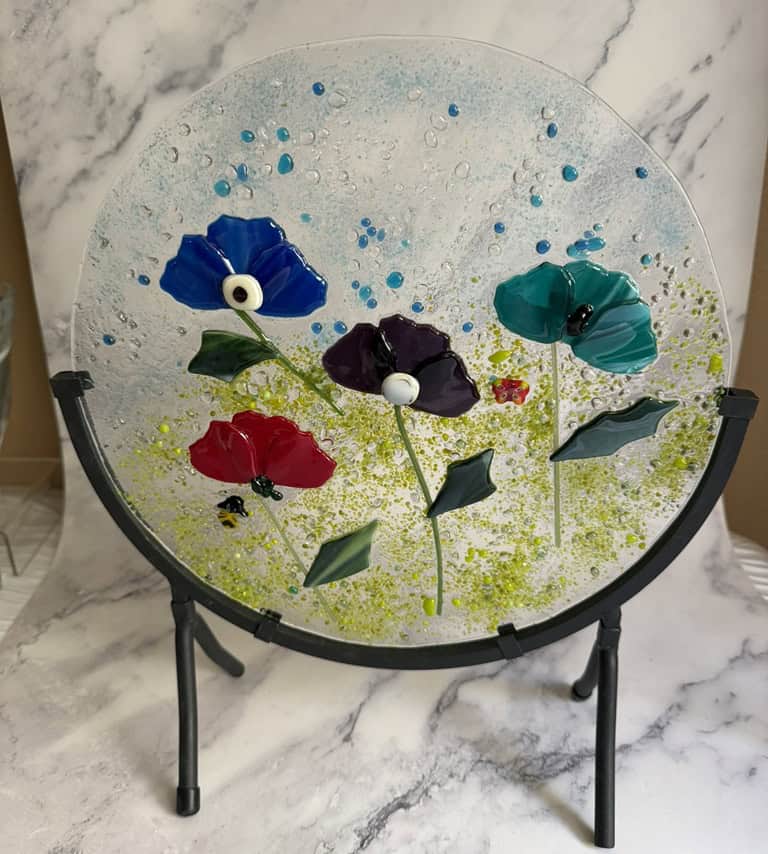
In the May advanced class, Jim decided to create another poppy piece, this time being much more mindful of the overall thickness of the flowers and glass layers. Because the project wasn’t nearly as thick as the previous one, I felt much more comfortable with the firing schedule and had far fewer concerns about stress developing during the firing process. I’m happy to say this piece turned out beautifully! The colorful poppies, delicate stems, and soft bubble effects in the background created such a cheerful and elegant design. I especially love the little details like the tiny bugs and the beautiful movement throughout the piece. Displayed on a stand, it almost feels like a bright spring garden captured in glass. One of the things I really appreciate about advanced students like Jim is their willingness to learn from previous projects, make adjustments, and try again. Glass art is often a balance between creativity and technical problem-solving, and this project was a perfect example of how experience and persistence can lead to a successful and beautiful final piece.
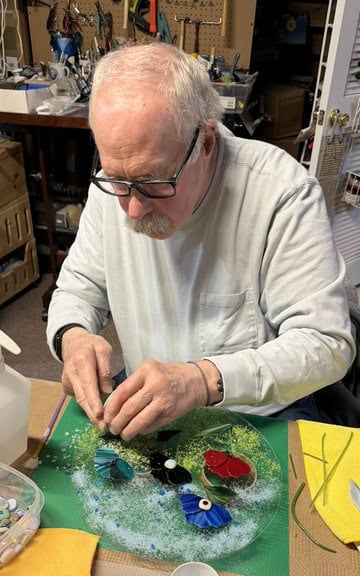
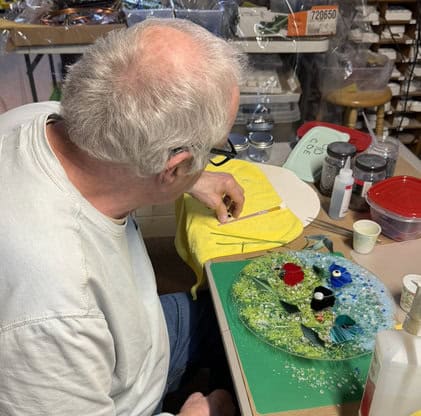
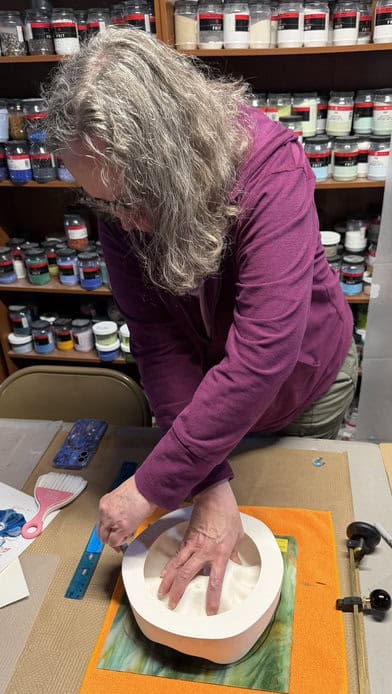
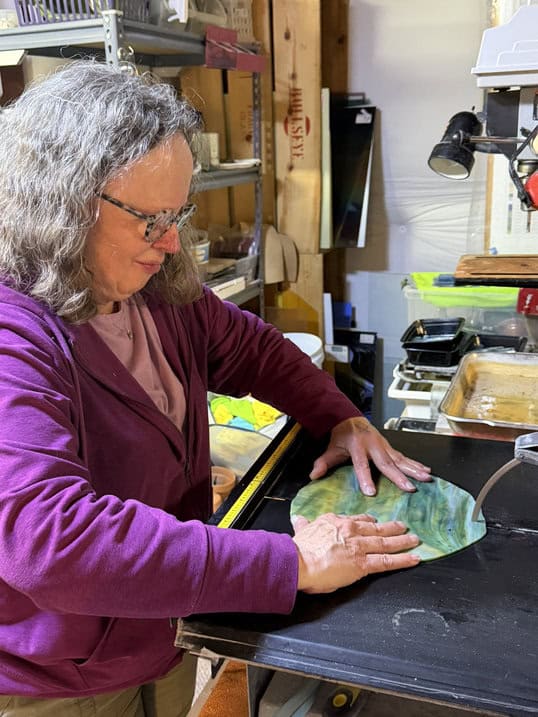
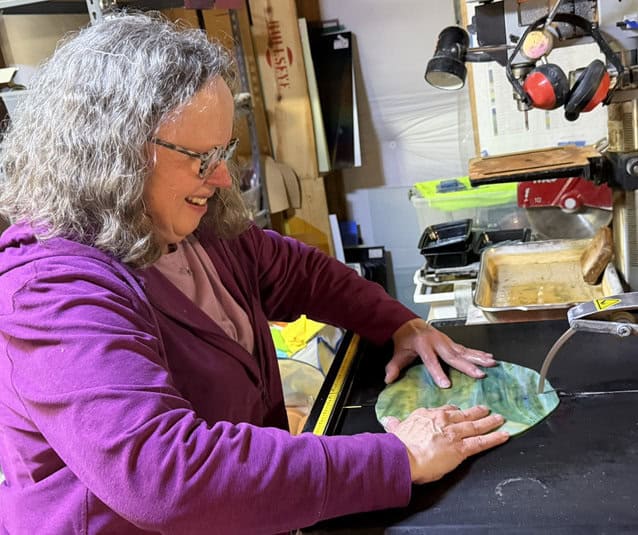
April’s advanced class turned into a tough class for just about everyone, proving once again that glass can sometimes have a mind of its own. Julie had planned to create a beautiful flower piece using this gorgeous green glass with lots of movement and color variation. The first group of photos shows her carefully working with the glass, shaping and preparing it for her project. Unfortunately, after cutting the glass and while washing it, the piece slipped and broke. Anyone who works with glass knows that sinking feeling when something beautiful suddenly shatters before it even makes it into the kiln. It’s disappointing, frustrating, and honestly just part of the reality of working with glass art sometimes. What I appreciated most was Julie’s attitude through it all. Advanced students understand that setbacks happen, and instead of getting discouraged, they adapt, regroup, and keep creating. Even though the original piece didn’t survive, moments like these are still part of the creative journey and often lead to new ideas and unexpected directions.
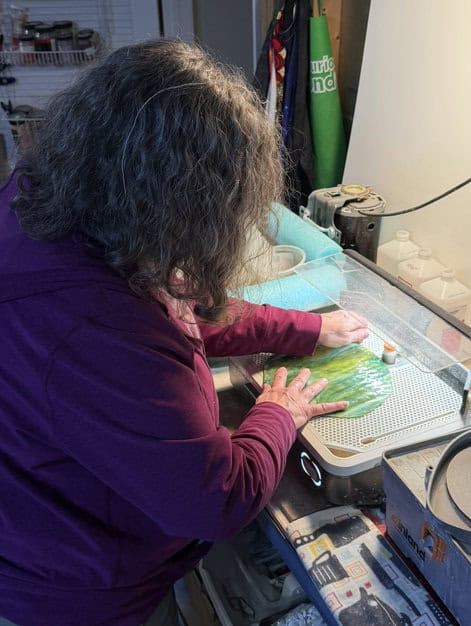
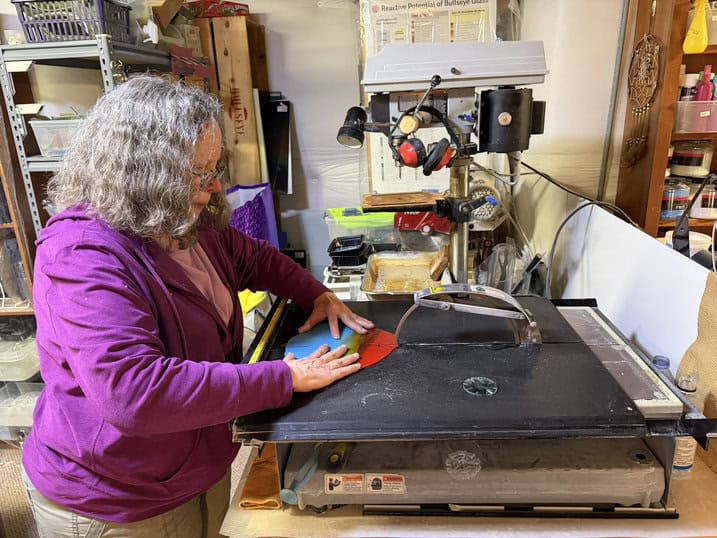
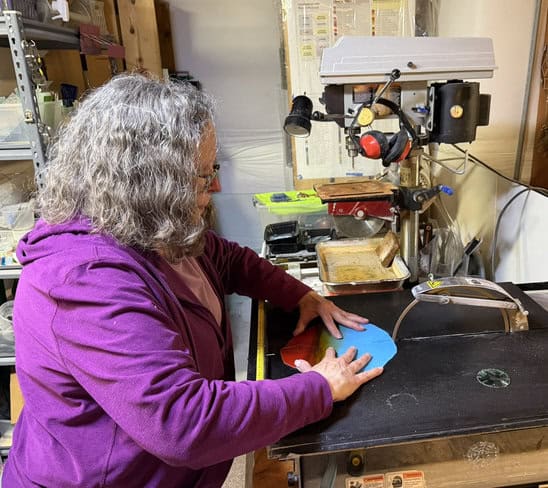
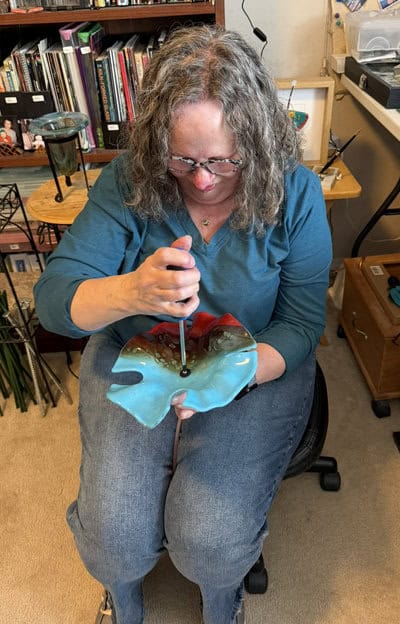
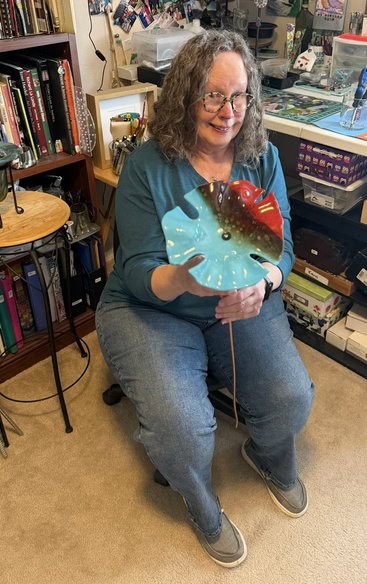
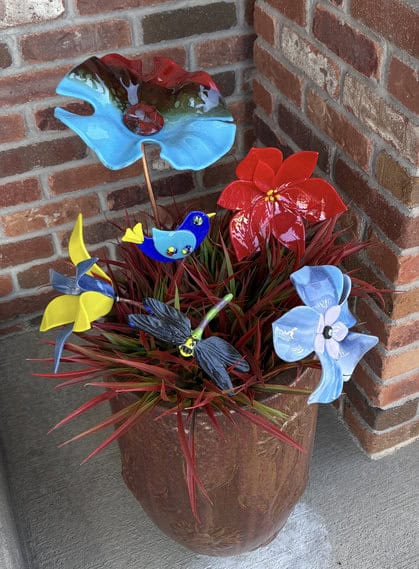
Since the first green flower broke, Julie decided to start over using one of my favorite special production glasses—and honestly, I think everything happens for a reason because this flower turned out absolutely stunning. The glass had beautiful movement and rich color variations that made the finished piece look almost alive once it was fired and shaped. You can see Julie carefully cutting and shaping the glass before firing, and then the gorgeous, finished flower after it came out of the kiln. Afterward, she drilled a hole into the piece so she could add a copper stem, transforming it into beautiful garden art. Watching advanced students combine multiple techniques like cutting, firing, drilling, and assembly is always so rewarding because every step adds another level of craftsmanship to the final piece. One of my favorite parts was when Julie later sent me a photo showing how she displayed the flower along with several of her other fused glass garden pieces. Seeing students proudly display their artwork at home is always incredibly special to me. She truly did a fabulous job—not just on this flower, but on all the beautiful glass pieces she created on her own. Her display is colorful, creative, and full of personality, just like her artwork.
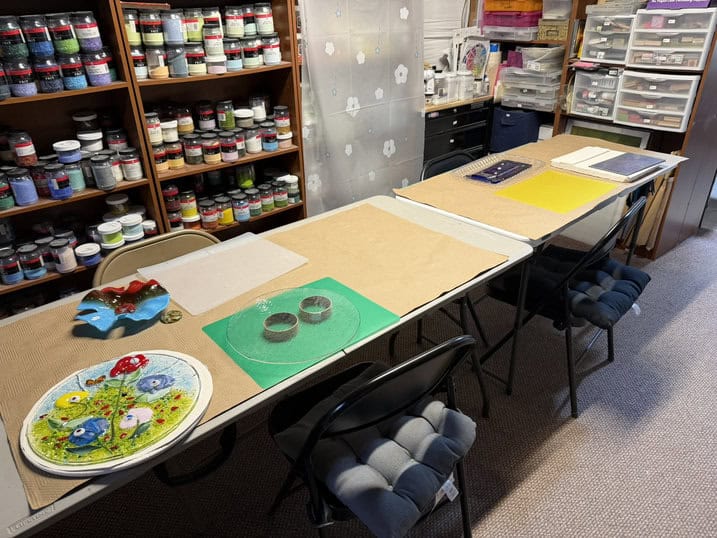
Below is the setup for our May advanced class. I had everyone’s previous projects laid out and ready for them to see, evaluate, and remake / redesign. I’ve found that there’s a lot of value in being able to physically look at a previous piece, discuss what worked, what didn’t, and then immediately apply those lessons to a new project. You can see Julie’s beautiful flower piece ready to be finished, along with Jim’s remaking poppy project. Having the pieces displayed on the tables helped spark conversations about thickness, stress points, firing schedules, and alternative approaches before anyone even started cutting glass. Advanced classes are so much more than simply creating projects—they’re about problem-solving, experimenting, and continuing to grow as glass artists. Honestly, I love these moments in the studio. Before class even officially begins, the room is already filled with discussion, ideas, and excitement about what everyone plans to try next. That creative energy is one of my favorite parts of teaching advanced fused glass.
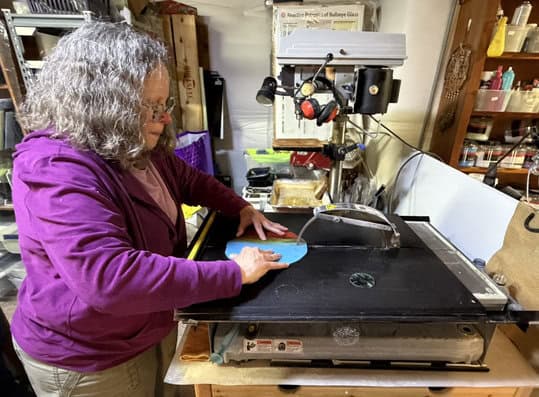
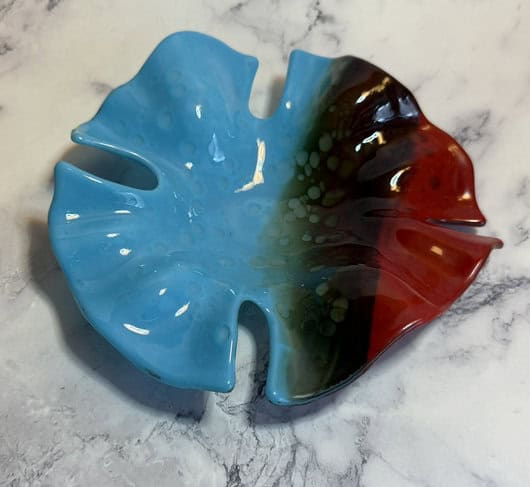
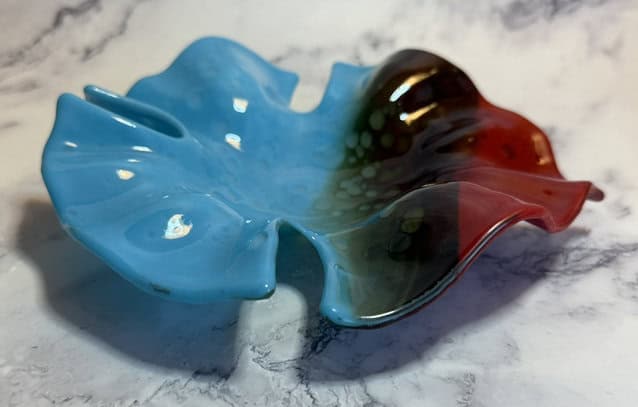
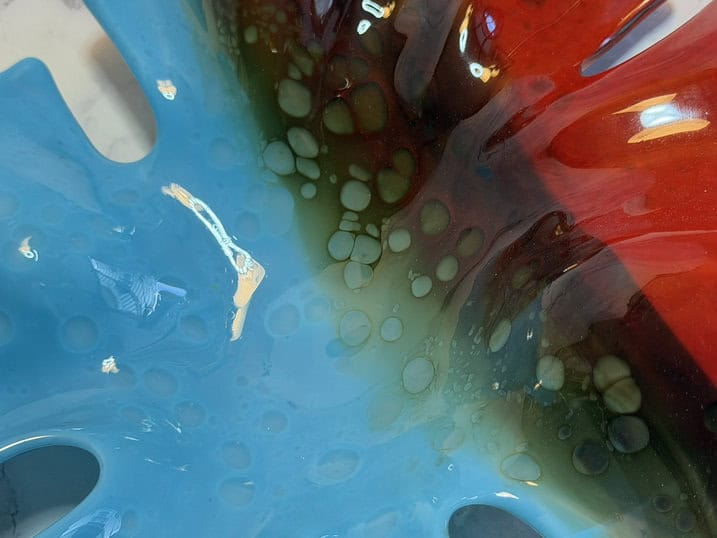
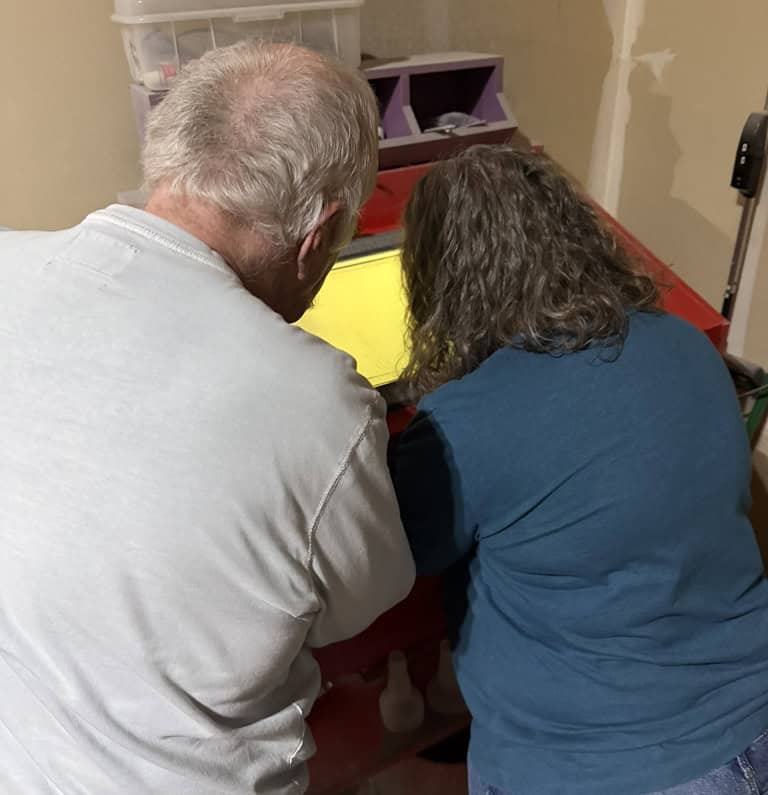
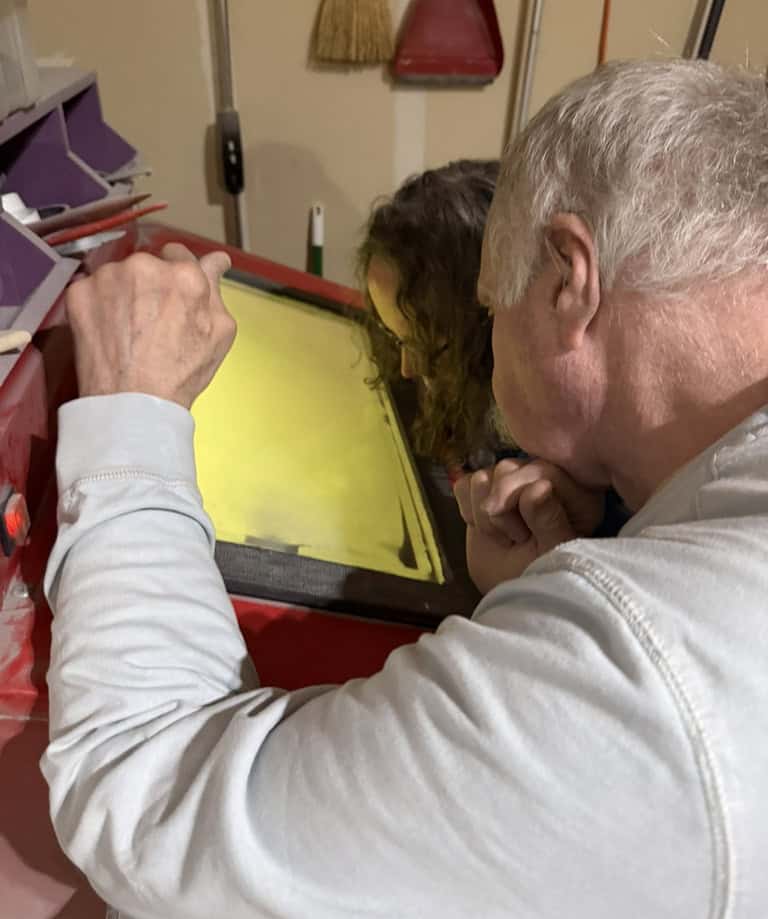
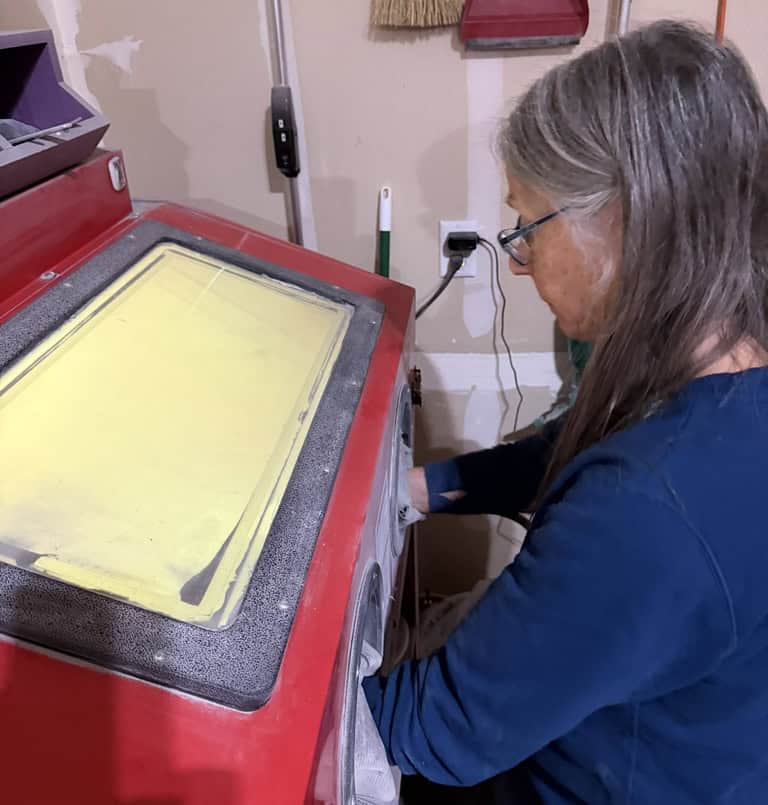
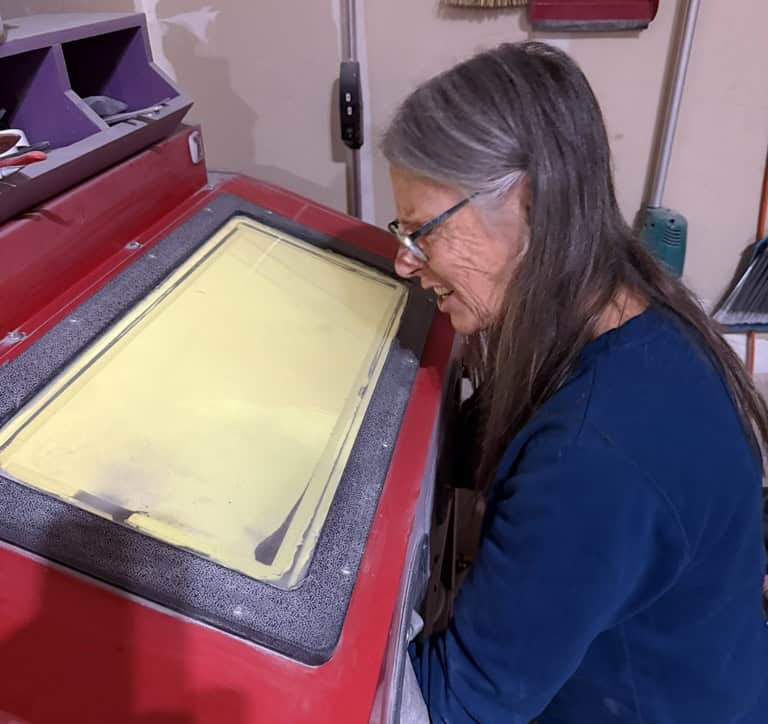
I absolutely love working with Bullseye glass, especially because of its beautiful colors and reactive qualities. However, one challenge that occasionally comes with Bullseye glass is devitrification, which can leave a cloudy or scummy-looking surface on the glass after firing. One of the best ways to remove devit is through sandblasting, so during this advanced class both Julie and Cindy brought pieces from home so I could show them the process. Sandblasting is such a useful technique because it not only removes devitrification, but it can also create a gorgeous soft satin finish on the glass. After sandblasting, both Julie and Cindy decided to slump their pieces, which gives the glass a beautiful smooth matte appearance and adds even more character to the finished work. Unfortunately, when Julie slumped her piece, it broke. That’s one of the difficult realities of fused glass—slumping and draping may look easy, but every single time you refire glass there’s always some level of risk involved. Stress hidden within the glass can suddenly appear during another firing, even when everything seemed perfectly fine beforehand.
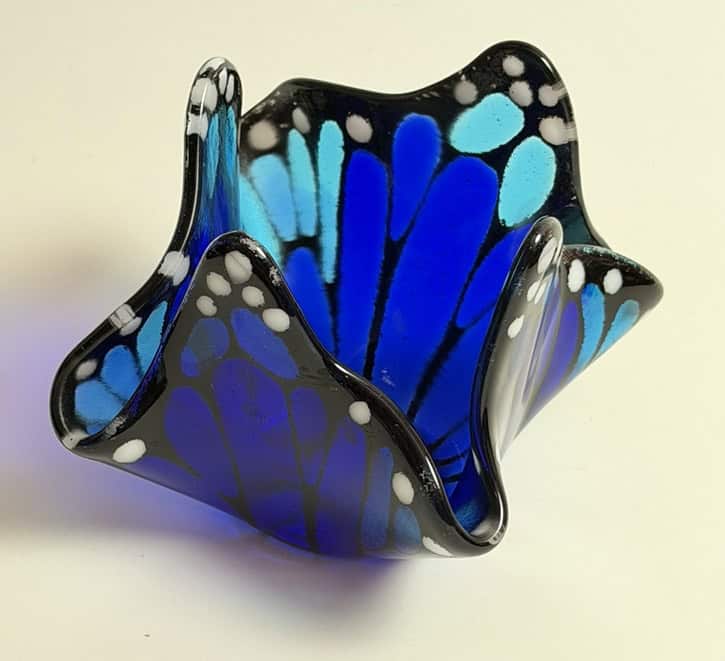
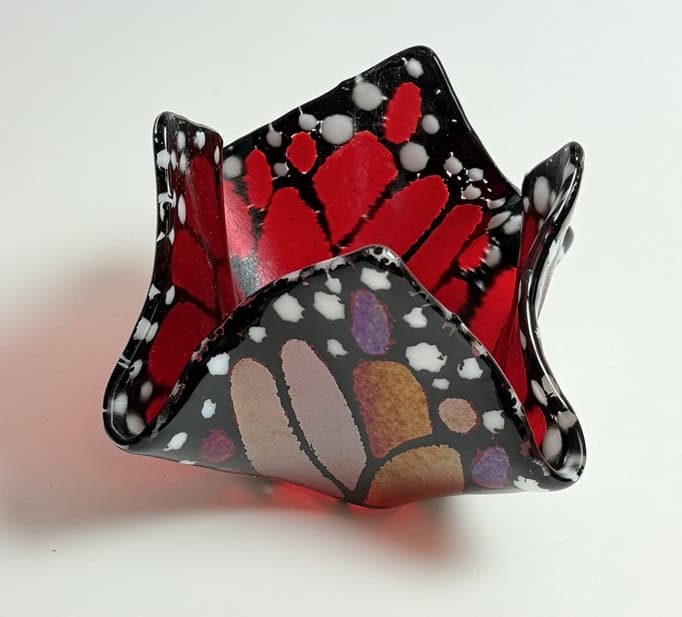
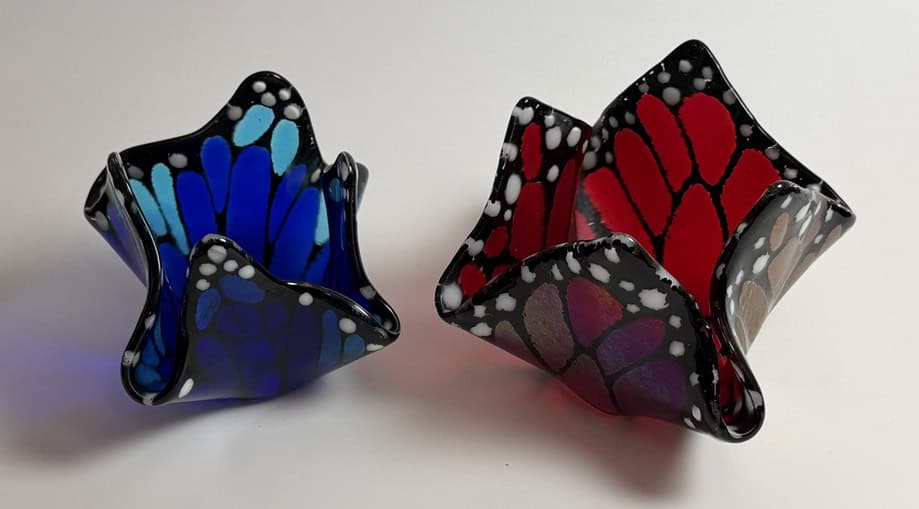
As I’ve mentioned before, Cindy is one of my advanced students, and her attention to detail really shows in her work. She created these absolutely beautiful butterfly vases using striking colors and carefully planned designs. Her cutting and grinding are incredibly precise, which makes a huge difference when creating pieces like these where symmetry, clean lines, and fit are so important. The only challenge was that Cindy’s kiln is too small to drape pieces this size, so I draped them for her in one of my larger kilns. Thankfully, all of her careful preparation paid off because both vases turned out beautifully. The flowing draped shape really brought the butterfly patterns to life, and the colors absolutely glow once light passes through them. One of the things I enjoy most about working with advanced students is seeing how much their skills continue to grow over time. Cindy’s patience, precision, and willingness to tackle more advanced projects really shine through in pieces like these. They’re bold, elegant, and beautifully executed.
The May advanced class wasn’t just about revisiting and fixing projects from April—we also spent time talking about scrap melts. Scrap melts are such a fun and creative way to use up leftover pieces of glass that might otherwise sit unused in bins and containers. One of the things I love most about fused glass is that even tiny scraps can be transformed into something absolutely beautiful. During class, I showed Cindy, Jim, and Julie several of my own scrap melt examples. Some were bold and dramatic with lots of color movement, while others had softer blended patterns and unexpected reactions. The exciting thing about scrap melts is that no two are ever alike. You can guide the colors and placement to a degree, but once the glass melts and flows in the kiln, it develops its own unique movement and personality. I think scrap melts are especially inspiring for advanced students because they encourage experimentation and creativity without overthinking every little detail. They’re also a wonderful reminder that even leftover scraps of glass can become stunning works of art. Honestly, some of my favorite pieces have started as nothing more than a pile of colorful scraps waiting for a second life.
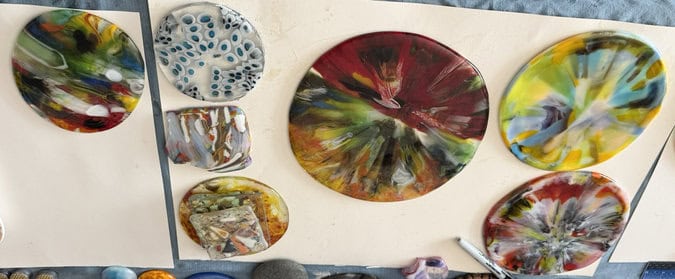
Here is Jim experimenting with two completely different types of scrap melts. One of the things that makes scrap melts so exciting is that you truly never know exactly what you’re going to get once the glass begins flowing and reacting in the kiln. You can plan colors, placement, and even the mold shape, but the kiln always adds its own little surprise to the final result. The second piece—the red one—is what I call a stack melt. Stack melts tend to create more dramatic movement and flowing color patterns because the glass is layered and stacked in a way that allows it to spread and blend differently as it melts. Watching the colors stretch, swirl, and interact during firing is always fascinating, especially with reactive glasses involved. What’s especially important to understand is that scrap melts usually aren’t “one-and-done” projects. The first firing is often just the beginning. Once the melt is finished, we evaluate the patterns, colors, thickness, and movement to decide what the next step will be. Some pieces may be cut apart, cold worked, slumped, draped, or incorporated into entirely new projects later on. That’s exactly what we plan to do with these pieces in our June advanced classes. I’m really excited to see how Jim continues developing them because scrap melts often evolve into some of the most unique and artistic fused glass pieces imaginable.
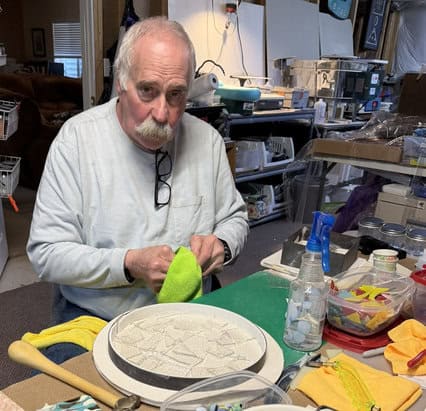
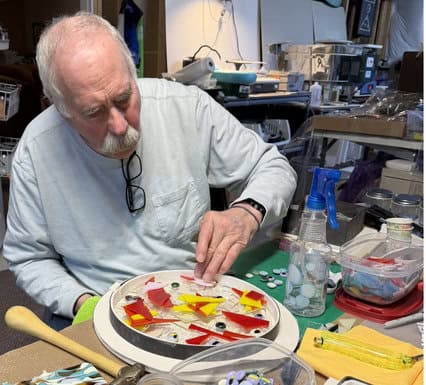
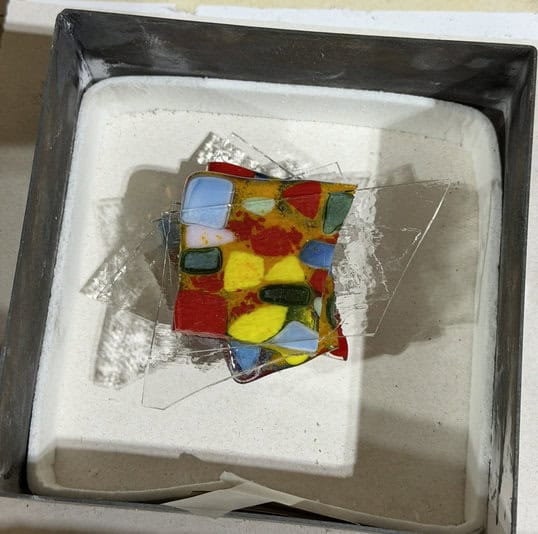
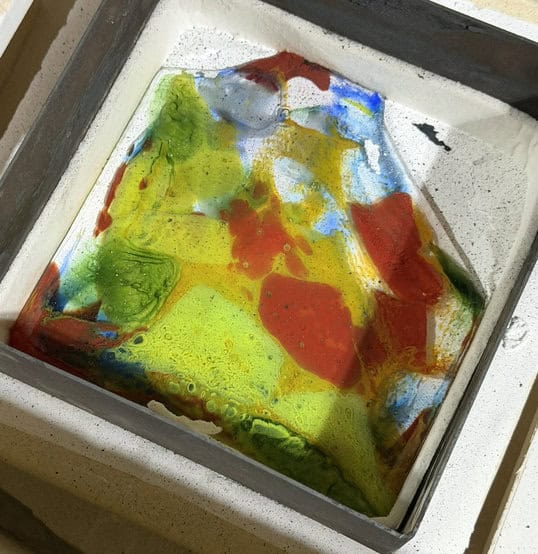
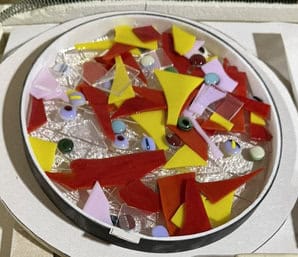
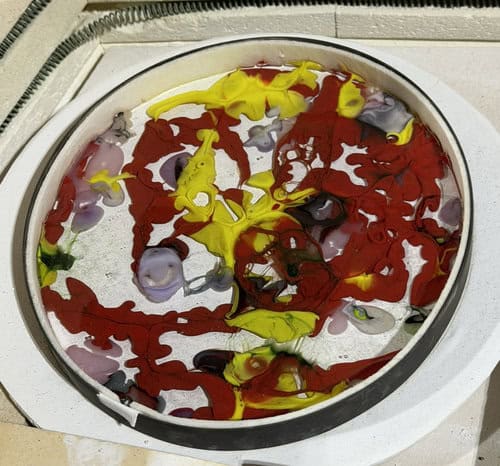
Here are Cindy’s two different types of scrap melts from our May advanced class. For her first piece, she used a lot of blue glass, creating beautiful flowing patterns with soft blends of aqua, cobalt, white, and hints of green. The colors melted together in such an organic way, almost reminding me of water or waves once the glass fully flowed in the kiln. Her second piece—the red one—as I said is a stack melt. Stack melts typically create much more movement and dramatic stretching of color because the glass is layered differently before firing. I always enjoy seeing how the colors twist, separate, and react during the melt because every firing produces completely unique results. As I mentioned earlier, these pieces are definitely not finished after just one firing. Scrap melts are really the beginning of the creative process rather than the end. In our June advanced classes, we’ll continue working with them by cutting, reshaping, slumping, or incorporating them into entirely new projects. And honestly… I already have a pretty good idea what Cindy is probably going to create with her blue piece! One of the fun things about teaching advanced students for multiple classes is getting to watch how their creative minds work and seeing how they envision the next step long before the project is actually finished.
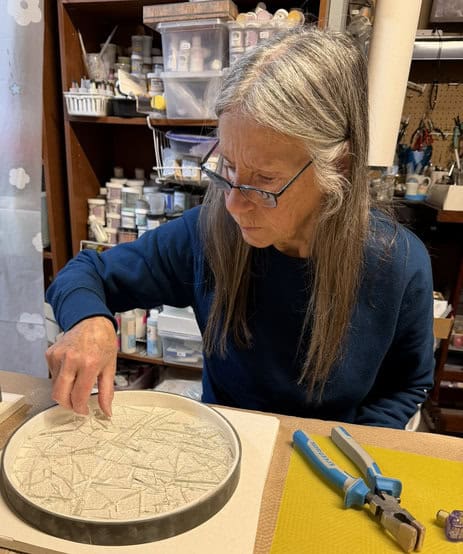
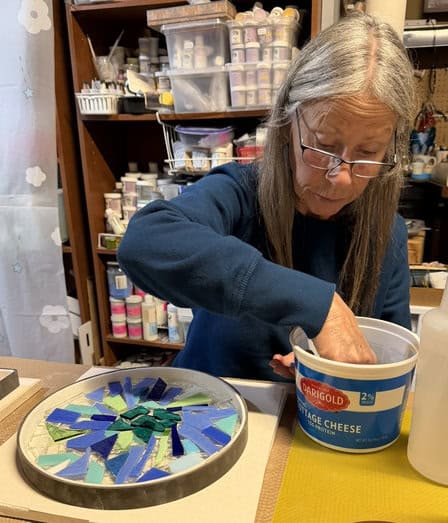
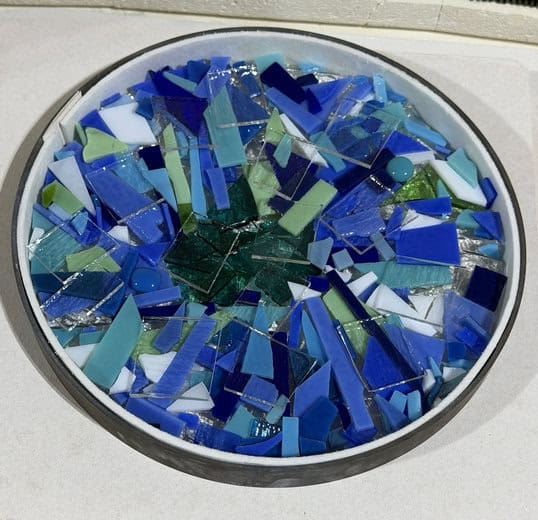
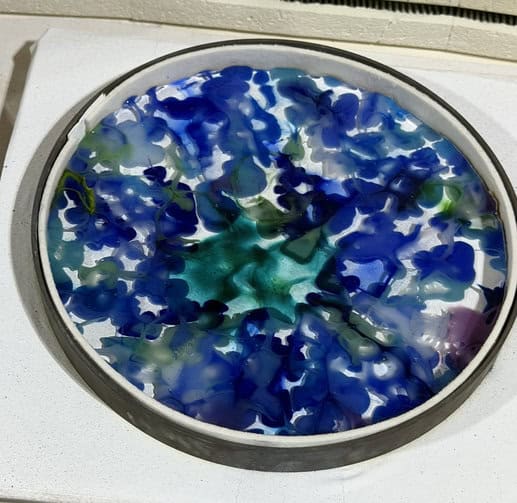
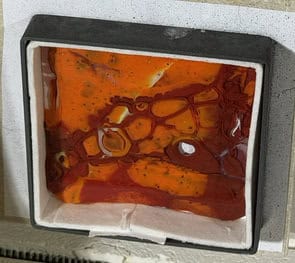
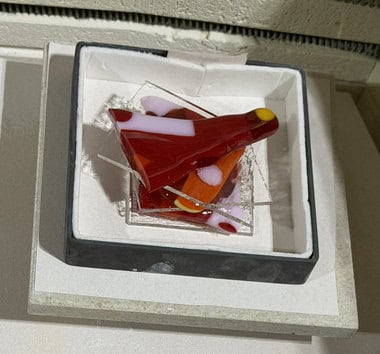
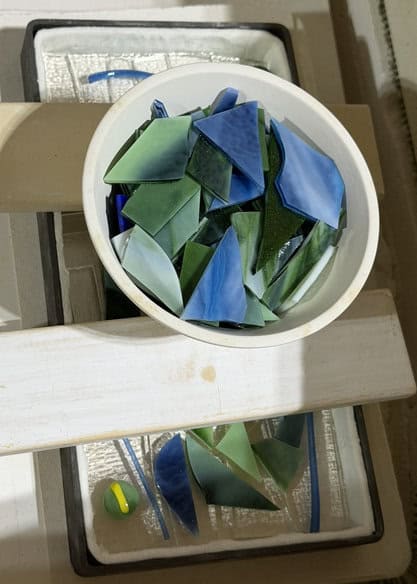
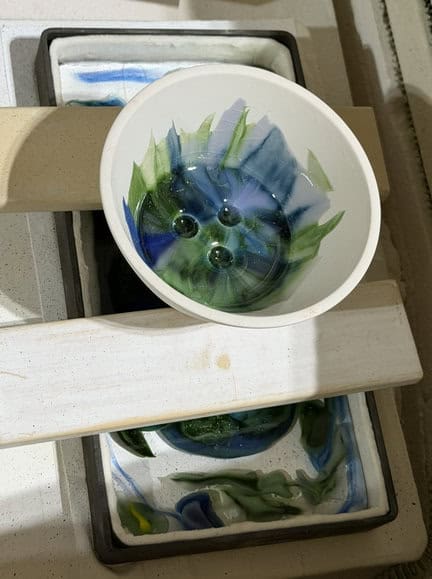
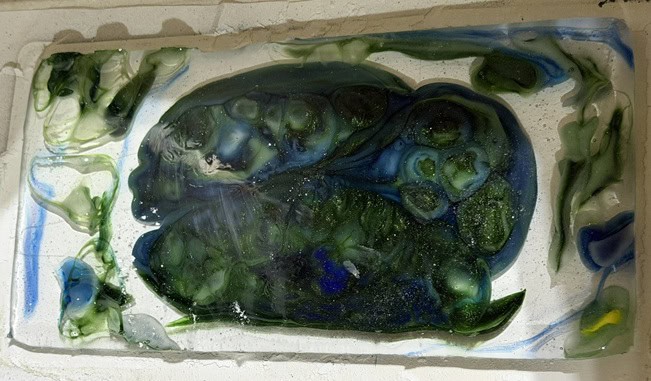
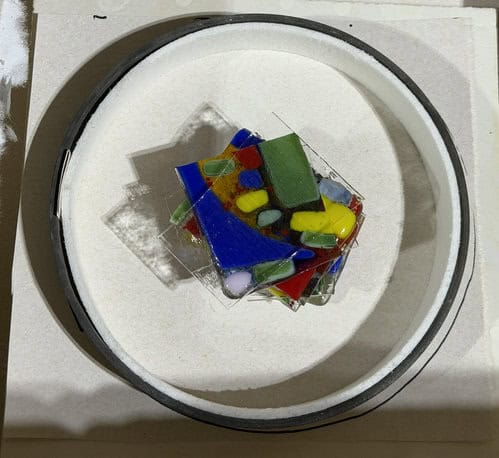
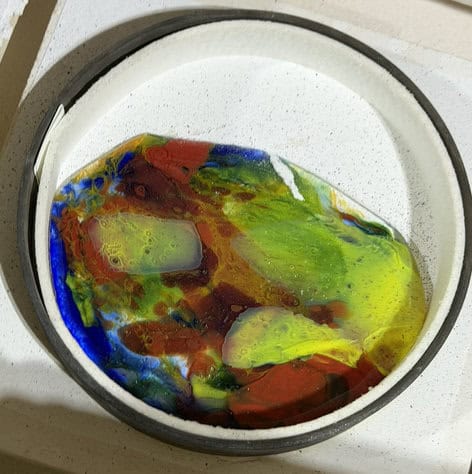
Because Julie received a smaller mold, we decided to try something a little different for her project—a pot melt. Pot melts are such a fun technique because they create incredible movement and flowing patterns as the molten glass pours through the pot and spreads across the kiln shelf below. I personally love the organic motion and blended color effects they create. While scrap melts and pot melts are somewhat similar, they each produce very different looks and have their own unique purposes. Scrap melts tend to create layered, patchwork-style designs depending on how the glass is arranged, while pot melts usually produce softer flowing movement and dramatic color blending. Neither technique is better than the other—they’re just different creative approaches that produce completely unique results every single time. Julie’s pot melts turned out beautifully, especially with the flowing blues, greens, and clear moving throughout the glass. One of my favorite things about techniques like this is that there’s always a little mystery involved. You can guide the process with color choices and setup, but once the kiln takes over, the glass develops its own personality and movement. Advanced classes like these are always so much fun because they allow students to experiment with techniques they may never have tried before while also learning how versatile and unpredictable fused glass can truly be.
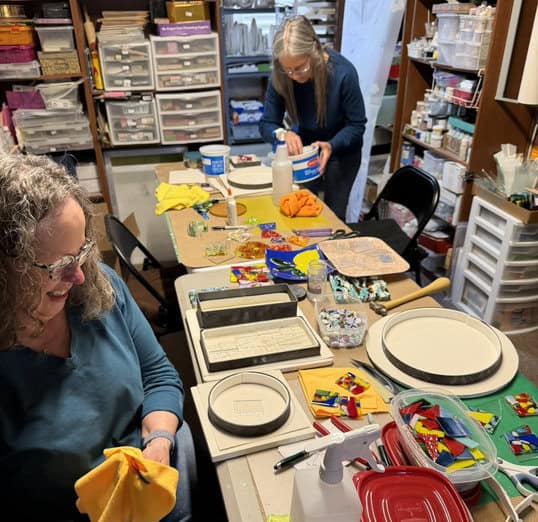
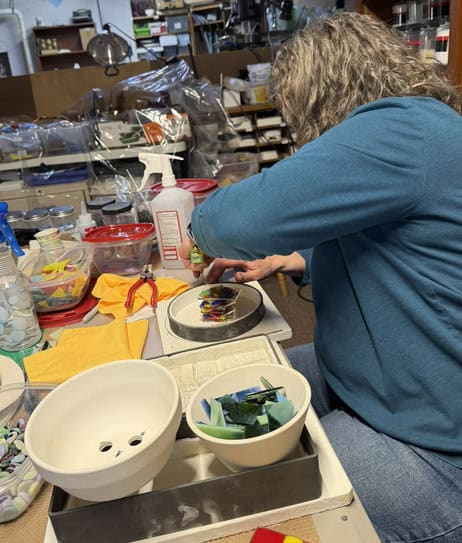
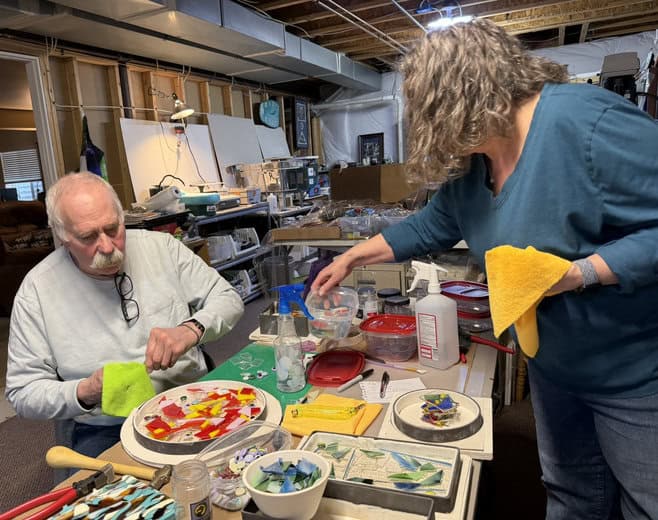
These advanced classes are always some of my favorite classes to teach because they go far beyond simply making a finished project. Cindy, Jim, and Julie continue to challenge themselves with new techniques, larger projects, creative risks, and problem-solving—and that’s where real artistic growth happens. Over the course of these April and May classes, we explored everything from vitrigraph and scrap melts to pot melts, drilling, sandblasting, slumping, draping, and troubleshooting broken pieces. Some projects turned out exactly as planned, while others taught us valuable lessons along the way.
That’s the reality of fused glass, especially at an advanced level. Glass can be unpredictable, frustrating, exciting, and incredibly rewarding all at the same time. But even when a piece cracks, breaks, or needs to be reworked, there’s still learning, creativity, and inspiration happening throughout the process. Honestly, I think that’s one of the reasons these students continue to grow so much as artists—they embrace experimentation and understand that every firing teaches something new. I’m already excited to see what Cindy, Jim, and Julie create next as we continue working on these projects in our June advanced classes. Knowing these three, I’m sure there will be plenty more creativity, surprises, and beautiful glass ahead.
If you’d like to see more of my fused glass creations, please visit my website: Elegant Fused Glass by Karen. While you’re there, be sure to explore the full site — and don’t forget to check out my Elegant Fused Glass by Karen YouTube channel for videos and inspiration! If you’d like to stay up-to-date with my latest projects, classes, and events, I also invite you to sign up for my monthly newsletter, published on the last day of each month. And if you’re interested in taking a class, you’ll find all the details about upcoming opportunities right on my website! If you have any questions about taking classes or would like to schedule one, feel free to email me at elegantfusedglass@gmail.com. I’d love to help you create something amazing when you’re ready!
Keeping my kilns warm,
Karen

