
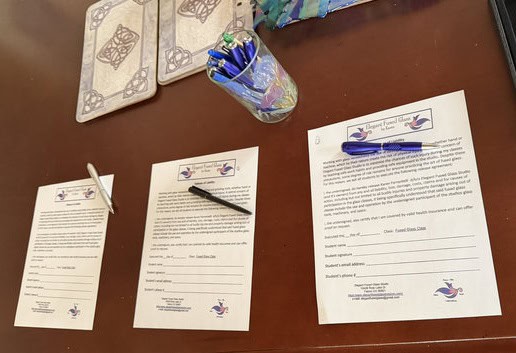
This class was all about advanced creativity with Jim, Julie, and Cindy, three experienced students who have taken numerous fused glass classes with me. Even though they know their way around my studio—and probably know where half my supplies are by now! 😂—we still start every class by completing the required liability forms. After that, there was no need for a tour or much introduction. Each of them had already decided what they wanted to create, so we could jump right in. I love teaching my advanced students because I get to step back a little, help with the more challenging techniques when needed, and watch as they take their own ideas and turn them into truly unique pieces of fused glass.
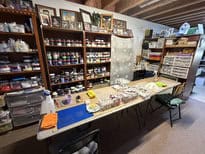
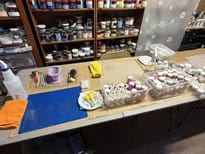
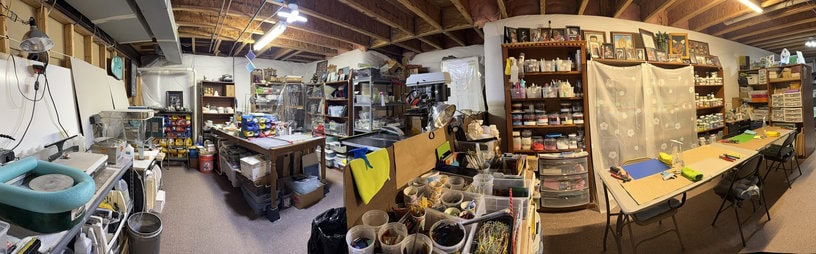
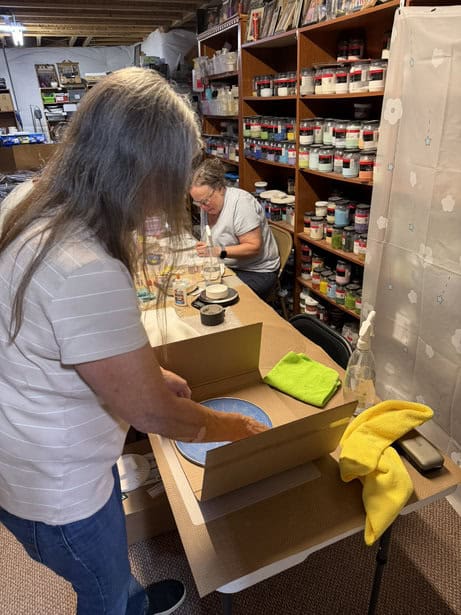
Before everyone arrived, I had the studio set up and ready for their individual projects. Since Jim and Julie had both decided they wanted to work with glass painting, I pulled out a wide assortment of my specialty glass paints for them to experiment with. One of the fun things about painting on glass is that there are so many different products, colors, and effects to try, and I wanted them to have plenty of choices right at their fingertips. With advanced students, I can tailor the setup much more specifically to what they’re planning to create. Instead of putting out the same supplies for everyone, I gather the specialty tools, glass, paints, and materials each project may require. Of course, the tables look wonderfully organized in the picture because nobody had started yet. 😂 Give three creative people a little time, and I guarantee they won’t stay looking like that for long!
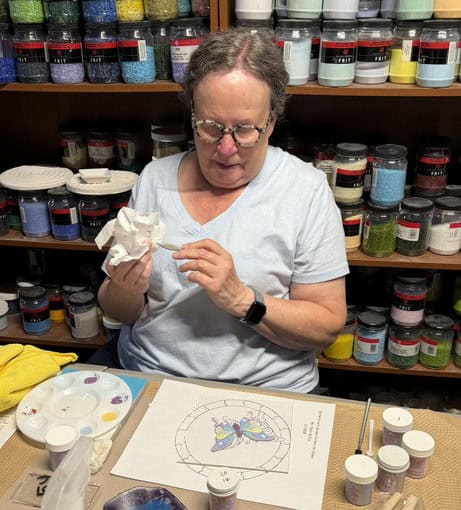
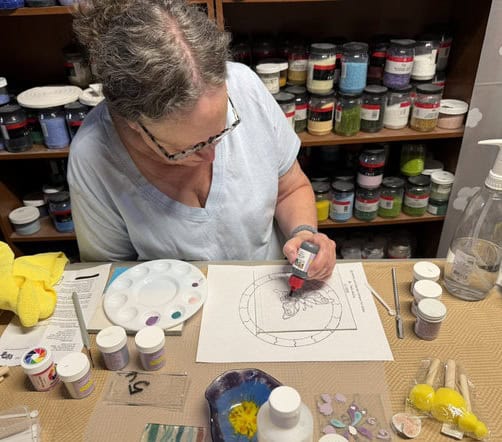
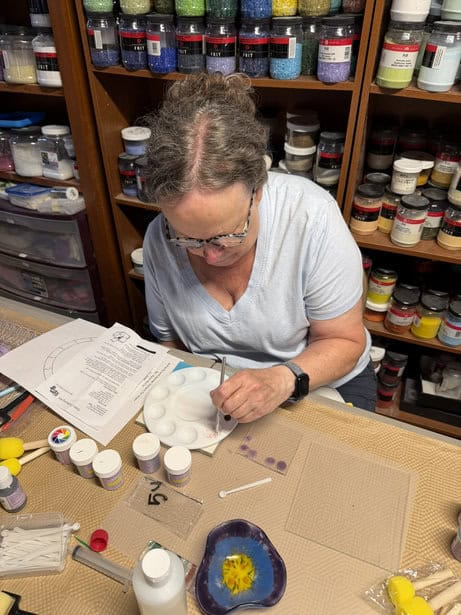
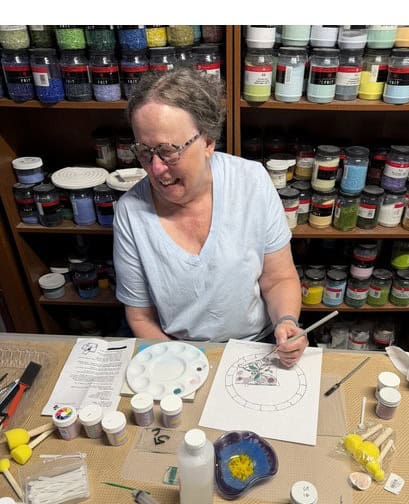
Jim is quite the painter, so this technique was right up his alley! For this class, we worked with several different types of glass paints, including CFE and UCG paints along with detail paints. Jim brought patterns he wanted to work with, and we used those designs as guides while experimenting with the different paints, brushes, colors, and ways of filling in the patterns. We also created a practice sheet, which is something I really like to do in a technique class. It gives students the freedom to experiment and see how the different products behave without worrying about making everything perfect. One important thing about painting on fused glass is that patience is part of the process. Depending on the design and the paints being used, it can take multiple firings to build up the details and achieve the finished result. Because these pieces weren’t going to be completed in a single class and Jim is an experienced student, he took his work home to continue painting and firing on his own. That’s exactly what I love about an advanced technique class—the goal isn’t necessarily to finish a project that day; it’s to learn a new skill, experiment with the materials, and leave with another technique you can use in future glass creations. ❤️
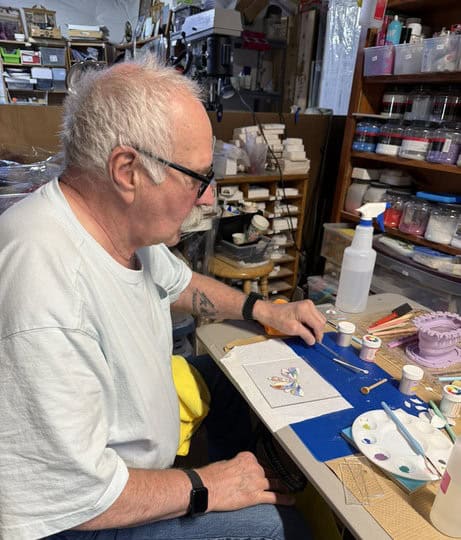
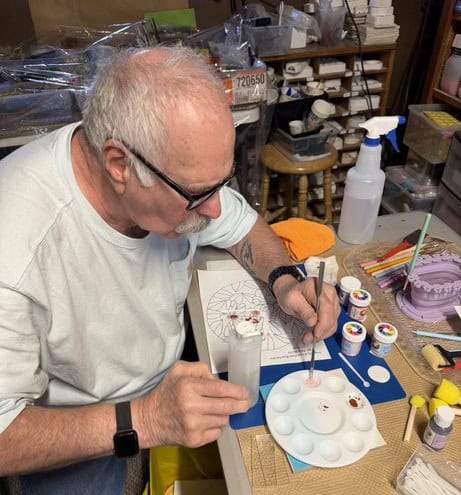
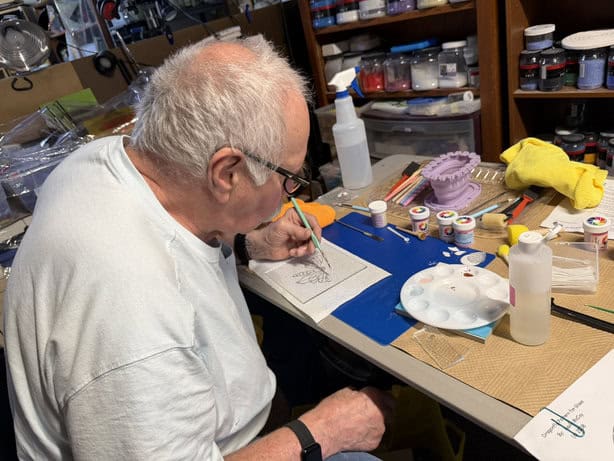
Julie is also a wonderful painter, and you can see how focused she was as she experimented with the different glass paints. Like Jim, she worked with CFE, UCG, and detail paints, using the practice glass first to get a feel for the colors, consistency, and how each paint behaved before moving on to her chosen patterns. That’s one of the reasons I like having practice pieces available—glass paint doesn’t always look the same before firing as it does afterward, so experimenting is an important part of learning the technique. Since Julie is an advanced student, she was able to really play with the paints rather than simply follow instructions, which is exactly what I want from these technique classes. She could test colors, practice details, and figure out which products she liked best. Her painted pieces will also require additional work and firings, so she took them home to continue the process. I can’t wait to see what she does with this technique in her future fused glass projects! ❤️
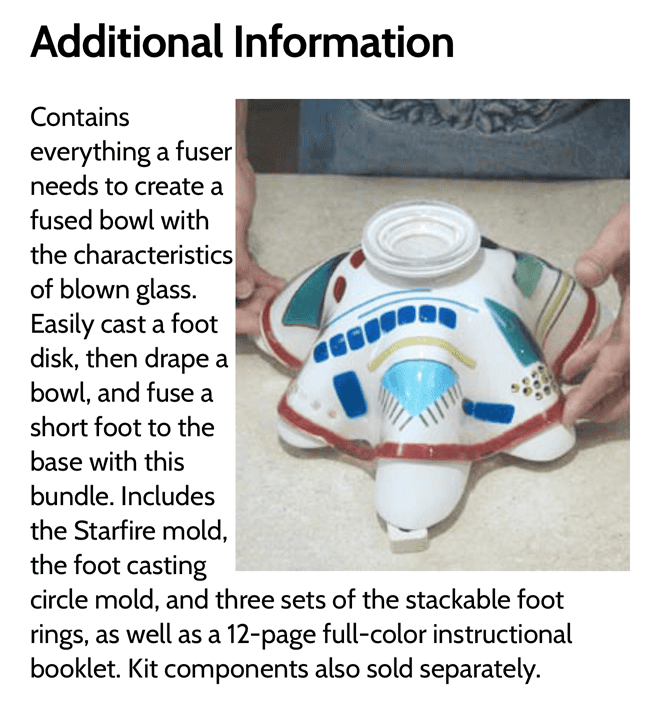
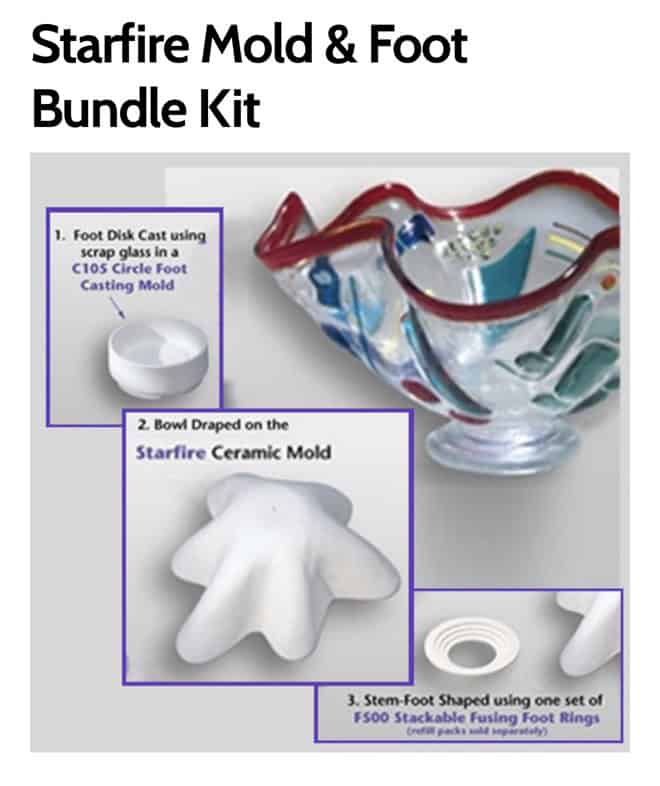
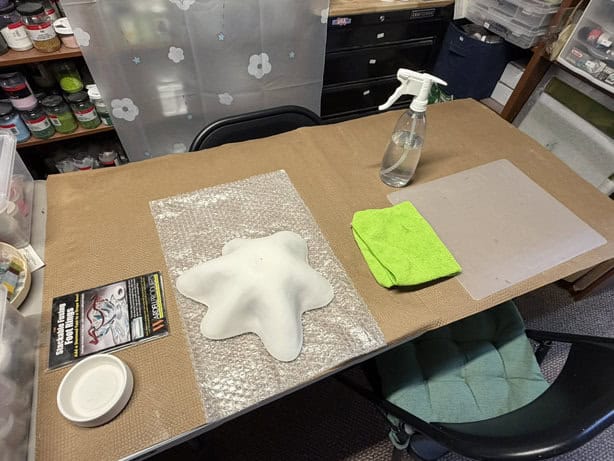
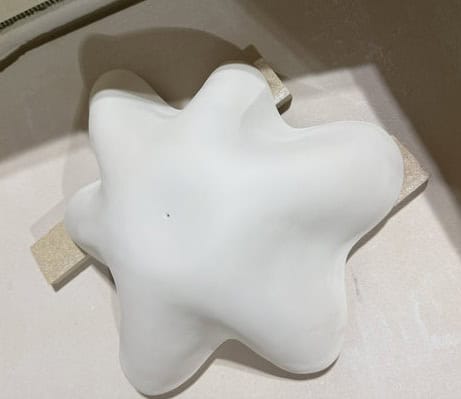
Cindy chose something completely different—and definitely challenging! She wanted to create a fused glass bowl with the look and characteristics of a blown-glass vessel using the Starfire mold system, a technique I had never done before either. The process involves several stages, including forming the glass over the unusual star-shaped mold and eventually creating and attaching a separate glass foot to the bottom. This was going to be a learning experience for both of us! Since I knew Cindy was tackling something new, I spent time before class researching the process and preparing her workspace with the mold, instructions, kiln paper, cleaning supplies, and the other materials she would need. That’s one of the things I enjoy about working with advanced students—they sometimes choose projects that push me to learn something new too! Cindy was ready for a challenge, her station was ready to go, and now we just had to see if we could turn a flat piece of glass into something that looked like it came from a glassblower’s studio. ❤️
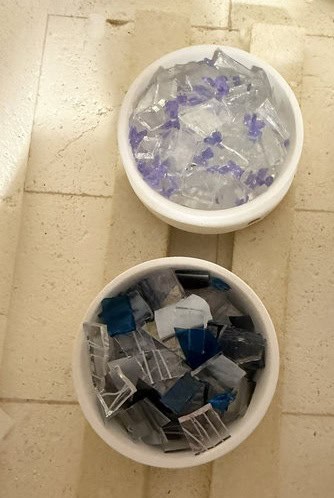
Once Cindy got started, the first step was creating the flat glass design that would eventually become her bowl. She chose a clear circular base and began arranging different shapes and colors of glass around it, leaving plenty of clear space between the pieces. Since this glass will eventually be draped into that unusual mold, she had to think beyond what the design looked like lying flat on the table and imagine where those colorful pieces would end up once gravity and heat transformed it into a three-dimensional form. That’s one of the things that made this project so much fun—and challenging. We weren’t just designing a pretty piece of flat glass; we were designing for what we hoped the glass would become later. Cindy carefully cut, cleaned, and positioned each piece before it went through the first firing. And because this technique involves multiple steps and firings, this was only the beginning. I was just as curious as Cindy to see what that kiln was going to give us! 😂❤️
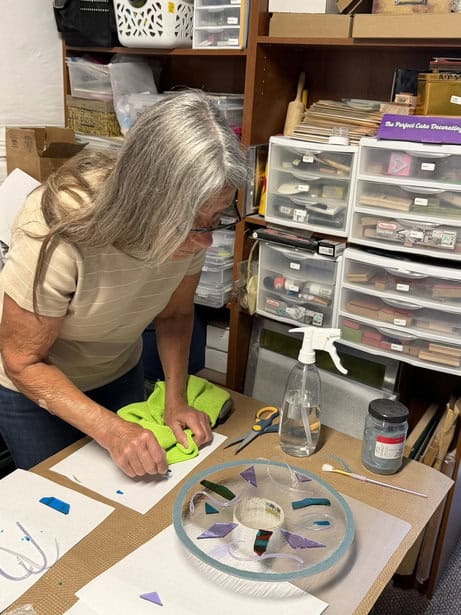
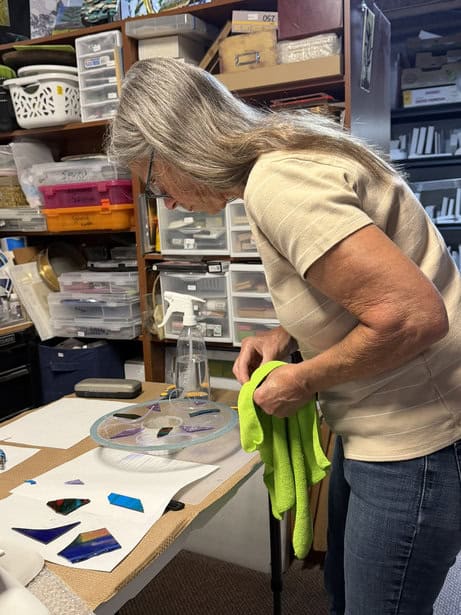
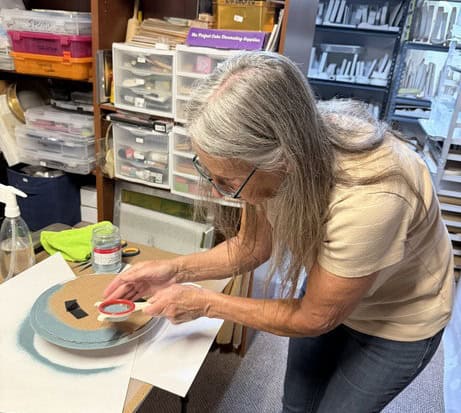
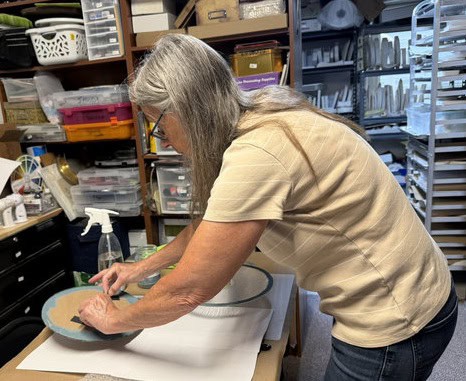
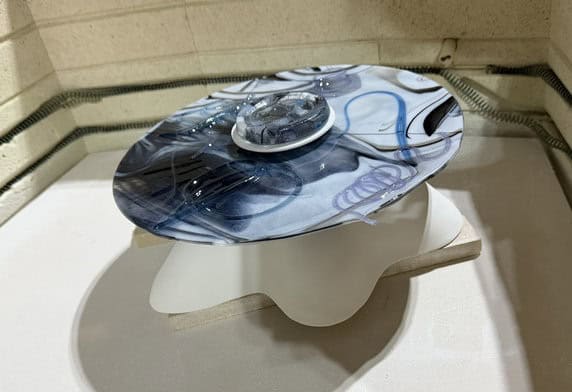
After the first firing, Cindy’s piece was still a flat circle of fused glass, but the next step was where the real magic—and challenge—happened. The glass was placed over the special star-shaped draping mold so that, as the kiln heated, gravity slowly pulled the softened glass down around the mold. That’s what created those gorgeous, free-flowing waves around the edge and gave the bowl a look that reminds me much more of blown glass than a traditional fused-glass bowl. I especially love seeing how Cindy’s original design changed as those colors and lines moved from a flat surface into a three-dimensional form. The really interesting part of this technique was that we added the glass foot during the same firing that draped the bowl. As the bowl softened and took its new shape, the separately prepared foot fused to the bottom, giving the finished bowl its raised base. That took some planning because everything had to come together correctly during that one firing. Cindy chose opaline glass, and I think it was absolutely perfect for this piece. It has such a beautiful soft, translucent quality, and those blues, aquas, and lavender accents seem to float through it. This project took several steps and a little work—and remember, it was a first for me too!—but just look at the result. What started as a flat piece of glass became this graceful, sculptural bowl.
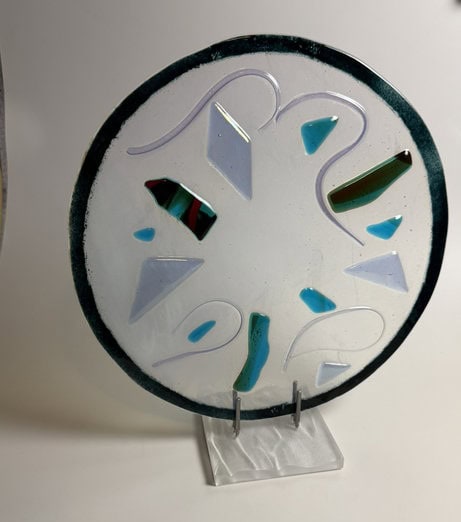
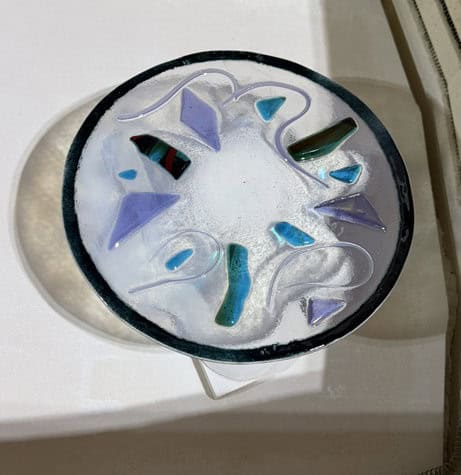
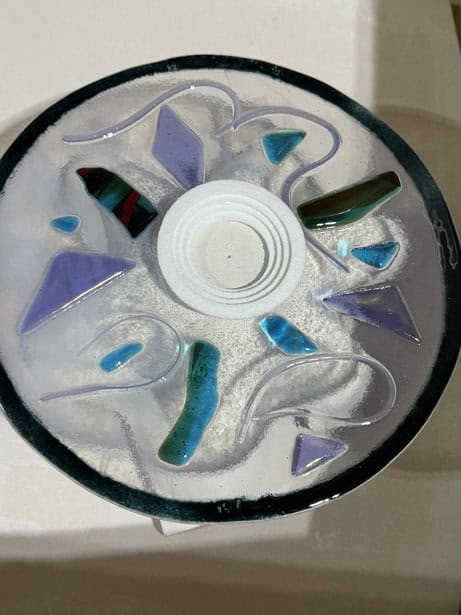
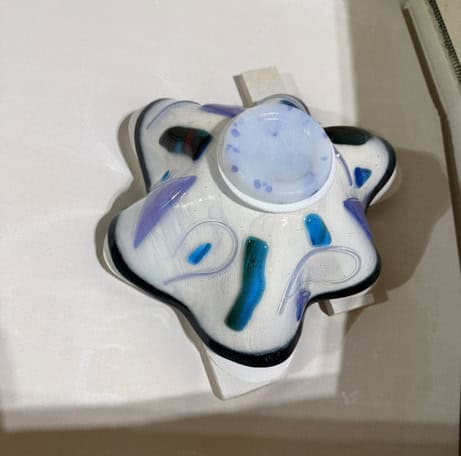
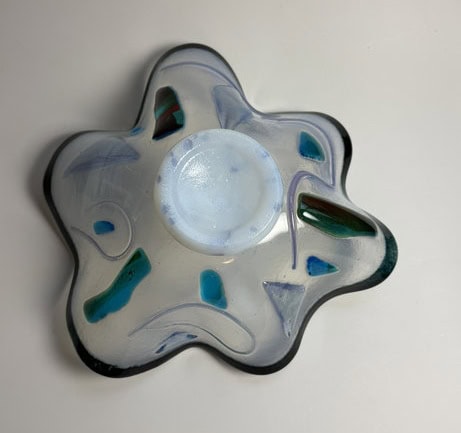
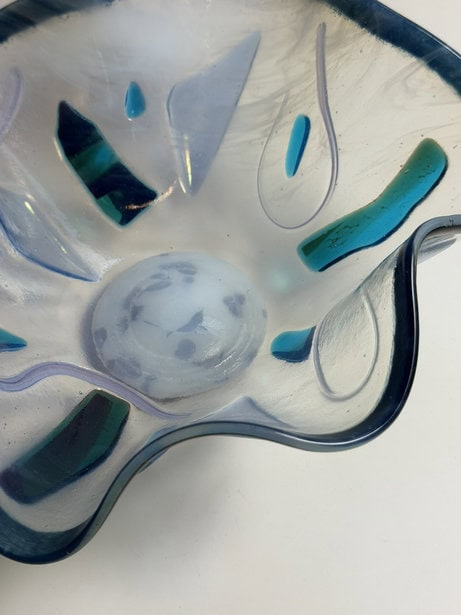
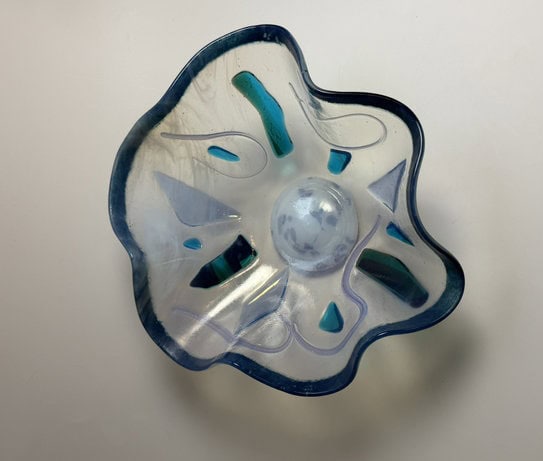
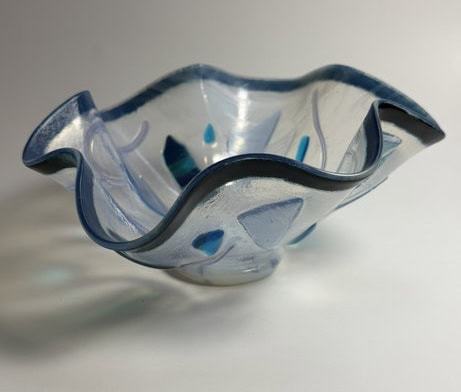
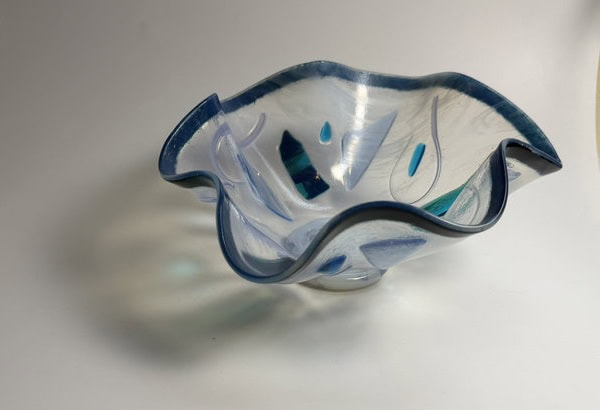
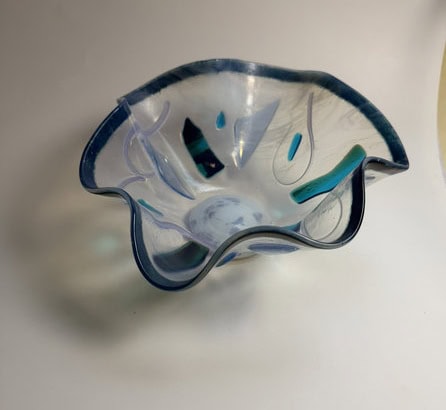
Because Cindy had chosen such a complicated new technique, I wasn’t about to experiment for the first time using her beautiful piece! 😂 I decided to make a similar bowl of my own and work through the entire process first. That allowed me to figure out the placement, firing, draping process, and especially how to position the glass foot so it would fuse to the bowl while the rest of the glass was draping over the mold. As you can see in the process photo, there is quite a bit happening during that firing! Thankfully, my test bowl turned out perfectly, and I think doing that practice run made all the difference when it was time to fire Cindy’s. I knew what to expect from the mold, how the glass would move, and what needed to happen for that foot to attach correctly. That’s part of teaching advanced fused glass that I really enjoy: sometimes a student chooses a technique that pushes me to try something new too! Cindy challenged both of us with this one, and in the end we had two successful bowls and a brand-new mold under our belts. ❤️
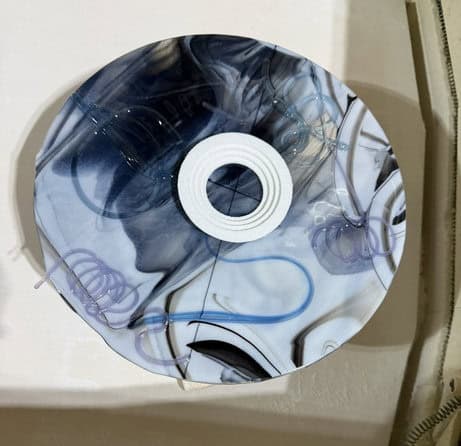
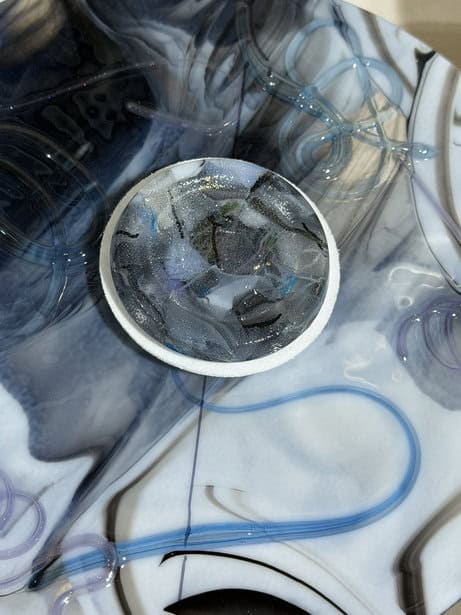
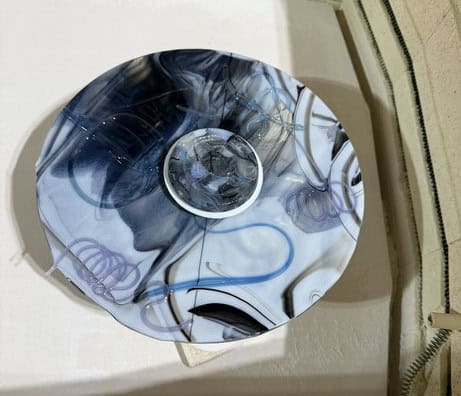
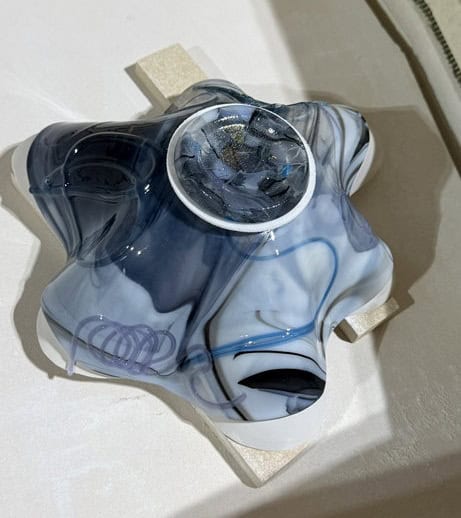
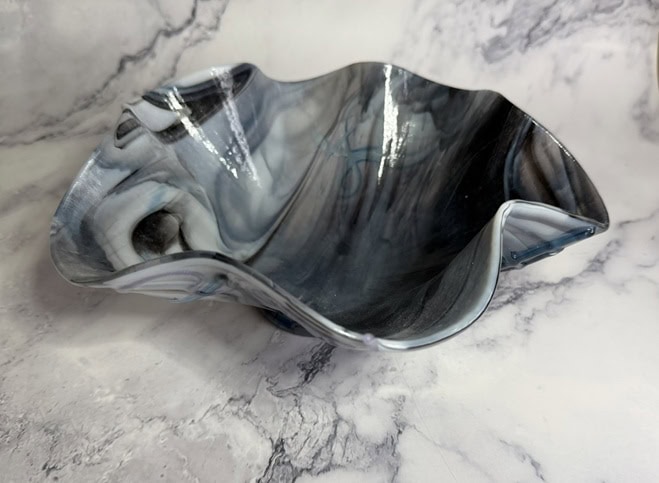
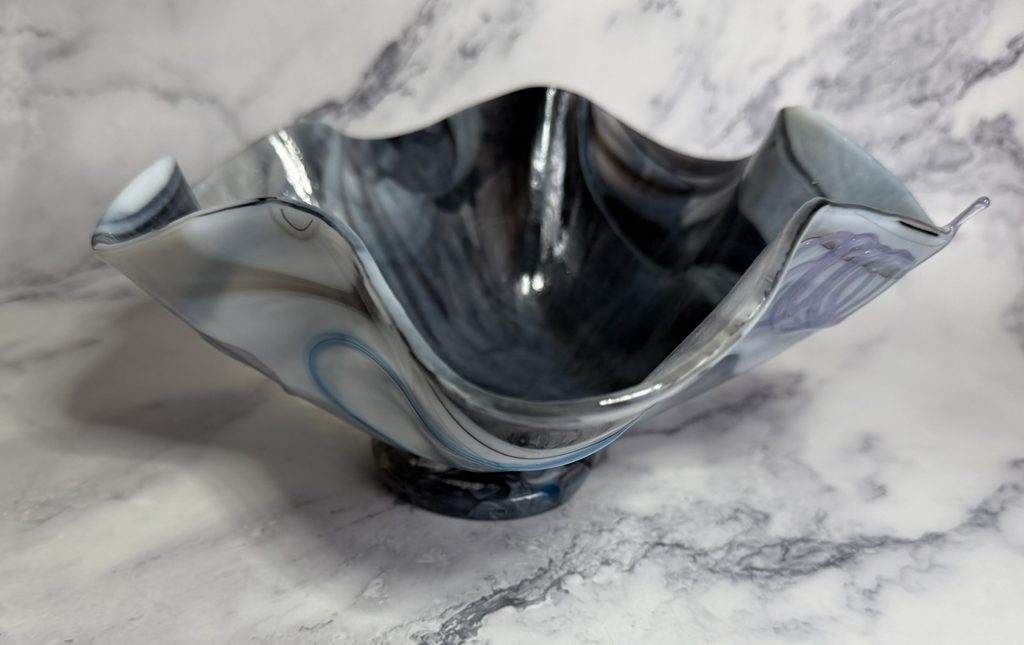
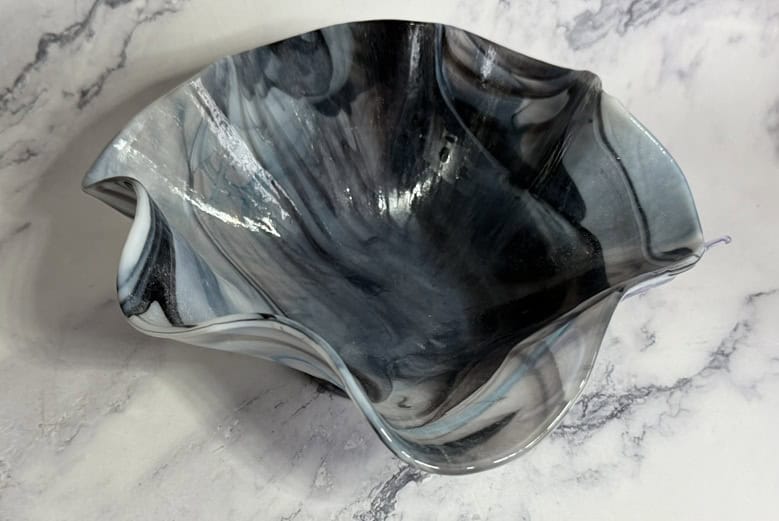
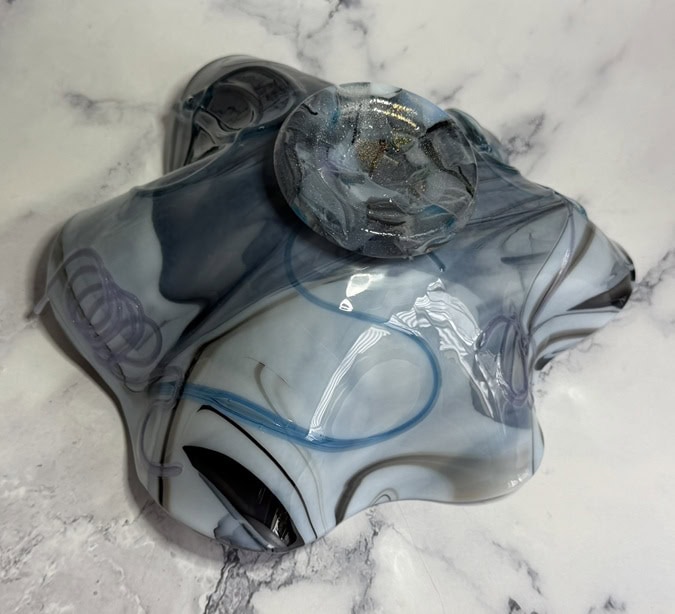
What a great day with three talented advanced students! Jim and Julie explored glass painting, experimenting with CFE, UCG, and detail paints and taking their pieces home to continue through the additional firings. Cindy took us in an entirely different direction with a challenging draped bowl technique that neither of us had tried before—and I’m thrilled that both my practice bowl and Cindy’s beautiful opaline bowl turned out so well. Days like this are a wonderful reminder that no matter how long you’ve been working with fused glass, there is always another technique to learn, another product to try, and another challenge waiting in the kiln. Thank you, Jim, Julie, and Cindy, for continuing to challenge yourselves—and occasionally challenging your instructor, too! 😂 That’s what keeps fused glass exciting for all of us. ❤️ I just wish I took pictures of Jim and Julie’s pieces sometimes we just get caught up in the work.
If you’d like to see more of my fused glass creations, please visit my website: Elegant Fused Glass by Karen. While you’re there, be sure to explore the full site — and don’t forget to check out my Elegant Fused Glass by Karen YouTube channel for videos and inspiration! If you’d like to stay up-to-date with my latest projects, classes, and events, I also invite you to sign up for my monthly newsletter, published on the last day of each month. And if you’re interested in taking a class, you’ll find all the details about upcoming opportunities right on my website! If you have any questions about taking classes or would like to schedule one, feel free to email me at elegantfusedglass@gmail.com. I’d love to help you create something amazing when you’re ready!
Keeping my kilns warm,
Karen

