
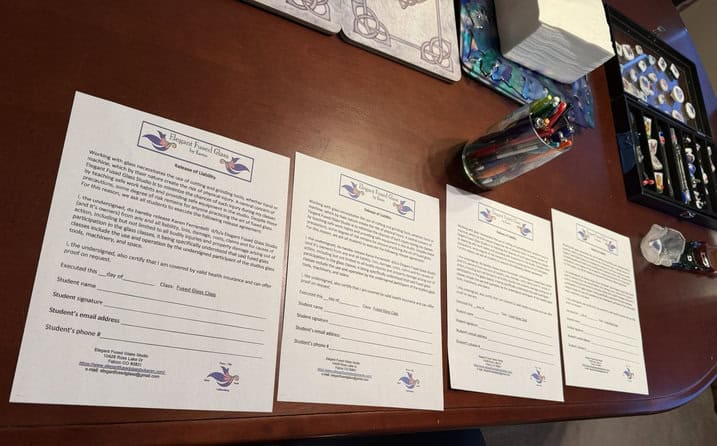
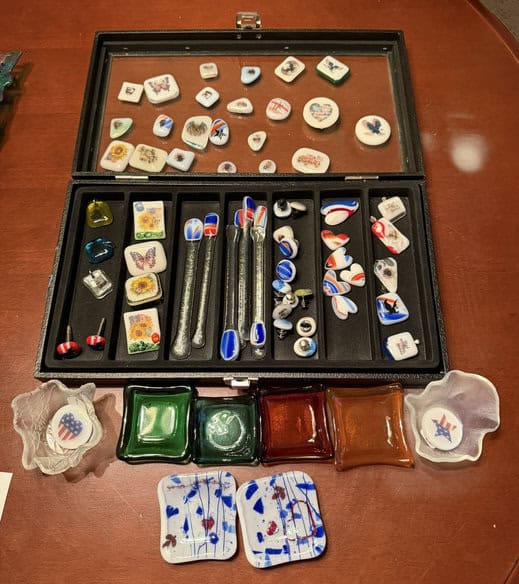
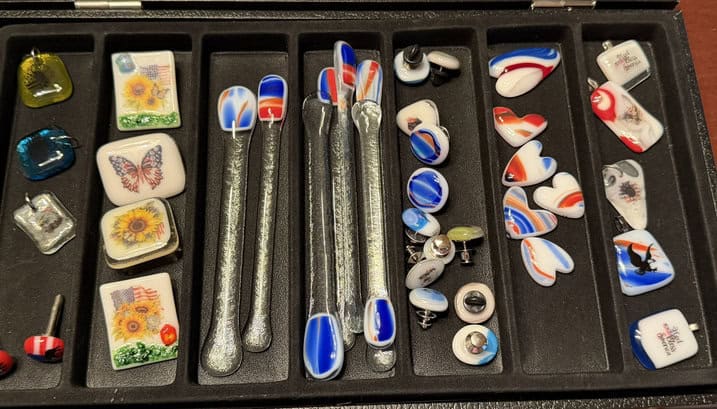
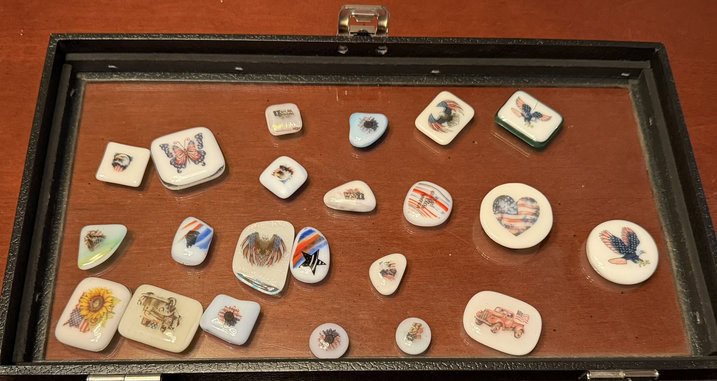
It was another wonderful day in the studio as I welcomed Jutta and Kim back for another fused glass adventure while meeting Jennifer, who was experiencing fused glass for the very first time. As always, we began by completing the liability forms before settling in for a day of creativity. Then it was time for one of my favorite traditions—everyone chose a patriotic fused glass gift as a small thank-you for joining me. With America’s 250th birthday still fresh in our hearts, it was fun to share a little red, white, and blue spirit through handcrafted magnets, pendants, stir sticks, and other patriotic treasures. After selecting their gifts, we toured my finished room, finishing room, and gallery before heading into the studio, where colorful glass and endless possibilities were waiting for us.
Before we picked up our glass cutters, I took Jutta, Kim, and Jennifer on a tour of my studio so they could see every step of the fused glass process. Although Jutta and Kim had visited before, it’s always fun to revisit the different areas and see what’s new, while Jennifer enjoyed getting her first behind-the-scenes look at how fused glass artwork comes to life. We explored my finished room, where completed projects are waiting to be picked up by excited students, followed by my finishing room, where I coldwork, polish, drill, sandblast, and add the final touches to each piece. We wrapped up our tour in my gallery, filled with everything from functional bowls and platters to garden art, suncatchers, and one-of-a-kind sculptures. I love sharing these spaces because they spark new ideas and help students see how a simple sheet of glass can be transformed into something beautiful with creativity, patience, and a little kiln magic.
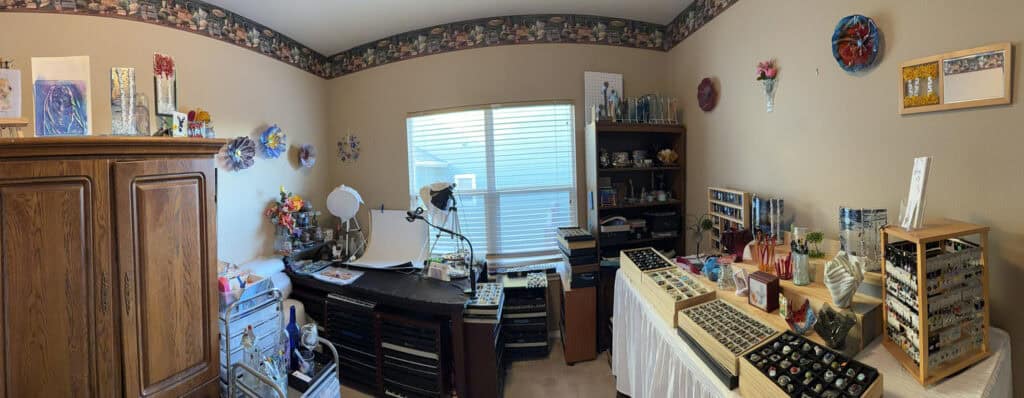
- Our first stop was the Finished Room, one of the brightest and most colorful spaces in my studio. The room is filled with fused glass jewelry, dishes, artwork, and decorative pieces available for sale. Everywhere you look there’s sparkle, texture, and color. It’s also my favorite place to photograph my work because the natural light and vibrant surroundings make every piece come alive. Students always enjoy seeing the variety of projects on display and learning about the different techniques used to create them.
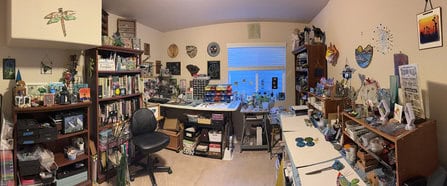
- Next, we stepped into the Finishing & Inspiration Room, which is exactly what the name suggests—a place where projects receive their final touches and where creativity seems to constantly grow. This room holds some of my favorite fused glass creations, along with pieces that inspire future ideas and new designs. I always think it feels a little magical because one project often leads to three more ideas before I’m done. By this point in the tour, creative wheels are usually turning as students begin thinking about colors, shapes, and possibilities for their own projects.
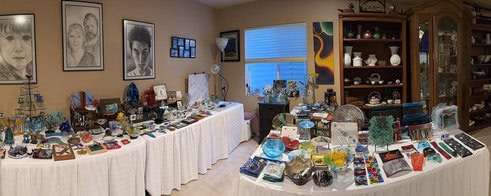
- We wrapped up the tour in the Gallery Area, where completed fused glass pieces are displayed while waiting to find their forever homes. I love ending the tour here because it helps students imagine the possibilities for their own creations. Watching first-time fusers realize just how many different things can be made with glass is always exciting. That spark of inspiration—and the realization that they can create something beautiful themselves—is exactly what fused glass is all about. ✨
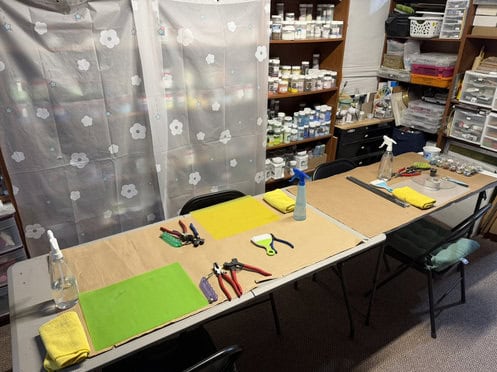
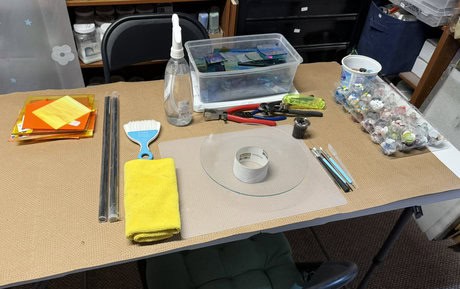
Before every class, I make sure the studio is completely set up and ready so my students can walk in and start creating. Each workspace is stocked with the basic tools they’ll need, including mosaic nippers, a glass scorer, breaking tools, glass cleaner, and a cleaning cloth. From there, I customize each station depending on the project that student has chosen. I may add specialty glass, frit, stringers, murrine, paints, decals, wire, or other tools and supplies needed for their particular creation. I love having everything organized ahead of time so students can concentrate on the fun part—creating! Since Kim was returning for another challenging advanced project, her workspace required a little extra preparation. As you can see, I had her area all set up with the specialty glass, tools, and supplies she would need before she even arrived. Advanced projects often involve several techniques and materials, so having everything ready allows her to jump right in and start turning her newest idea into glass.
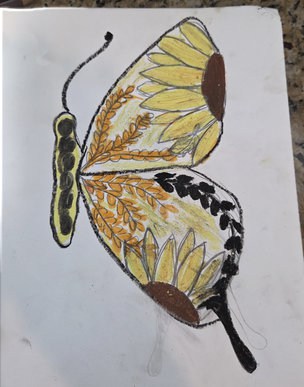
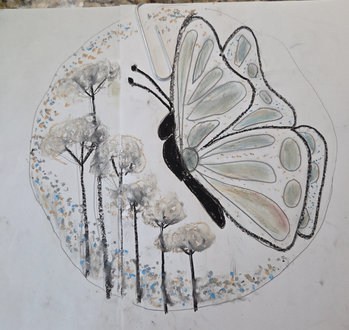
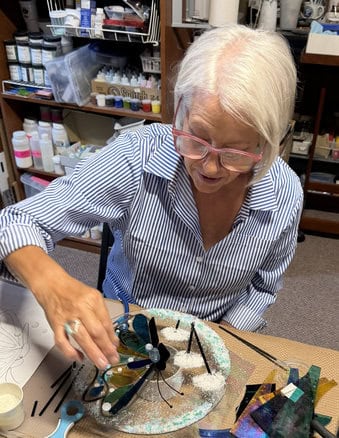
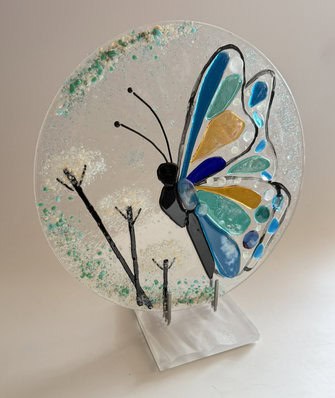
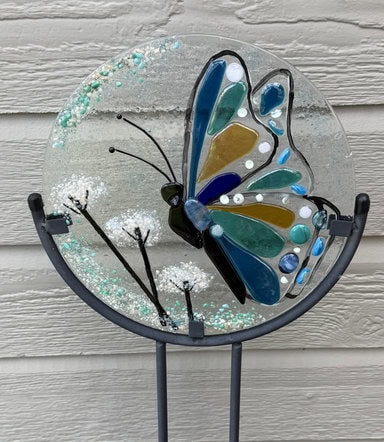
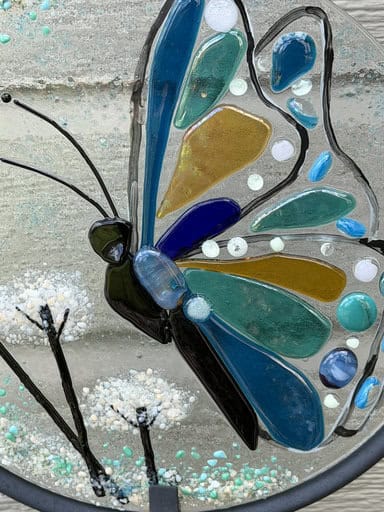
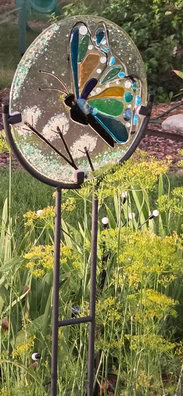
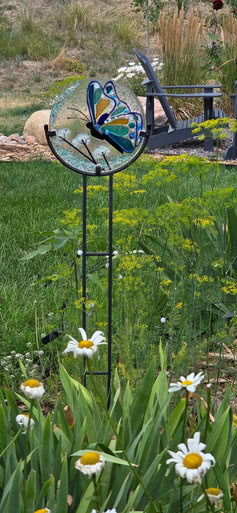
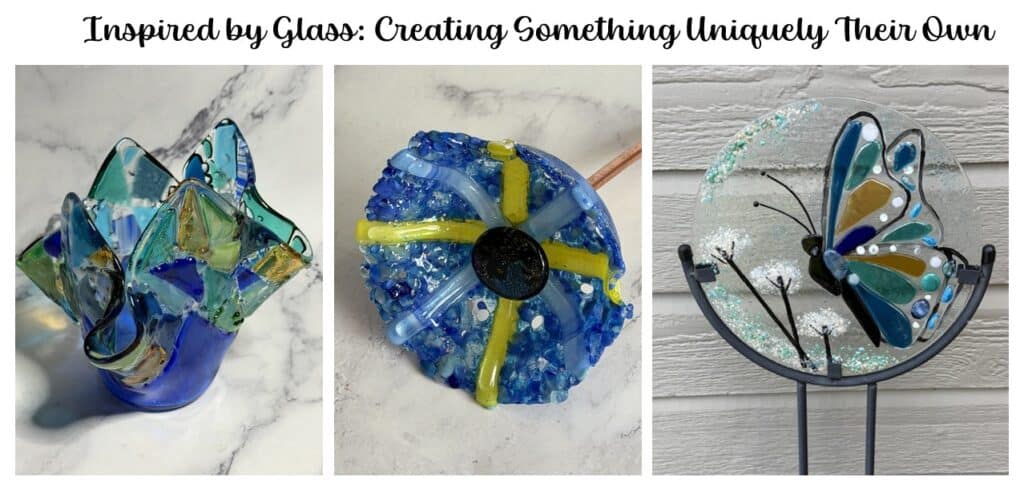
Since Kim had taken challenging advanced classes before, I knew she was ready for another project that would really let her creativity shine. Kim is an incredibly talented artist, and what makes her work especially fun is that she starts by drawing her own designs. For this project, she came with beautiful butterfly ideas that combined delicate wings with flowers and other details. One of the things I love about working with returning advanced students is being able to prepare something specifically for their skill level while still giving them plenty of freedom to make the project completely their own. Translating a drawing into fused glass is not as simple as copying the picture—the shapes, colors, textures, and tiny details all have to be reimagined using glass and other materials that can withstand the kiln. Once she settled on her design, Kim began bringing her butterfly to life piece by piece. She carefully selected and shaped the glass for the wings, added beautiful colors and accents, and incorporated the trees and sparkling details into the background. This is exactly the kind of project I love for an advanced class because it combines glass cutting, composition, layering, specialty materials, and lots of creative problem-solving. I absolutely love how Kim’s butterfly turned out. The blues, teals, golds and touches of white are beautiful against the clear glass, while the trees and shimmering background make the butterfly feel as though it is part of its own little scene. Best of all, the finished glass still has the personality and artistry of Kim’s original drawing. Watching an idea go from a sketch on paper to a one-of-a-kind piece of fused glass is one of my favorite parts of teaching—and Kim did a magnificent job! Look how beautiful it looks in her yard; stunning.
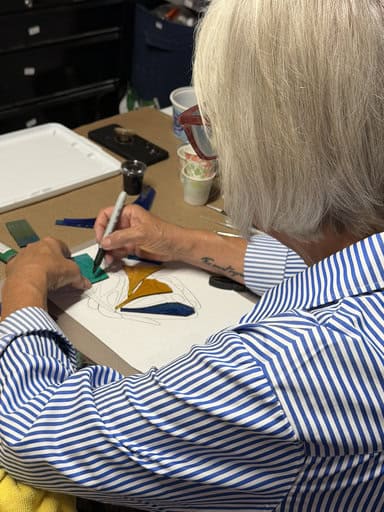
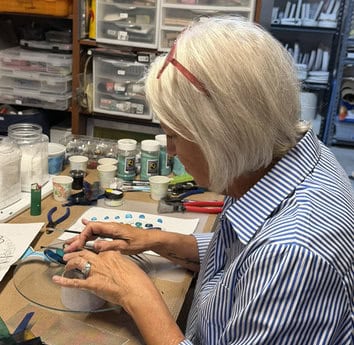
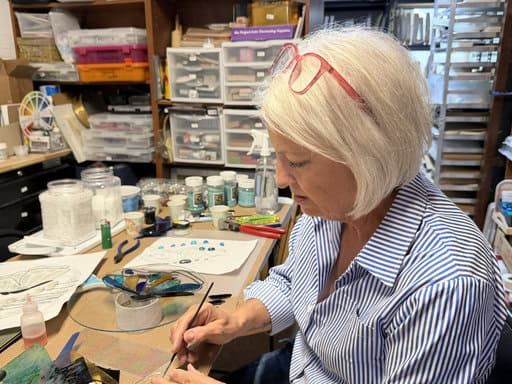
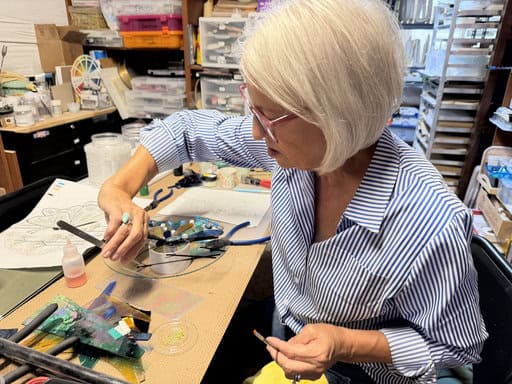
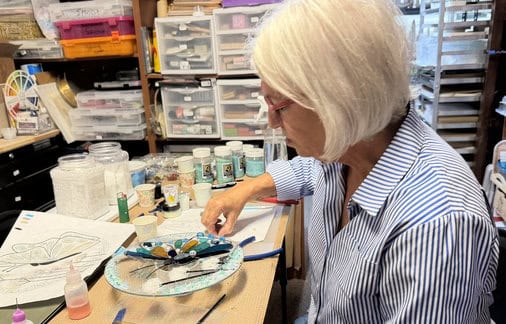
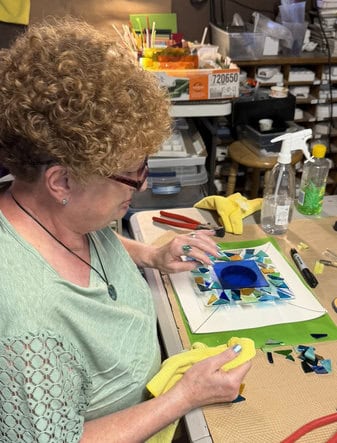
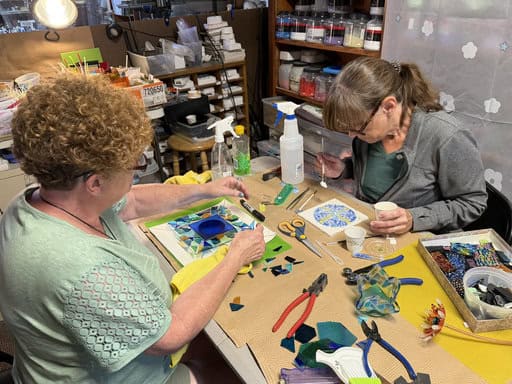
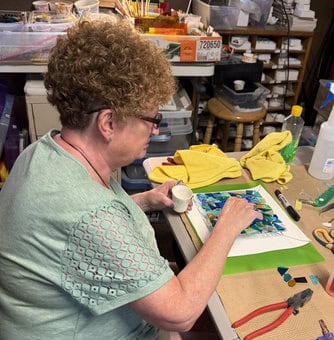
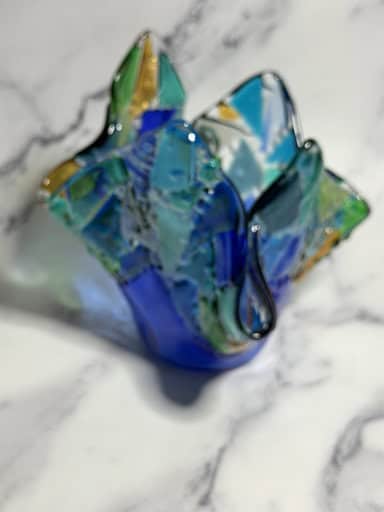
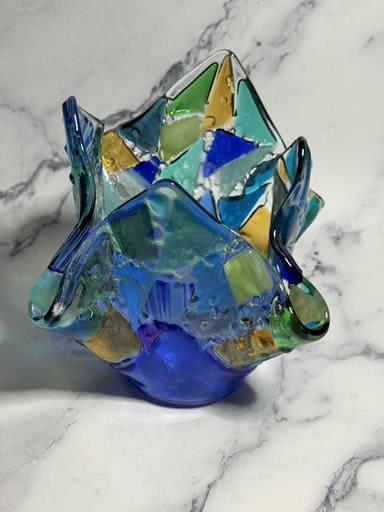
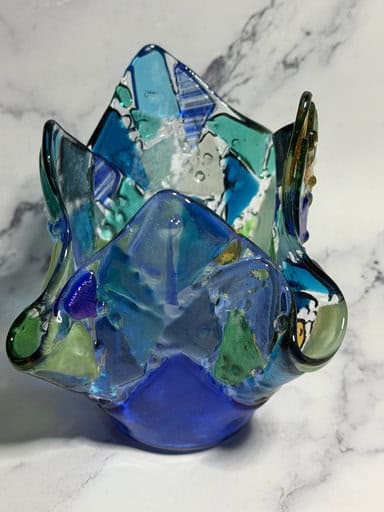
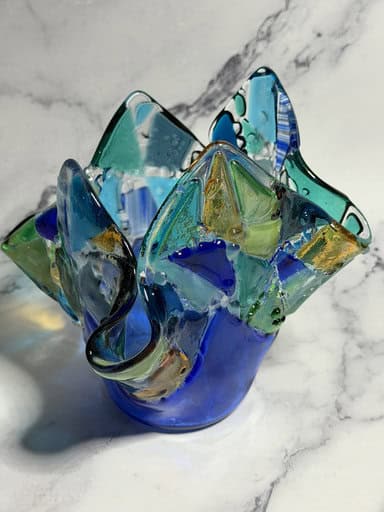
Next is Jutta, who drew inspiration from one of my handkerchief vases displayed in the gallery. She loved the beautiful combination of aqua, turquoise, blue, green, and touches of golden amber and used that color palette as the starting point for her own creation. One of the things I encourage my students to do is use my pieces for inspiration while finding ways to make their project completely their own—and that is exactly what Jutta did. Jutta carefully selected different colors and shapes of glass and arranged them into a beautiful mosaic design. She took her time experimenting with the placement of each piece, balancing the different shades and allowing the translucent glass to overlap and interact. I love watching this stage of the process because what begins as individual pieces of glass gradually turns into a completely unique design. After the pieces were arranged, the glass was contour fused in the kiln to join everything together into one solid piece. It then went back into the kiln for a second firing, this time over a special mold that allowed the softened glass to drape into that wonderful free-flowing handkerchief shape. The finished vase turned out beautifully! I love the movement created by the folds and how the blues, aquas, greens, and little touches of gold change depending on the light and the angle from which you view it. What began as inspiration from one of my gallery pieces became something distinctly Jutta’s own—and a beautiful piece of fused glass that she can enjoy for years to come.
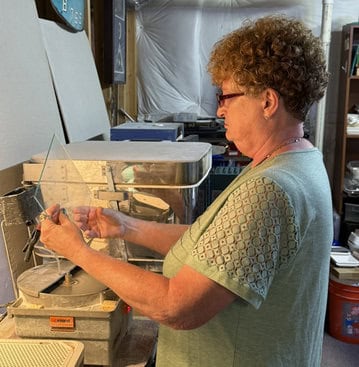
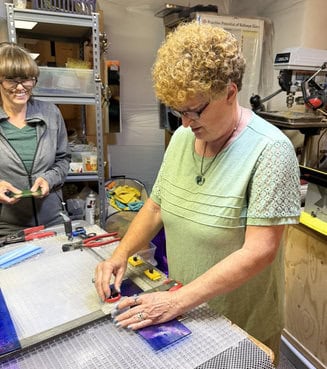
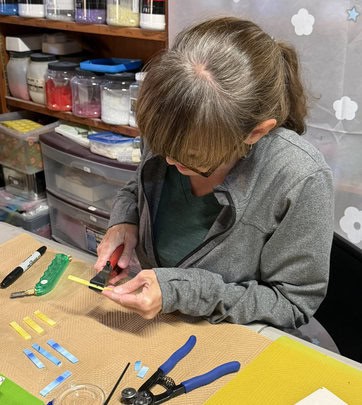
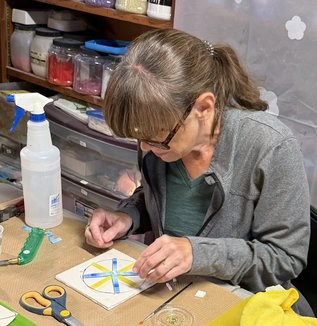
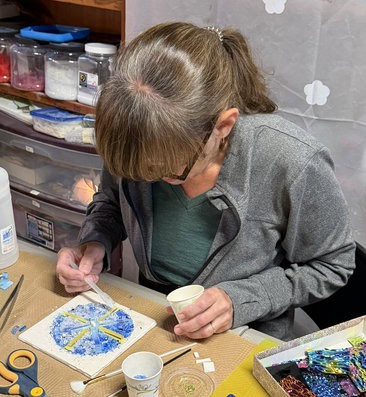
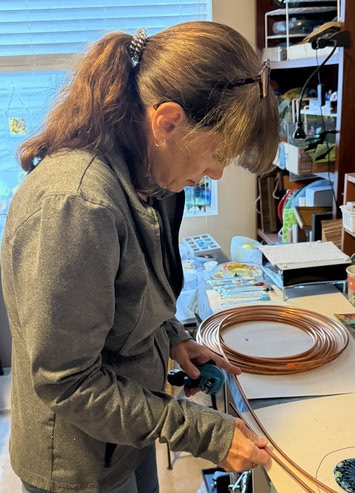
Jennifer was brand new to fused glass, and for her very first project she chose one of my flower garden stakes as inspiration. I love introducing new students to fused glass with projects like this because they get to experience so many different techniques while creating something beautiful for their home or garden. Jennifer jumped right in, selecting warm shades of orange and white and learning how to layer and arrange the glass to create her flower. She added frit and stringers to give the petals wonderful color, texture, and dimension, then chose a gorgeous piece of dichroic glass for the center, which will sparkle and change as the light catches it. Jennifer even measured and cut her own copper stem, giving her the opportunity to learn yet another part of creating a finished garden stake. She did an amazing job, especially for her very first fused glass project! Once the flower was fired and mounted on the copper stem, all those beautiful colors and textures came together perfectly. I think her cheerful flower will be a wonderful pop of color in the garden—and I hope every time Jennifer sees it, she’ll remember the day she created her very first piece of fused glass!
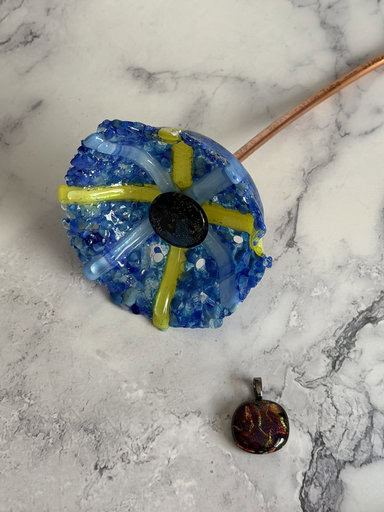
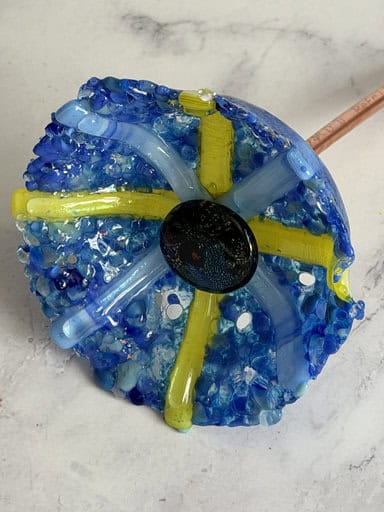
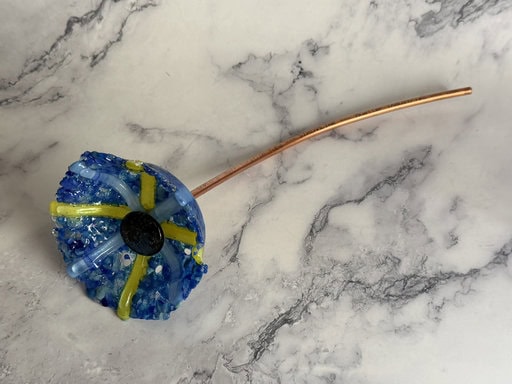
What a wonderful day of creativity, friendship, and beautiful glass! From Jutta’s colorful handkerchief vase and Jennifer’s cheerful garden flower to Kim’s incredible butterfly and all the special little extras they created along the way, each piece was completely unique. That’s one of the things I love most about fused glass—everyone can begin with the same tools and techniques, yet no two creations are ever quite alike. I especially enjoy seeing returning students continue to challenge themselves while introducing new students to all the possibilities glass has to offer. Thank you, Jutta, Jennifer, and Kim, for sharing another fun and creative day with me! If you’ve ever wanted to try fused glass for yourself, I’d love to welcome you into my studio. No experience is necessary—just bring your imagination, and I’ll help you turn it into something beautiful!
If you’d like to see more of my fused glass work, please visit my website: Elegant Fused Glass by Karen. While you’re there, be sure to explore the full site — and don’t forget to check out my Elegant Fused Glass by Karen YouTube for even more inspiration! If you’d like to stay up-to-date with my latest projects, classes, and special offerings, you can also sign up for my monthly newsletter, published on the information on my site. If you have any questions or would like to schedule a private class, feel free to email me at elegantfusedglass@gmail.com. I’d love to help you create something beautiful!
Keeping my kilns warm,
Karen

